
Choosing a Design
Decide if you want a colored background. Nail polish can provide a colorful background for your nail art, but a clear background looks great, too. It’s your call! Choose a color that contrasts with the color of your nail art pen so it really pops! Try white and black or red and yellow. Avoid using metallic colors, because your nail pen won’t show up very well.
Go for stripes or polka dots if you want to keep your design simple. If this is your first time using a nail art pen, it’s probably a good idea to go for a simple design. Bright stripes or tiny polka dots are perfect! You can do polka dots all over your nail, or make a couple polka dot lines. Swirls are fun and simple, too.
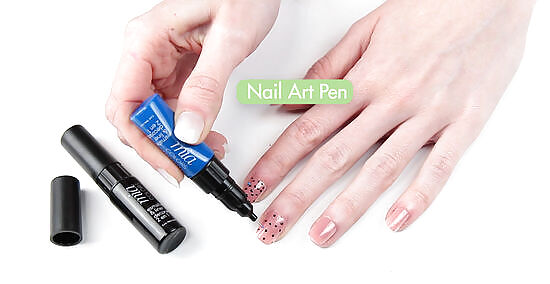
Use multiple art pens to make a multicolored design. If you have a whole pack of nail art pens, feel free to combine colors in your design. Multicolored polka dots or rainbow stripes are super cute. For a floral design, try using silver for the petals and white for the center. It'll come out looking beautiful.
Try a French manicure with nail art pens. You can actually use nail art pens to create a French manicure! Just use the nail pen to line the tip of your nail. To create a classic look, tip your nails with white. For a bold spin on a traditional French manicure, use blue or purple for your tips.
Prepping Your Nails
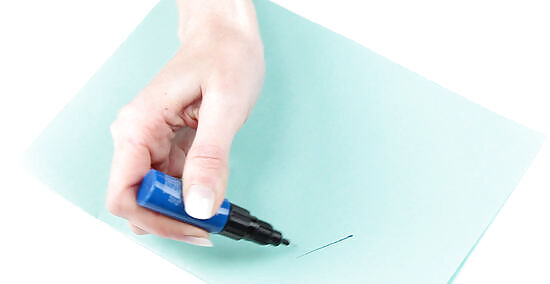
Practice using your nail pen. Nail pens can be a little tricky to use, so practice different strokes and shapes on a piece of paper to get a feel for it. When you feel comfortable working with the pen, practice drawing out your planned design on one of your nails. If you’re using a hard tip nail art pen, you’ll have to squeeze it a bit to get the polish out. If you’re using a marker pen, you’ll have to press. Don’t worry--the polish will come off with a little nail polish remover.
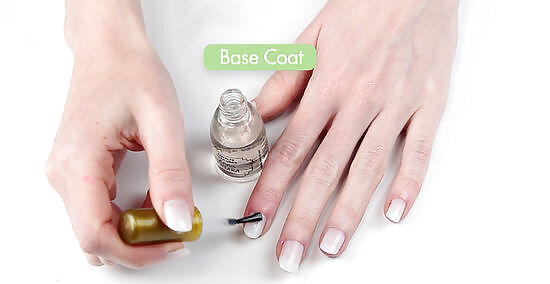
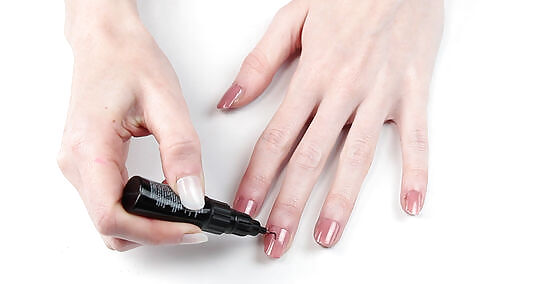
Apply a base coat to clean nails. Start with clean, polish-free nails. Buy a clear base coat, and apply a layer onto your nails. This will help the polish bond to your nails and make it last longer. Let it dry completely before moving on. If you want a clear background, you can stop here and start drawing with your pen.
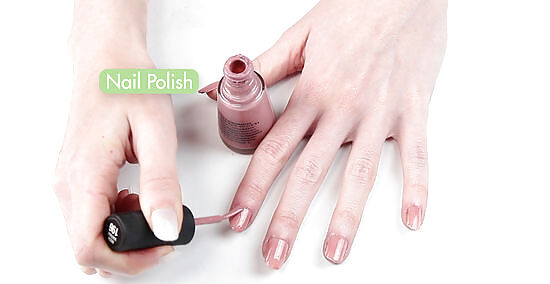
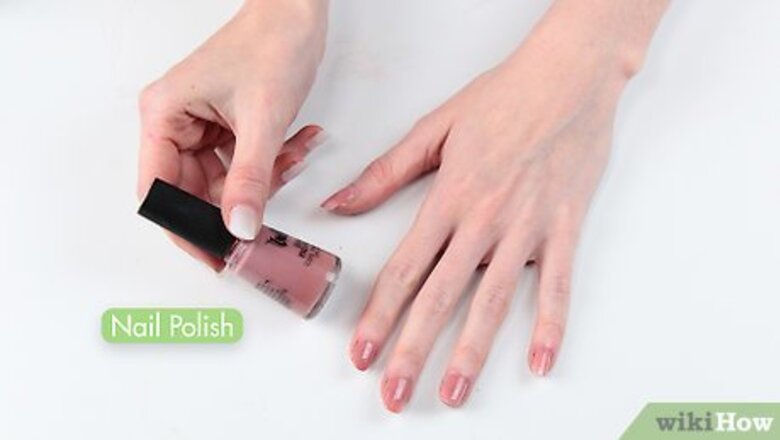
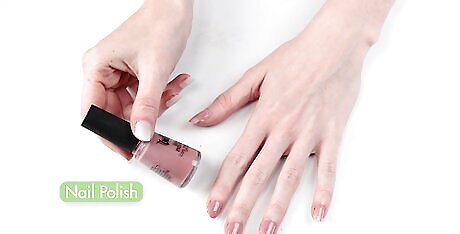
Apply two coats of a polish of your choice. Remember to pick a color that will look good with your art pen colors. Roll the polish bottle between your palms before applying to remove air bubbles. You’ll be rewarded with a super smooth finish.
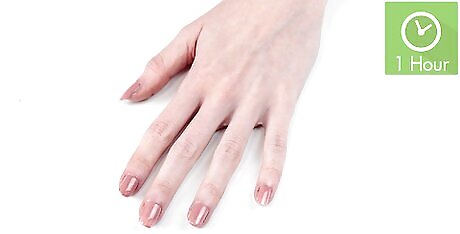
Let the polish dry before moving on. It’s important that the polish is completely dry before you use the nail art pen. You’ll probably have to wait a full hour. To speed up drying time, turn your hair dryer on the cool setting, hold the dryer about six inches from your nails, and blast them for a minute.
Drawing Your Design
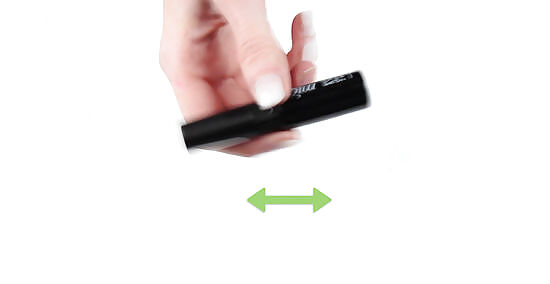
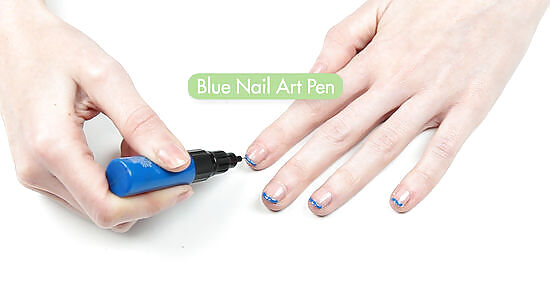
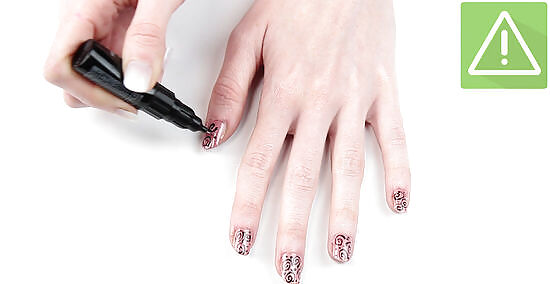
Shake your pen well. Shake your pen to mix up the paint and prevent air bubbles. Make sure the cap is on to avoid painting your walls, too!
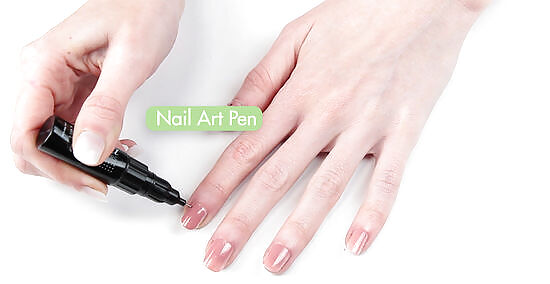
Draw your design carefully. Now that you’ve planned out your design and practiced using your pen, it’s time to transfer it onto your nails. Work slowly and carefully to prevent smudges and other mistakes. If you’re using multiple colors and aren’t trying to blend them together, let the first one dry before adding the second. Otherwise, you could mess up your design.

Do one hand at a time. It’s best to wait for your first hand to dry before moving on to your other hand so you don’t accidentally smudge your work. Most people like to paint their non-dominant hand first, since it's easier.
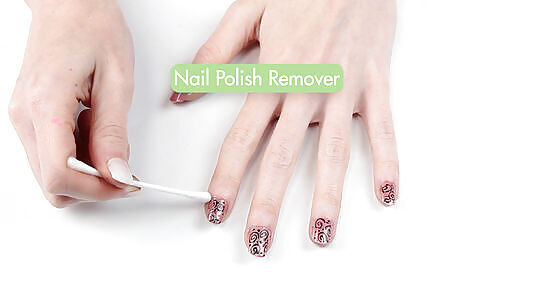
Use a cotton swab and nail polish remover to clean up mistakes. Don't get frustrated if you mess up the first few times. Nail pen ink comes off really easily with a cotton swab and nail polish remover without removing any colored polish underneath.
Use appropriate pressure on your nails. For hard tip pens, you won’t need to apply much pressure at all. For marker pens, you should apply moderate pressure. If you press too hard, the pen could leak, leaving an unsightly blob.
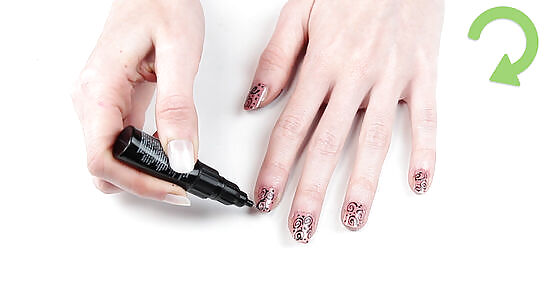
Apply more coats for a darker shade. The more layers you apply, the darker your design will be. Keep applying coats until you achieve the color you want. Don’t apply too much, though. It could turn out gloppy.
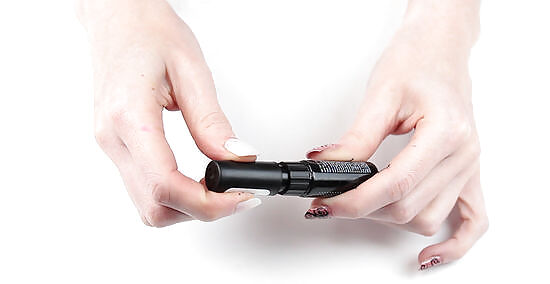
Replace the cap after you’re done. This will prevent your nail art pen from drying out. Make sure you screw on the cap tightly and store your pen in an upright position.
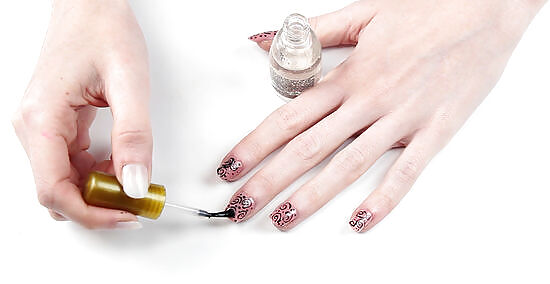
Finish off with a top coat. After the paint has dried completely, apply a layer of clear top coat to seal everything in. Don’t forget to cover the tips of your nails with top coat to prevent chipping!


Comments
0 comment