views
X
Research source
Signs of a bad voltage regulator in a vehicle include dimming or pulsing lights or a dead battery.[2]
X
Research source
If you have electrical equipment that won’t turn on, that could also indicate a bad voltage regulator—the regulator could either be letting no power through or letting through too much and damaging the other components. Luckily, testing whether your regulator works is fairly easy as long as you have a multimeter and follow the correct procedures.[3]
X
Research source
Testing a Vehicle’s Voltage Regulator with a Multimeter
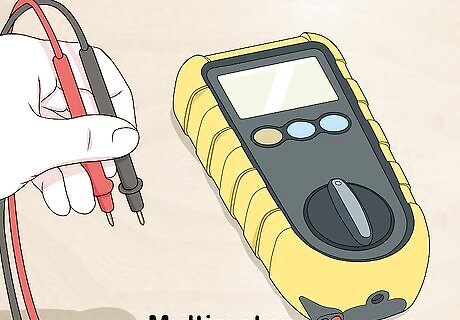
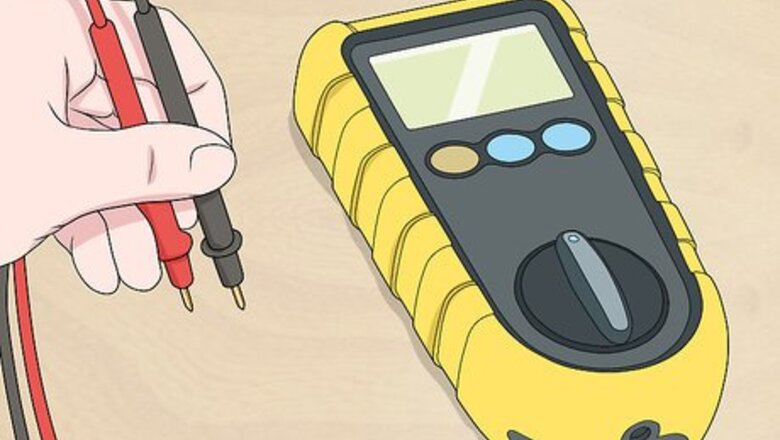
Purchase a multimeter. A multimeter can be purchased at a hardware store, online, or at an automotive store. This meter will be able to read the voltage running through your battery and will indicate whether your regulator is working properly. A multimeter is often much less expensive than other complex diagnostic tools and can cost from anywhere from $14 to over $100.

Open the hood of your vehicle. Pull the lever on the inside of your vehicle to pop the hood. Then, unhook the bar under the hood and use the bar to prop the hood up. You should see your engine and the vehicle’s battery.
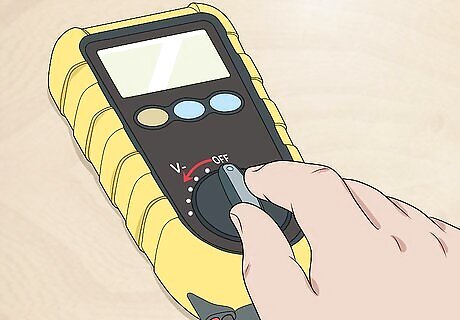
Set the multimeter to voltage. Turn the dial or press a button on your ohm or multimeter and set it to voltage. The voltage setting will look like ∆V, or will be a V with lines above it. If you’re unsure of which setting is voltage, read the instruction manual that came with the multimeter. A voltage read must never be done with Ohm or Ampere position set as you could damage your device.
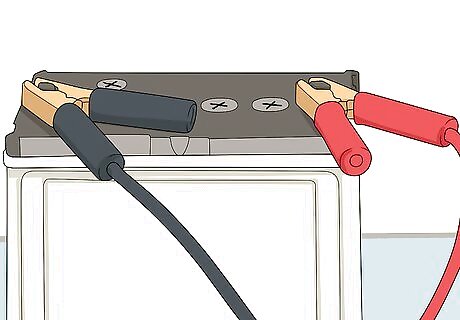
Attach the clamps on your multimeter to the battery terminals. Your battery is near your engine and looks like a plastic box. There should be 2 nodes with a + and - symbol near them. Your multimeter should have a black and red cord, with clamps or leads attached to the ends of the cords. Attach the black clamp to the negative (-) terminal and the red one to the positive (+) terminal on your battery. Your battery may also have a plastic cap over the battery terminals. Lift the plastic cap to see the positive and negative nodes.
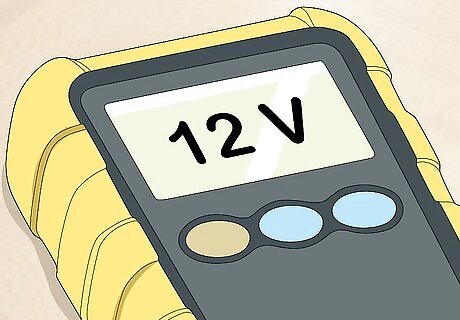
Read the numerals on the display. With the vehicle off, you should have a little over 12 volts if your battery is working properly. If the multimeter reads under 12 volts, it most likely means that your battery is weak and will need to be replaced soon. If the multimeter doesn't read anything, it may mean that the batteries in the meter are dead. It could also mean that the meter isn’t connected properly to your vehicle’s battery.

Put your vehicle in park and turn it on. Make sure your vehicle is in park so that you don’t move forward or backward while you test the regulator. Engage the parking brake as a safety precaution. Turn the key in the ignition to start the vehicle, or press the ignition button if your vehicle has one. Take a look at your multimeter. The reading should have increased to around 13.8 volts while the car is idle. If your multimeter reads 13.8, it means that your alternator is properly charging your battery.
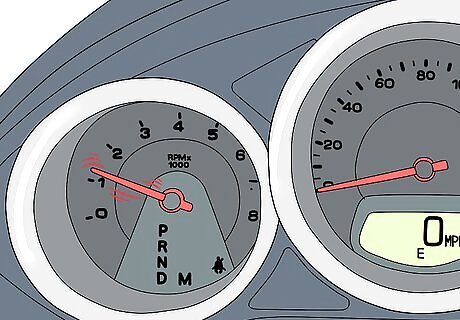
Rev the vehicle's engine. You will need someone else to rev the engine so that you can look at the multimeter as they do it. With your car still in park, slowly press on the gas until your car reaches 1,500-2,000 RPMs.
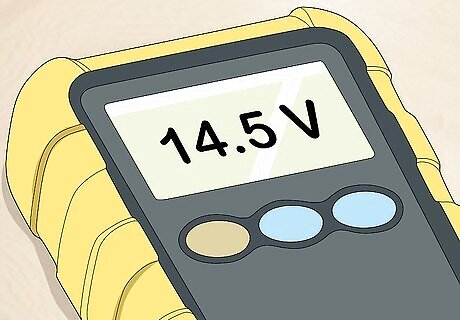
Read the output on the multimeter. The regulator should cap the output of your battery at around 14.5. If the voltage reads over 14.5, it probably means that you have a faulty regulator. If your voltage reading is below 13.8 volts, you have a weak battery and will need to replace it soon.
Testing a 3-Terminal Voltage Regulator
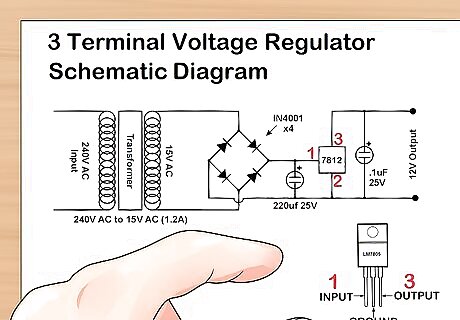
Read the schematics that came with the voltage regulator. In order to test a 3-terminal voltage regulator in electronic equipment, you’ll need to know which pins are the input, output, and ground pins. Typically, if you’re facing the front of the regulator, the left pin should be input, the right pin should be output, and the middle pin is usually the ground pin. You will also need to know how many volts your regulator is supposed to output. Typical voltage regulators for computer equipment will be anywhere from 5-12 volts.
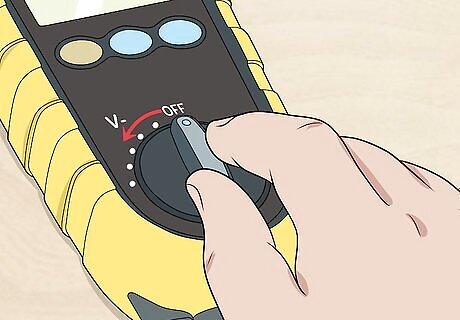
Set your multimeter to the voltage setting. The voltage setting will look like ∆V, or will be a V with lines above it. It's important that you set your multimeter to this setting or else it will try to read the current or resistance, and you won't know how many volts are running through your voltage regulator.
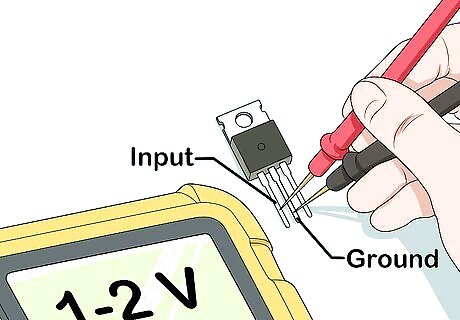
Attach the red wire to the input pin and the black wire to the ground pin. Doing this will give you the input voltage reading. This voltage reading should typically be around 1-2 volts higher than what the regulator is designed to output. If your multimeter doesn't read anything, it means that your regulator isn't properly receiving current from your power supply or that the meter is not connected to the correct pins on the regulator.
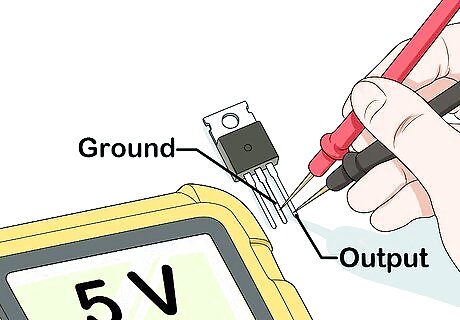
Touch the black wire to output and the red wire to the ground pin. Once you do this, you should get a reading that corresponds to the device’s intended voltage output. You can find the voltage output by looking at the regulator’s instruction manual, or by searching your specific regulator online. If your output voltage is higher or lower than what the regulator was designed for, you know that you have a faulty regulator.


Comments
0 comment