
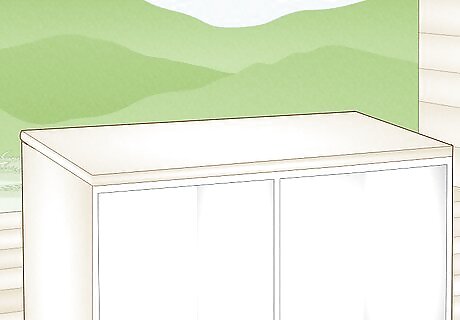
Choosing Your Materials
Choose a rotary vs sliced veneer. Rotary veneers are what plywood is made out of and generally produce an appearance that many people don't like. However, they can also come in larger sheets and may be the only option for very large projects. Sliced veneer looks like normal lumber, and allows you to get really beautiful grain detail.
Choose a random or book-matched veneer. You can get random sets of veneers, or you can get book-matched sets. In book matched sets, you get the pieces that were cut one next to the other, so that the grain patterns match up. This can be used to create beautiful designs. However, unmatched sets may look more "natural".
Choose your application method. You can get veneer sheets that have adhesive already applied to one side. These are the easiest to place. If you get regular veneer, however, you'll need to use the application method discussed in the other section. These are generally applied just like a sticker, but you should read the included instructions to see if that particular manufacturer requires special steps.
Choose your substrate. Veneers are attached to a substrate (or base material). Usually this is either another wood (if you are veneering, for example, panels on doors or cabinets) or it is a cheaper material altogether, such as MDF. These man-made materials are probably the best option, since they usually allow you to save the most money.
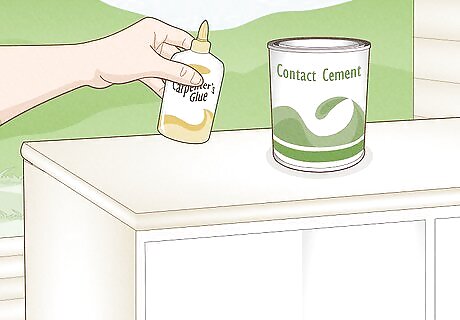
Choose a glue. You can use yellow or carpenter's glue if you want to. If you live in a very dry environment with little humidity, these will work perfectly fine. If you live in a humid environment, however, these glues can cause your veneers to wander. It's better to use a proper veneering glue. Many other methods of veneering use these glues. Be wary of those methods, especially if you live in a humid environment.
Applying the Veneer
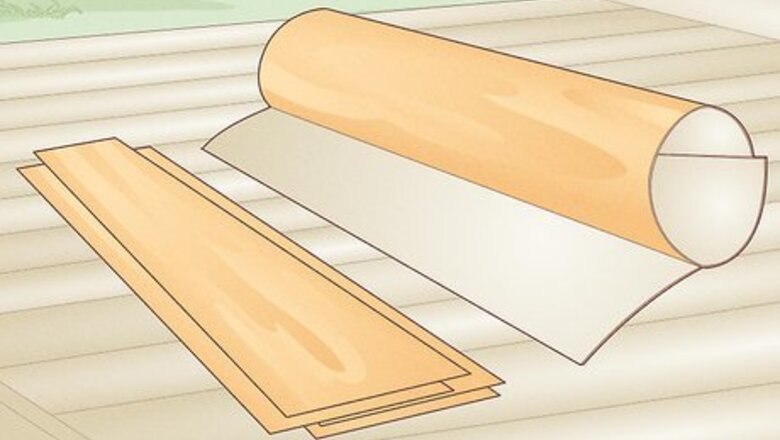
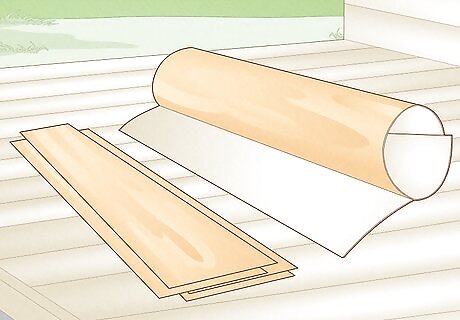
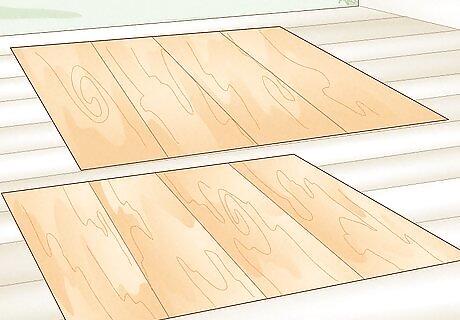
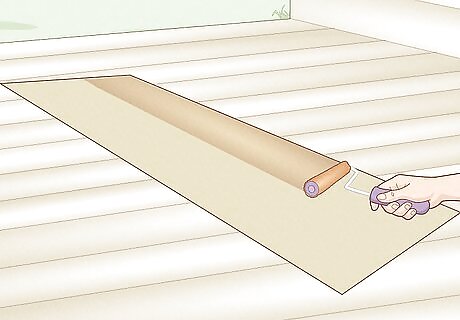
Cut your veneer to size. Cut the veneer to the size you want, making sure to leave as little overhang as possible. Any more than 1/4" overhang and you'll likely crack the veneer.
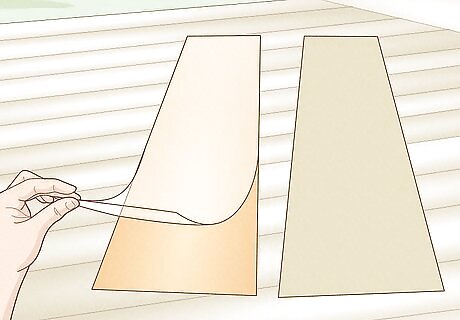
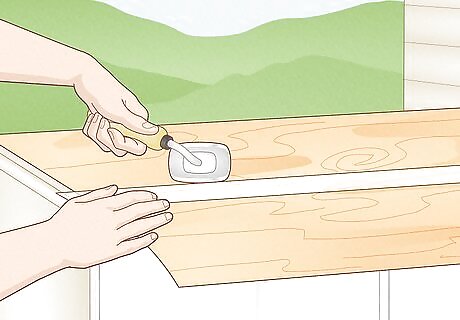
Apply contact cement to the substrate. Using a very short nap roller, roll the contact cement onto the area of the substrate that will be covered by a single panel of the veneer. Roll in one direction and then the other, just like you would a wall, in order to guarantee 100% coverage of the substrate surface.
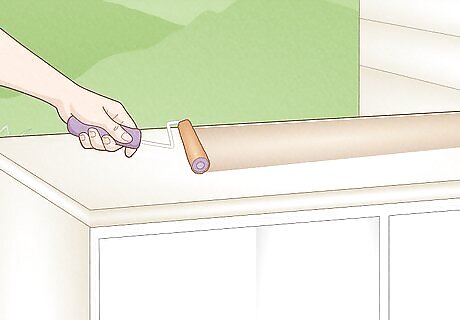
Apply contact cement to the veneer. Go through the same motions to apply contact cement to the veneer, also making sure to get 100% coverage. There should not be any dry spots.
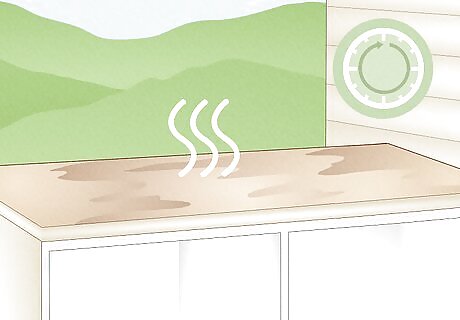
Allow for tack time. Allow just enough time for the adhesive to dry slightly. It should feel perhaps somewhat tacky to the touch, but not be able to grab hold of a sheet of paper or the hairs of your arm. This is usually after 5-10 minutes.
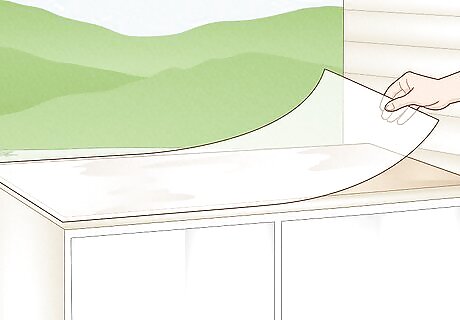
Place a sheet of wax paper. Place a sheet of wax or parchment paper on your substrate. This will go between the substrate and the veneer while you align the veneer, to help you get it as straight as possible without joining the pieces before they're ready.
Align the veneer. Line up the corners of the veneer and the substrate and get it into place. Then start to press it down so that the two glued sides touch, removing the paper as you go.
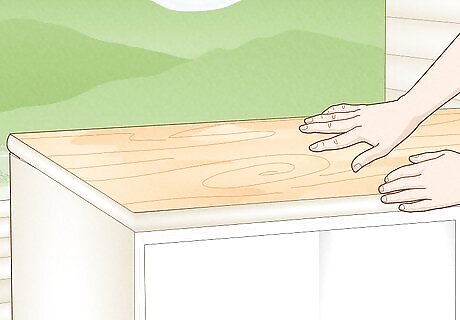
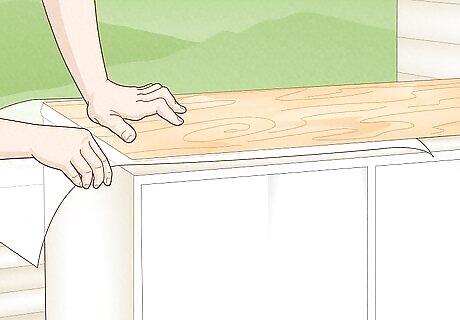
Smooth out the piece. Using your hand, smooth out the piece of veneer, starting from the center and moving out toward the edges. Apply firm pressure to ensure that full contact is made. Next, smooth it again using a flat tool like a putty knife or a carpet stair tool. Smooth it in one direction and then the other, just like you applies the adhesive. Do not use a tool like a roller, as this applies weak and uneven pressure.
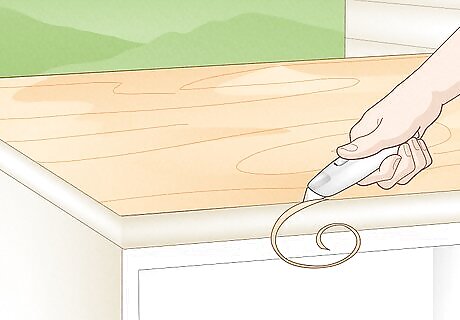
Trim the edges. Trim the edges using a utility knife and then sand the edges using high grit sandpaper (180 to 220).


Comments
0 comment