
views
With the Mailings Tab

Launch Word 2010.
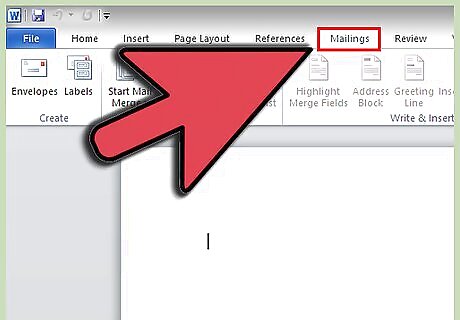
Navigate to Mailings Tab.
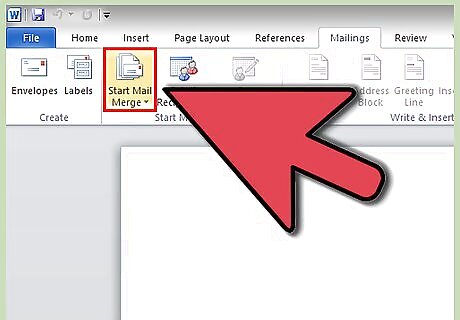
Go to Start Mail Merge options.
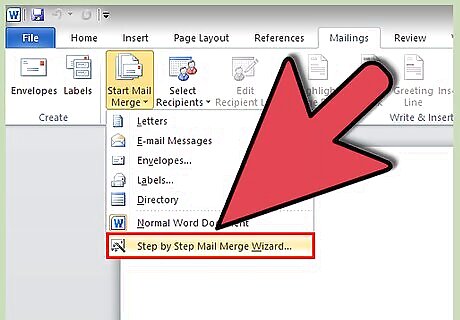
Click Step by Step Mail Merge Wizard.
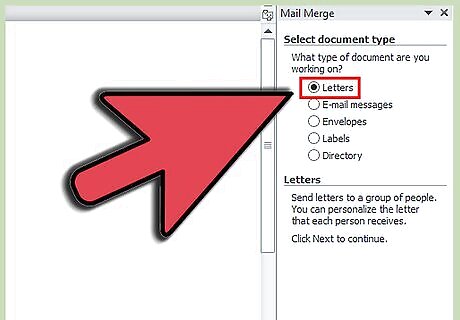
Choose the type of document you want.
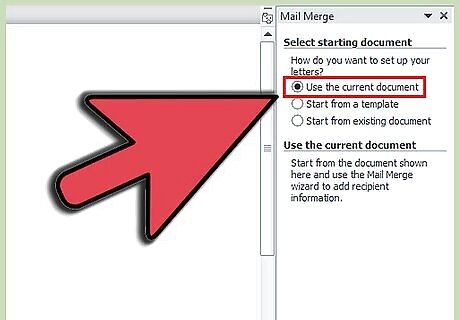
This step will ask you to choose what document to use/type document now.
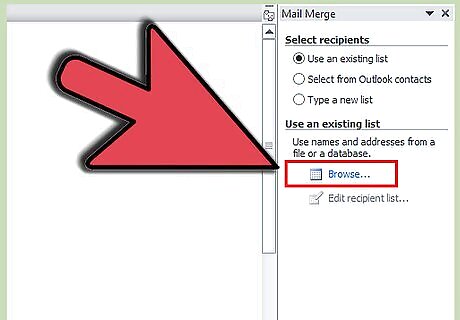
Choose your recipients.
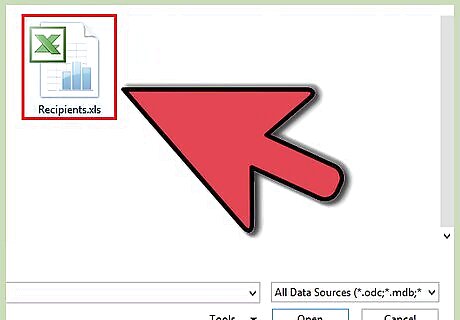
Choose the Excel worksheet that has your chosen recipients.
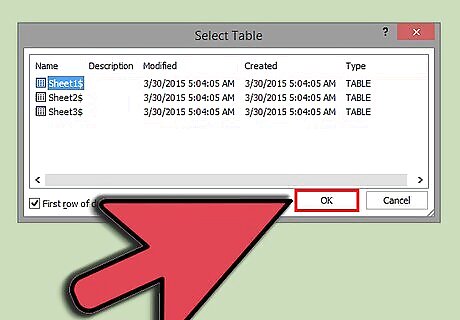
Click Open.
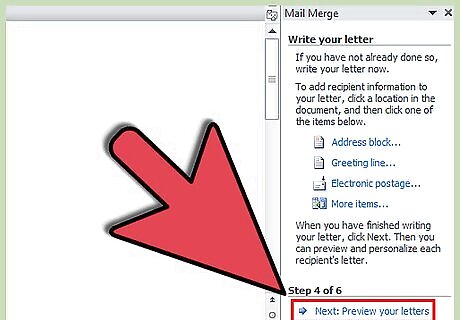
Follow the rest of the Mail-Merge Wizard. Depending on the options chosen different dialog boxes will show up, making very difficult to provide a step by step for the rest. However; the rest of the steps are self-explanatory.
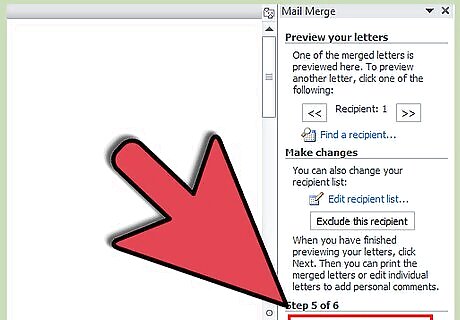
Click Finish and Merge on the Mailings Tab when done.
Without the Mailings Tab
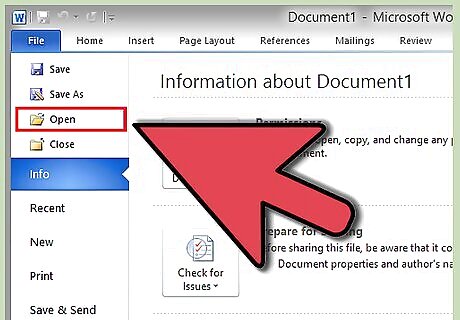
Open the document you want to merge.
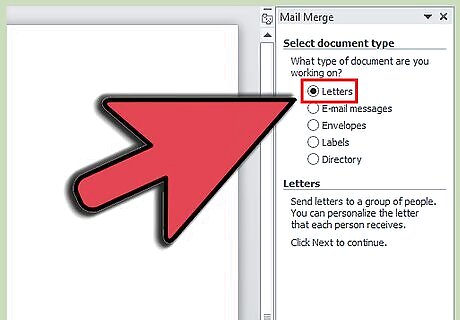
Choose the type of document you want to create (letter, envelope, label, e-mail, or directory).
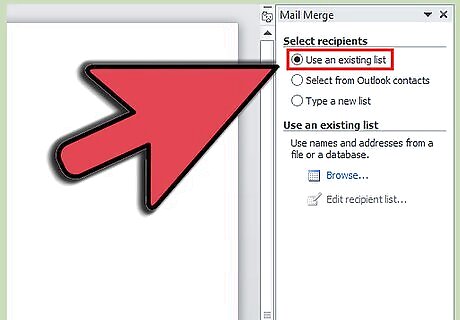
Choose the list of recipients you want to send the document to.
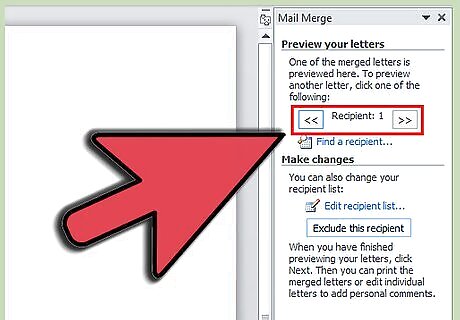
Add merge fields. Put the cursor where you want the merge field to appear, then click add field on the ribbon.
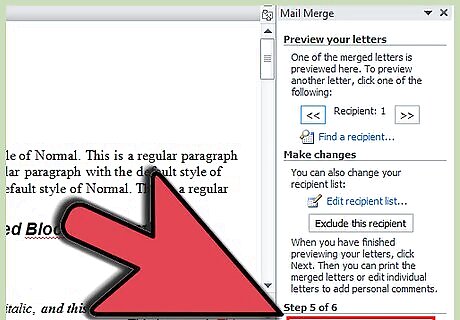
Finish and merge.
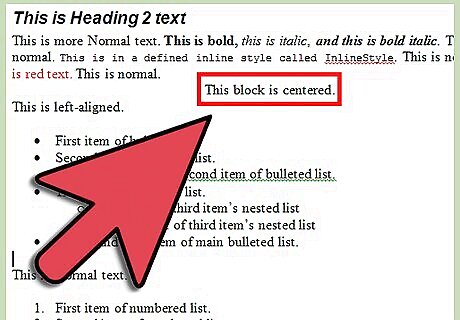
Check for errors that could have been introduced, during the merge.
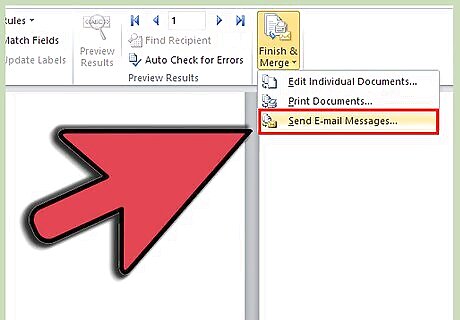
Send the merge by e-mail. You can also print the merge.








Comments
0 comment