views
Setting Up Your Workstation
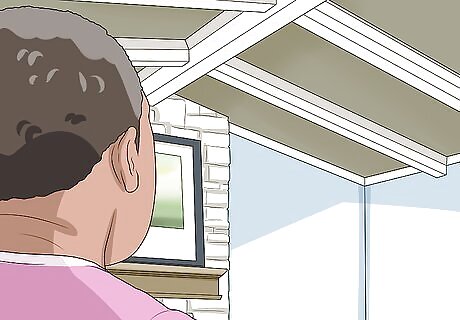
Determine whether you can do this job yourself. You will need to work with tall ladders and extension poles. If you don't feel comfortable with either of these, or if you are unstable on ladders, you will need to find someone else to do the task for you. It can be a friend or family member, but in some cases (such as high ceilings), it is better to hire a professional.

Choose a dry, sunny day and ensure proper ventilation. Low light and high levels of humidity will keep the paint from drying and curing properly. A dry, sunny day is the best, because the paint will dry faster. On the day that you are ready to paint, open up the windows or turn a standing (not ceiling) fan on. Don't open the windows if you live in a dusty area. Turn a fan on instead.
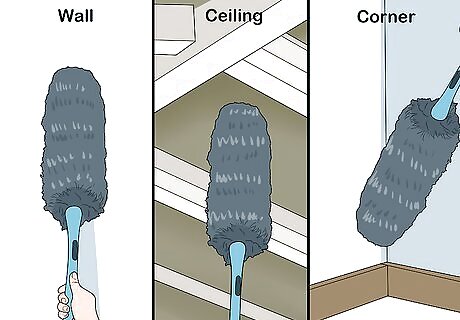
Clean the walls, ceiling, and corners. Use an extensible duster or long extension pole with a duster attached to clean the entire ceiling. Make sure that you get the corners, including those between the ceiling and the walls. Don't forget to clean the windows, doors, and floor too. You want the room to be as clean and dust-free as possible.
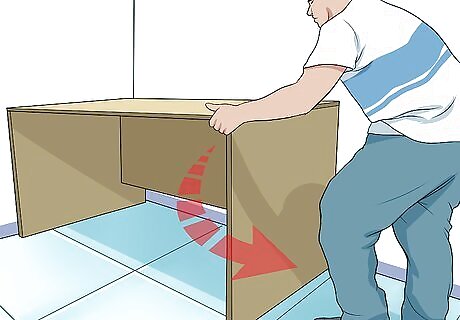
Move your furniture out of the way. It would be best to move it out of the room entirely, but if that is not possible, move it away from the walls for now. You will start painting the corners and edges first, so you need to have access to that area. Once you work your way towards the middle of the ceiling, you will need to move the furniture accordingly. Cover the furniture with drop clothes to further protect them from paint stains. You can find these at hardware or paint supply stores.
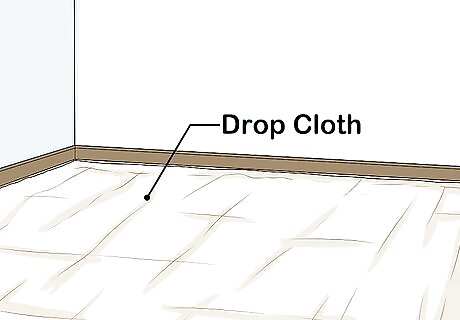
Cover your floor to protect it against paint spills. You shouldn't use so much paint that it drips to begin with, but there is still a chance that the paint might drip. A drop cloth or tarp would be the best idea, but you can also use cheap tablecloths, cardboard, or even layers of newspaper.

Put on some clothes that you won't mind getting dirty. Even if you are careful, there's still a small chance that some paint might get on your clothes. House paint is difficult to remove, and there is a chance that it might stain. Old clothing that you plan on tossing or donating works great for this. If you don't have any such clothes to wear, consider buying a cheap paint suit, It is a 1 or 2-piece suit that you can wear over your clothes, then discard when you are done.
Preparing the Ceiling
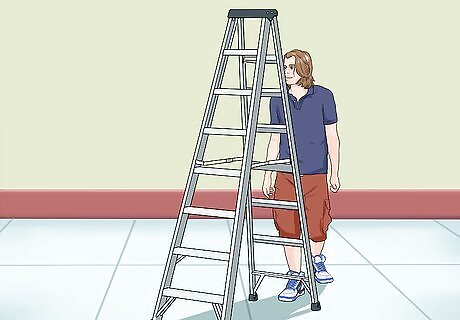
Set up a tall ladder or scaffolding. In some cases, a tall ladder is all that you need. If you don't feel comfortable on the ladder, or if the ladder is not tall enough, buy or rent a scaffolding from a home improvement or paint store instead. Some home improvement and paint stores will allow you to rent ladders. The ladder needs to be tall enough to allow you to reach the highest point of the ceiling. If you can't find such a ladder, get one that will take you the closest to the ceiling. You can use a basic ladder, but you will need to mount your brush and roller onto a telescoping extension pole.
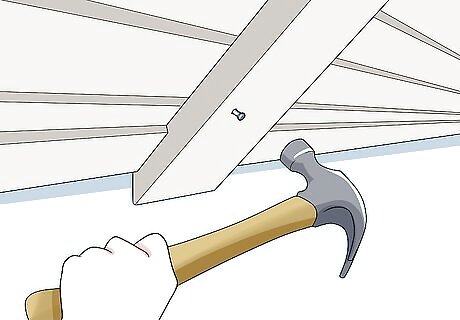
Repair any damages in the ceiling and surrounding trim. Nail down any loose trims and fill in any holes with wall or ceiling putty. Use your ladder or scaffolding to reach these areas.
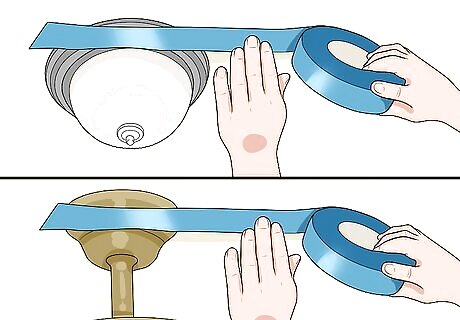
Cover light fixtures and the bases of fans with painter's tape. Do not cover the actual ceiling part. Instead, wrap the tape around the base of the fixtures. This will prevent the paint from getting on them and staining them. Once again, use your ladder or scaffolding to reach these. You will remove the tape after the paint dries. If you plan on replacing any fixtures, take them off now. If you don't plan on replacing them, leave them on.
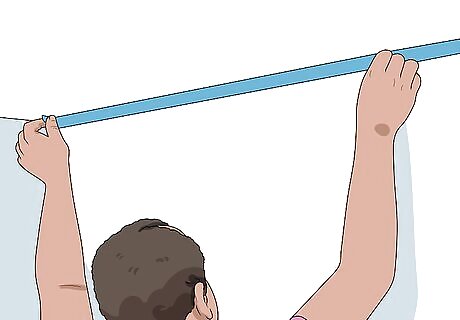
Cover the top edges of the walls with painter's tape, if desired. This will take a little extra effort, but it will give you cleaner lines. Make sure that the tape extends to the edge of the ceiling. Use tape that is 2 to 3 inches (5.1 to 7.6 cm) thick. If you can't get it that thick, use multiple rows of thinner tape to create a thicker band. You don't need to cover the wall with painter's tape if you plan on painting it. The wall paint will cover up any ceiling paint. You will need to wait until the ceiling paint dries before you remove the painter's tape.
Applying the Paint
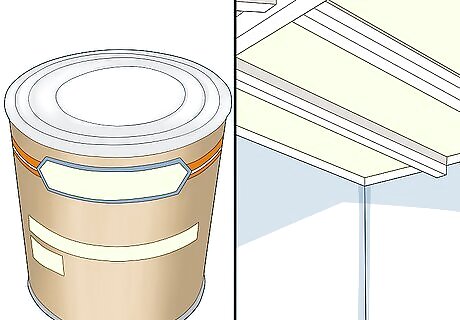
Choose a color scheme for your ceiling. Most people choose to match the ceiling to the walls, but you don't have to do this. For example, you can make the ceiling lighter, darker, or a different color. To brighten up a dark room or make the ceiling appear higher, pick a color that's 1 to 2 shades lighter. To make the ceiling appear lower or to make the room appear smaller, choose a color that's 1 to 2 shades darker. Consider a different color altogether. For example, if your walls are white, try dark gray, blue, or even green-gray.
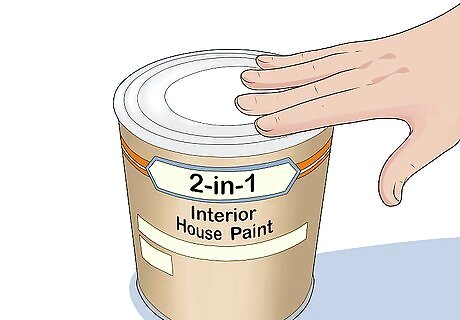
Purchase a can of 2-in-1 interior house paint. This type of paint has primer in it, which means that you will only need 1 or 2 coats of paint total. This will help reduce your workload and allow you to enjoy your new ceiling sooner. If you choose to use primer and paint separately, then you'll need to repeat the entire painting process twice: once for the primer and 1 to 2 times for the paint.
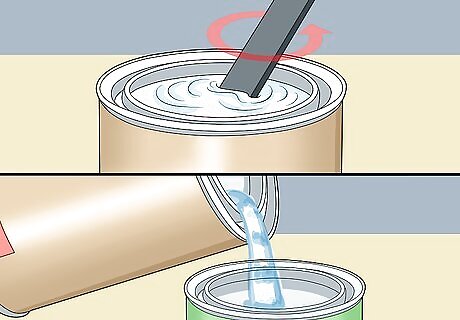
Stir your paint and transfer it into a small bucket. Open your can of paint give it a stir with a paint stir stick. Hold the can over a smaller bucket, and slowly the paint into it; try to make the paint stream centered. Once you have the small bucket filled, put the lid back onto the big bucket. A smaller can will be lighter than a big can. It will take up less space and make it easier to move around and carry up and down a ladder. If you are using a ladder or scaffolding, you should climb onto it now. Leave the big bucket of paint on the ground and take the little bucket with you.
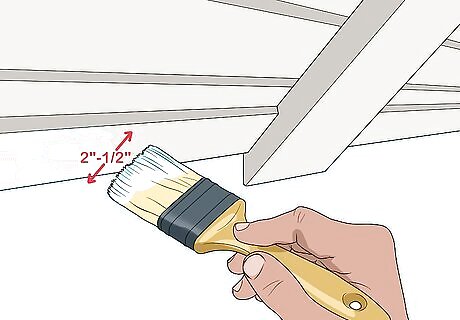
Use a 2 to 2 ⁄2 in (5.1 to 6.4 cm) brush to paint the edges of the ceiling. Apply the paint 2 to 2 ⁄2 inches (5.1 to 6.4 cm) from the top edge of the wall, then work the paint towards the edge. Feather the paint towards the ceiling by a few inches/centimeters. If you are painting the walls, you can extend the paint a few inches/centimeters down the walls. The wall paint will cover it up. Feathering paint is where you run your brush across the painted area towards the unpainted area. Move the ladder around as you work your way from 1 side of the room to the other. If you can't reach the ceiling, mount your brush onto a telescoping extension pole. Secure the brush with zip ties and packaging tape.
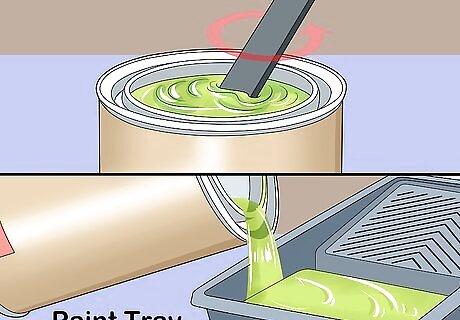
Stir the paint again and pour it into a paint tray. Climb off of the ladder and open the big can of paint. Give the paint a stir in case it settled, then pour the paint into a paint tray. Only pour as much paint as you need to in order to cover the bottom of the tray. Keep the rest of the paint in the can so that it does not dry out, and cover the can with a lid. Be sure to replace the lid on the big can of paint so that it doesn't dry out.
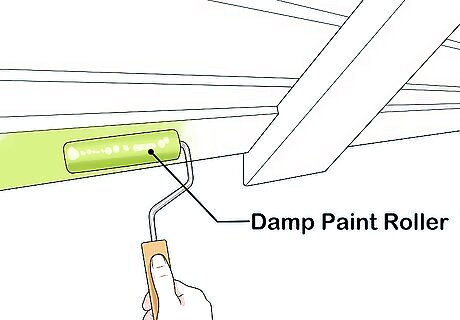
Apply the paint to the ceiling with a damp paint roller. Dampen your paint roller with a wet towel first. Roll it across the paint tray, then roll it across the ceiling. Start at 1 corner of the room and work towards the other in 4 by 4 ft (1.2 by 1.2 m) sections. If you have a textured or popcorn ceiling, use a paint roller that has a ⁄2 to ⁄4 in (1.3 to 1.9 cm) deep nap. If you have a flat ceiling, you can use a basic paint roller with a short nap. After every couple of sections, go over the painted area with a clean, damp roller. This will smooth the paint out. If your paint roller doesn't extend, mount it onto a telescoping extension pole, just like you did with the paint brush. You can also use a ladder.
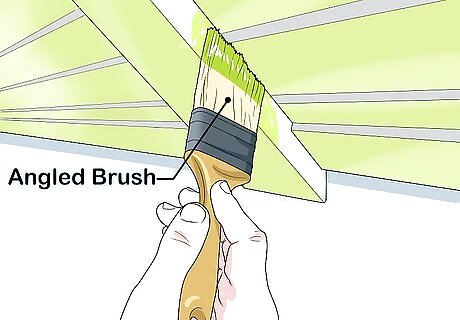
Use an angled brush to paint around the fixtures. Mount your brush onto a telescoping pole. If the pole does not have a special attachment for the brush handle, secure the brush handle with zip ties and packaging tape. If your ladder or scaffolding is tall enough, then you may be able to use the brush as-is without mounting it onto a telescoping pole.
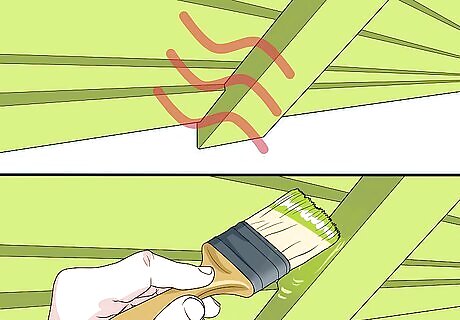
Let the paint dry, then apply a second coat, if needed. You only need 1 coat of paint if you are applying a light color over a light color. If you are applying a light color over a dark color, or if you are using a dark color, you will need at least 2 coats of paint. Once the paint dries, you can remove the painter's tape. Let each coat dry before applying the next coat. It may take at least 1 to 2 hours for the paint to dry, depending on the brand and how humid the weather is. Some paints require a longer curing time of 2 to 3 days.


Comments
0 comment