views
Gathering Your Supplies
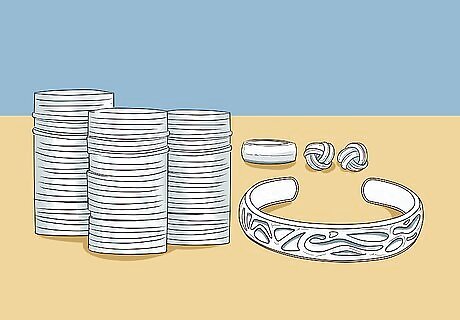
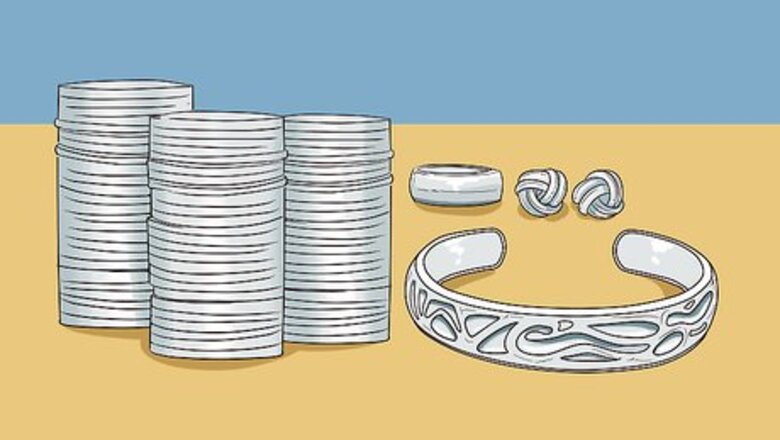
Secure items to melt. You need to find some items to melt down. Luckily, although silver is considered a rare metal, it is fairly common in our day-to-day activities. Some of the most common uses for silver are jewelry, although we can still find a substantial amount of silver coins, as well as silver in industrial applications. Traditional uses for silver include creating coins, jewelry, decorative items and cutlery. These items are most commonly used when melting silver. Industrial uses of silver include batteries, ball bearings, soldering or brazing other metal items, as an industrial catalyst to create chemicals, and in electronics such as circuit boards, membrane switches, and television screens. Be careful when melting anything that might contain hazardous materials. Emerging technologies which utilize silver include medical, solar energy, and water purification. Silver minimizes bacterial growth by interrupting the ability of the bacteria to form chemical bonds and is used to prevent the spread of bacteria and to promote healing.
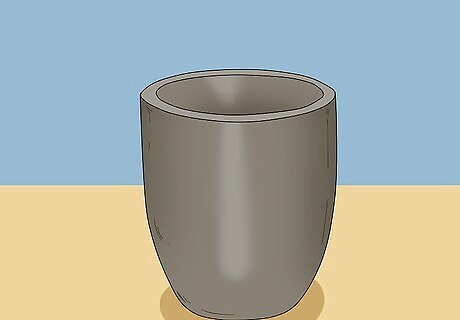
Get a foundry crucible. A foundry crucible is a container that is used for metal production. Crucibles are made of clay, aluminum, graphite, and silicon carbide. They are extremely heat resistant and will not melt under the same circumstances as the metal you are trying to melt down. Make sure you get a crucible that is an appropriate size for your project and is in good shape. Avoid old crucibles with cracks or excessive wear. You will use your crucible to store your silver as it melts and turns into its molten form. You will then poor the molten silver out of the crucible into a cast or mold. You can purchase a foundry crucible at a local casting supply store or at many online retailers.
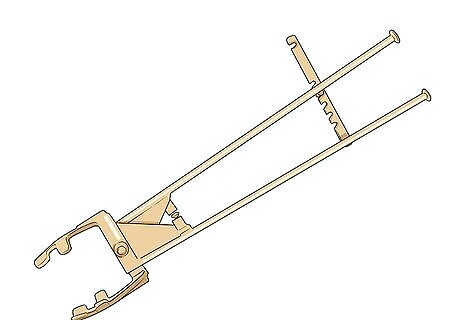
Find some good heavy-duty crucible tongs. Crucible tongs will be used to move your crucible if you need to. These are an important element, because your crucible will be way too hot for you to touch it with your hands or even with gloves. Make sure: Your tongs are rated to be used with a crucible. Your tongs are in good working order. Your tongs are large enough to move your crucible. Purchase your crucible tongs at local hardware or metal casting stores or online.
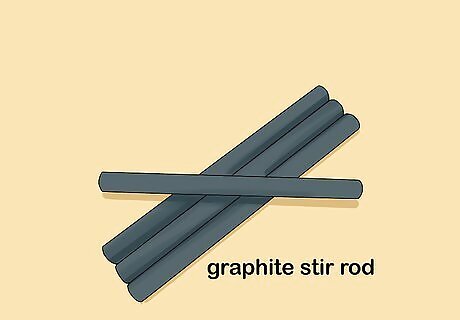
Buy a graphite stir rod. You should get yourself a good graphite stir rod. You’ll use the stir rod to stir your molten silver and to make sure that it is completely melted before you cast it in a mold. Make sure you get one that is rated properly. Make sure you buy one that is long enough for whatever level of melting you’ll be doing. Purchase your graphite stir rod at a local casting supply shop or online.
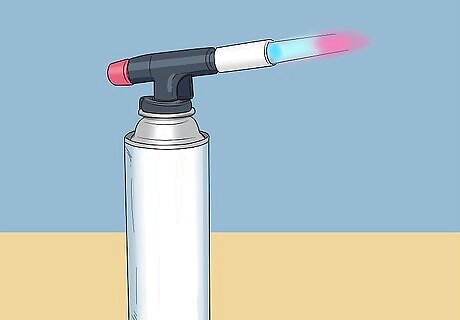
Secure a furnace or a blow torch. The furnace or torch is what you’ll be using to heat your silver to its melting point. As such, the furnace or blow torch are critical items in melting silver. Depending on the amount of melting you’ll be doing, you can choose between a furnace or torch. Consider: A furnace might be prohibitively expensive if you are only doing small-scale melting like several ounces every couple of weeks. However, if you're doing projects every weekend or more often, you should consider a furnace. A blow torch might be inefficient if you are melting substantial amounts of silver. If you are starting out, you might want to start with a blow torch and then move up to a furnace once you are committed to melting silver. These items may be purchased from a metal casting supplier, specialty hardware stores, or online.
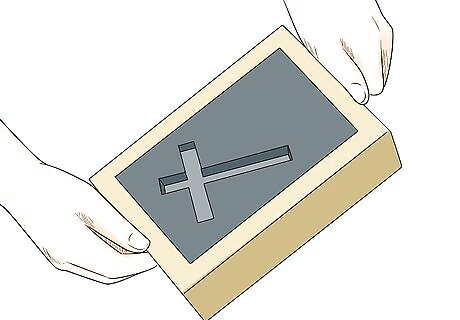
Make or create a mold or cast. Molds and casts will be the way you shape your molten silver to create a final product. As a result, they are critical for your silver melting operation. Consider: Molds and casts can be made from wood, certain alloys, ceramic, or clay. Molds and casts may be one of the most inexpensive of your supplies. You can make your own molds or casts or buy them from specialty casting stores in your community or from online retailers. To make your mold: pick a material and like wood or clay. Carve or shape your material to the size and using the detail desire. If you're using ceramic or clay, you'll need to fire them at temps over 1,000 degrees Fahrenheit or 537 degrees Celsius.
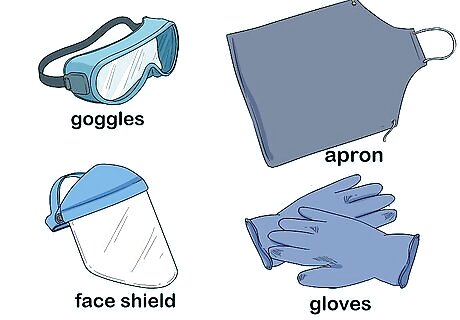
Purchase safety equipment to protect yourself. Melting silver, or any other metal for that fact, is potentially very dangerous. You need to get yourself some good safety equipment to protect yourself. Remember to take lots of care when you melt silver, and do not do so unless you are properly protected. Make sure to get: Industrial-grade goggles that are rated to protect against molten metal. Industrial-grade gloves rated to protect against molten metal. Industrial-grade apron rated to protect against molten metal. Industrial-grade face shield rated to protect against molten metal. You can purchase safety equipment from metal casting supply shops or from online retailers.
Melting Your Silver

Put on your safety gear and secure the area. Before you even start the process of melting and molding your silver, you need to take out and put on all of your safety gear. Melting any type of metal is a very dangerous activity, so there is no reason to take any chances. Put on your goggles, your gloves, your apron, and your face shield. Take out your skimming rod and any other materials you'll need during the process. Inform family or roommates about what you're doing and lock up any dogs or other pets in an area far from your smelting workshop.
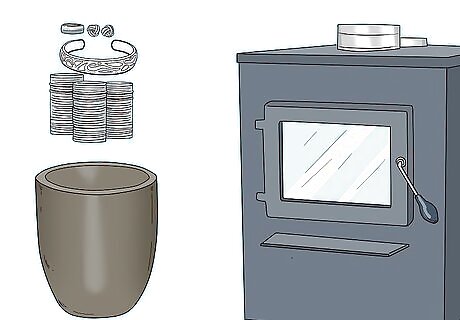
Place the crucible with the silver object on or in your furnace. The first thing you need to do is to put your silver in the crucible and place it on or in your furnace. This will vary depending on the type of furnace you have. You don’t want to heat up your furnace and then place your crucible inside, as this will increase the chance of you hurting yourself.
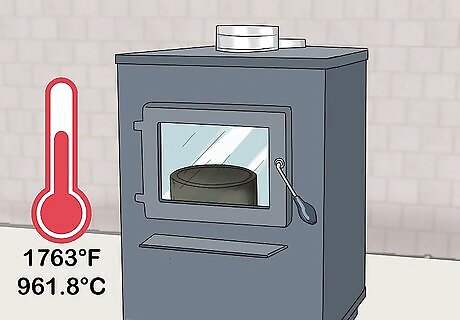
Heat the furnace to a temperature which exceeds the melting point of silver. The first thing you need to do is heat your furnace to the appropriate temperature. Depending on what type of furnace you have, this might take a little or a lot of time. Consider: The melting point of silver is 1763 degrees Fahrenheit or 961.8 degrees Celsius. Monitor the temperature inside your furnace as it heats. Most furnaces include a temperature gauge to help you monitor it. If not, have one installed. Don’t remove the silver until it is completely melted. Only use your furnace outside or in an extremely well-ventilated area designed for foundry work.
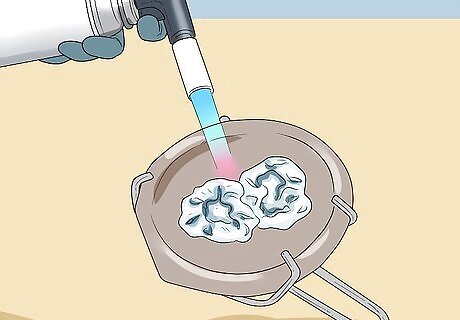
Apply your blow torch to the silver, if you’ve chosen to use a blow torch. If you’re using a smaller crucible and are melting on a smaller scale, you might have chosen to use a blow torch to melt your silver. If this is the case, take your blow torch and apply it to the silver. Keep your torch on the silver and it will slowly heat the silver up. Make sure you know how to use your blow torch before you start to melt your silver. Direct the flame directly at the silver item. Temperature will be difficult to monitor with a blow torch. However, many blow torches come with a temp. gauge attached. If you don't have one, just wait for the silver to melt completely. The amount of time it takes to melt the silver will depend, based on the alloy composition, as well as the size of the object. Break large silver objects into smaller pieces and melt them in small batches to allow a more even distribution of heat which results in a quicker melting process. For more on melting silver with a blow torch, see: http://www.danielicaza.com/2011/03/first-entry-how-to-cast-ingot-fine.html
Molding Your Silver
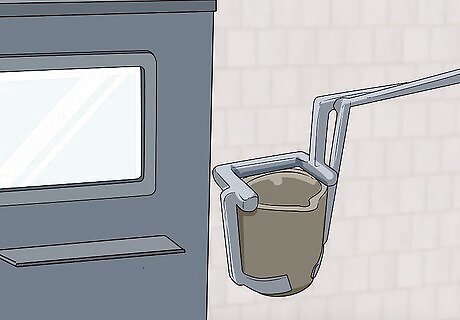
Remove the crucible once the silver has melted. Once your silver is melted, you’re going to need to remove your crucible from the furnace (if that’s what you’ve used), and get ready to cast your molten silver. Be careful doing this, as it is potentially dangerous. Make sure to: Put on your gloves. Take your heat resistant tongs and grip the crucible. Place the crucible next to your cast or mold. Make sure you wear shoes and your other safety equipment. If you’re using a blow torch, take your tongs and move the crucible next to the mold you’ll be using.
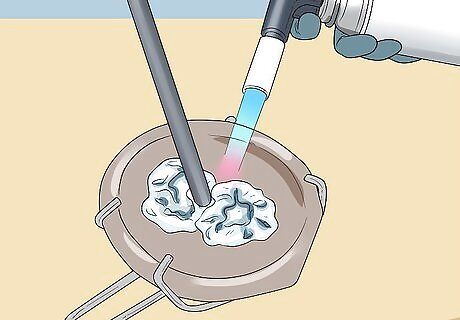
Skim the slag off of your sliver. Using your graphite stir rod or another tool, skim the slag off the top of your molten silver. Slag is impurities and other materials that have separated from the silver during the melting process. Slag might be a result of non-silver items being melted with silver, or it may be the result of the silver having impurities in it. Regardless of the reason, always skim and remove your slag before you pour and cast your silver. Take your rod and gently and evening slide it over the top of the molten silver. Then slide the flat side of your rod underneath the slag and lift it out of the silver. Place your slag someone safe, as you might want to melt it again to remove excess silver.
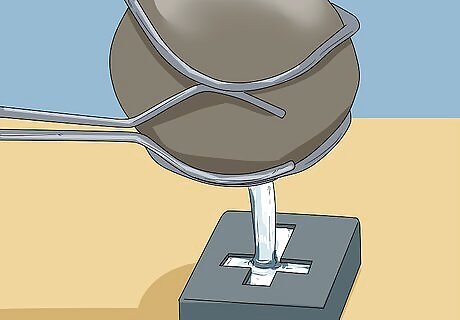
Pour the silver into the mold, quickly. Once you’ve removed the crucible from the furnace, and sat it next to your mold, you should quickly pour the molten silver into the mold. You need to do this quickly while the silver is still liquid. Don’t move too quickly, as you don’t want to spill the silver or hurt yourself. If the silver does begin to firm up into solid state, just put it back into the furnace to heat it back up. Melted silver can be poured directly into molds, or casts, to create a number of items including jewelry, decorative items, cutlery, tableware, and containers. Pour very carefully and slowly so that you get all of the silver into the cast or mold and that you get the proper shape and angles that you want. Depending on the size of your silver casting project, you may need to utilize centrifugal force to allow the silver to reach all areas of the cast. Wait for your silver to cool and harden.
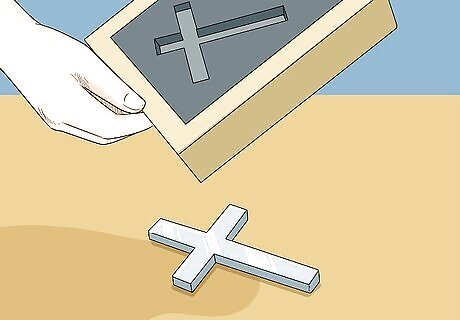
Dump your silver out of the mold. Wait a few minutes for your silver to cool. This could take from 2 minutes to 20 minutes depending on the size and depth of your silver. Ultimately, judging when to dump your silver is an art and depends on a number of factors including the type of mold. In the end, you'll learn by trial and error, but consider: Depending on your mold, it might be better to wait longer and having to break your mold instead of recasting the silver. Once the silver appears dry, give it another minute for the interior to cool off a little more. When dumping your silver, make sure you are wearing hand safety mitts, your apron, and even head gear. This will protect you from splash back if you do empty the mold too early. Pick up your mold and bang it on a hard surface. It should come right out.
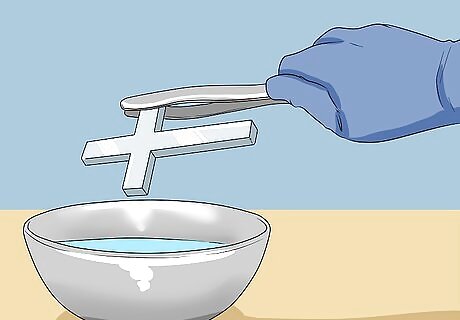
Quench your silver. After you've dumped your silver out of the mold, you'll need to quench your silver. Quenching is the process in which silver is cooled and hardened by being submerged in water. This is the final stage of smelting silver. Take your tongs and pick up the silver bar or item. Slowly submerge the silver in clean/distilled water. As you submerge it, the water around the silver will boil and will produce steam. Leave the silver submerged for several moments -- until the boiling and steam have subsided. Remove your silver from the water and enjoy!


Comments
0 comment