views
Creating Basic Beads
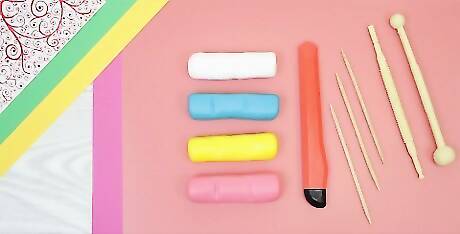
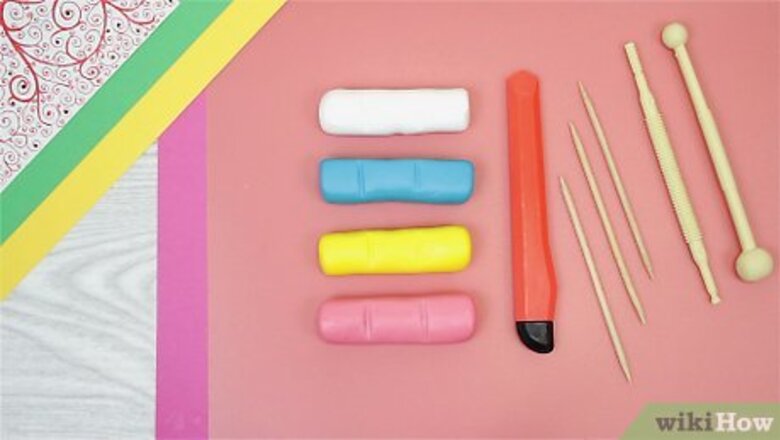
Assemble your tools. To create beads, you will need polymer clay in colors of your choosing, a hard and flat surface, a flat blade or craft knife, and a toothpick. Once you have created your beads, you’ll also need to bake them and finish them (see part three). A piece of tile or glass works well for the hard, flat surface. Instead of the toothpick, you can also use an electric drill with a one-eighth-inch drill bit to drill holes in the beads.
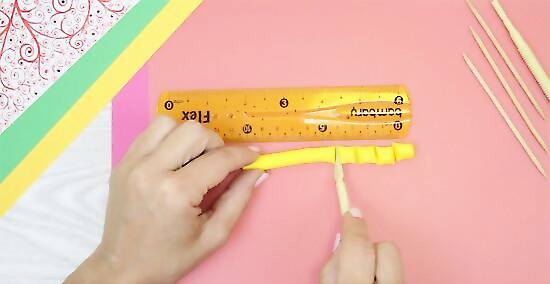
Size your beads. To create uniform beads that are all the same size, cut off a one-inch (25 mm) slice of clay and roll it out into a sheet that’s one-eighth inch (three mm) thick. Use a shape cutter to punch out chunks of clay that are all the same size. If you want beads that are different sizes, you can either use cutters in varying sizes, or simply cut chunks of clay from the block using your eye to measure. The great thing about homemade beads is that you can make them any size, shape, or design you like!
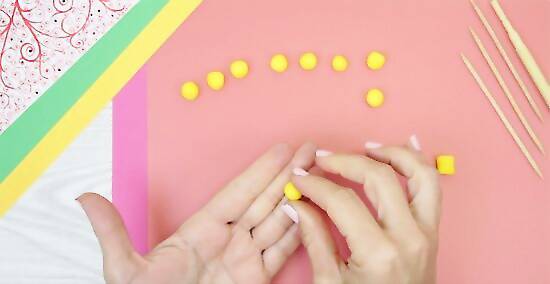
Condition the clay. Work the chunks of clay in your hands by rubbing each one between your palms. Conditioning helps to warm the clay, gets rid of cracks, and makes the clay more pliable and easier to shape and handle. Always wash your hands before rolling white clay to avoid transferring dyes or colors to it.

Shape your beads. To create spherical beads, roll each bead individually between your palms to shape them into spheres. You can also make them more ovoid, roll them into cylinders, or shape them into cubes or other shapes. Always shape beads on a hard, flat surface.
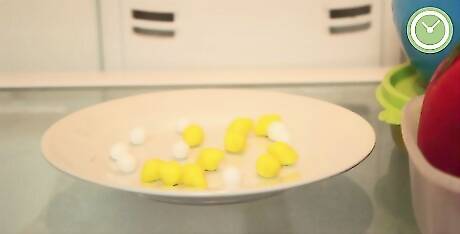
Refrigerate the beads. Stick all your beads in the fridge for 10 to 15 minutes. This will allow the clay to firm up, which will make it easier to punch holes in them.
Pierce holes in the beads. In order to be able to string your beads, you have to poke a hole in each one before it’s baked. With a toothpick, create a hole through the center of each bead. Don’t push the bead into the toothpick or shove the toothpick through the bead, as this will warp the bead. Instead: Screw the toothpick into the bead by rolling it between your fingers as you apply gentle pressure. Once you’ve worked the toothpick all the way through, pull it out and reinsert it through the other side to clean up the hole. If you are going to use a drill to create holes after baking, skip this step and move on to baking. EXPERT TIP Sarah Stearns Sarah Stearns DIY Specialist Sarah Stearns is a DIY Specialist, Artist, Maker, Blogger, and the Founder of SarahMaker.com. With over ten years of experience, she specializes in fun, approachable crafts like crocheting, making polymer clay jewelry, quilting, and creating Cricut projects. Her work has been featured in several publications, such as Scientific American, Good Housekeeping, Vox, and Apartment Therapy. Sarah holds a BA in Psychology from Vanderbilt University. Sarah Stearns Sarah Stearns DIY Specialist Clay is perfect for making jewelry. Polymer clay is a versatile material perfect for making all kinds of jewelry pieces, from beads to pendants to mini charms. Since it can be easily molded and shaped, polymer clay lets you create most any design you can imagine if you just envision it and bring it to life.
Making Decorative Beads

Create your own spiral cane. A cane is a log of clay with a design that runs through the center. When the cane is sliced into discs, each disc has the same design in the middle. Canes come in various shapes, such as cylindrical, cubic, triangular, and star-shaped. Choose three different clay colors and cut off a half-inch (12 mm) slice from each block. Roll them all into individual cylinders of the same width and length. Place the three cylinders together in a triangular log and twist the colors together. The more you twist, the more variation there will be in the cane. Roll the log back into a cylinder, and use your knife to slice off discs. Use the discs to create your beads.
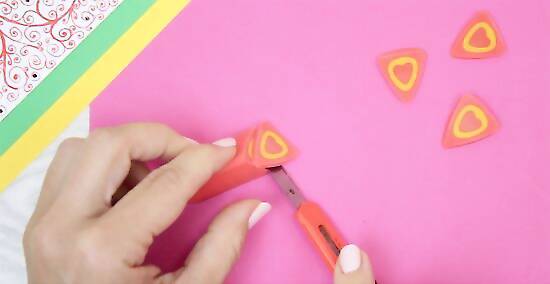
Use pre-made cane. You can buy cane that’s already got designs woven in, and this cane can be laid over top of a bead mold to create unique and intricate beads. For the bead molds, you can either roll your own basic beads as before (don’t poke holes just yet), or you can use wooden beads for a more lightweight finished product. Refrigerate the cane for 10 to 15 minutes before slicing it. Cut slices from the cane that are about the thickness of a nickel. The number of slices you need for each bead will depend on the size of the bead and the design you’re going for. Warm the slices in your hand and arrange them around the bead mold. Gently roll the wrapped bead around in your hand to seal the seams together. You can also use a knitting needle to roll the seams and seal the cane joints. When you have sealed the seams, shape your bead and poke the holes. If you used a wooden bead as the mold, poke small holes in the cane to access the hole that’s already in the wooden bead.
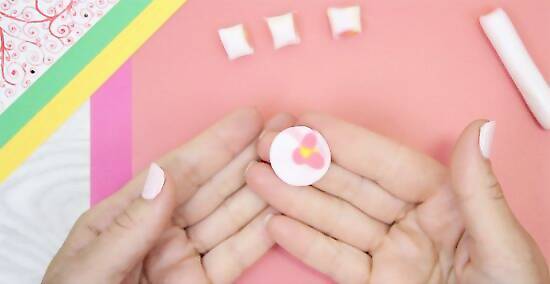
Make discs. Form your chosen clay into spherical balls by rolling it between your palms. On a hard, flat surface, place the ball between two layers of parchment paper. Use another hard, flat surface, such as a small sheet of acrylic or a stamp block, to apply even pressure to the clay. Press the clay until it forms a disc that’s about one-eight inch (three mm) thick. Refrigerate for 10 to 15 minutes. Once the clay has firmed up, remove it from the parchment paper and use your toothpick to poke a hole in each disc.
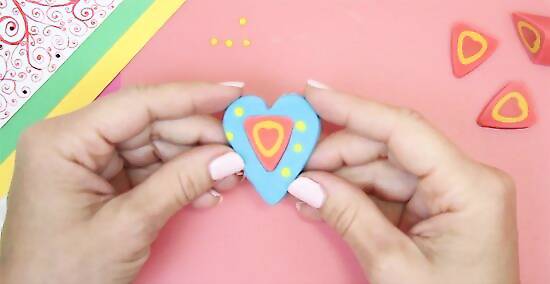
Create a pendant. Making a bead pendant is a combination of the basic bead and the cane bead process. Start by slicing a half-inch (12 mm) block of clay. Condition it by rolling it around in your hands. Roll it out into a sheet that’s about one-eighth inch (3 mm) thick. Then, decorate that slab with slices from your desired cane designs, just as you did when you were decorating your bead mold. Use your hands to apply even pressure and press the cane into the clay beneath. Use a roller or knitting needle to join the seams of the cane together. Use a cutter to punch out your desired shape. You can also use a sharp knife to cut out a custom design. When you have your shape, punch a hole in the pendant.
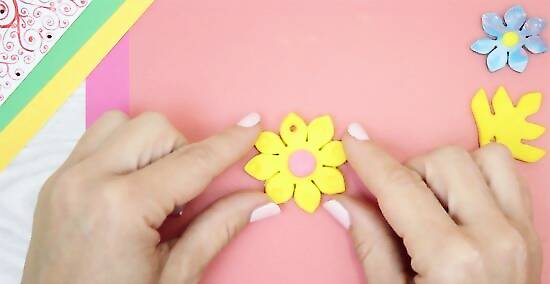
Use a bead roller. Alternatively you could use a bead roller. Measure out your clay using the guide included, then follow the instructions for many identical beads.
Finishing Your Beads
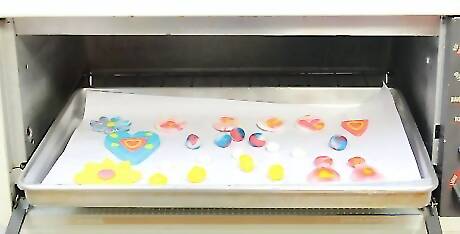
Bake them. No matter what kind of beads, pendants, or discs you made, they must be finished with baking. This will set the clay so that the beads maintain the shapes and designs you’ve created. Always preheat your oven before baking, and follow the manufacturer’s instructions regarding baking times and temperatures. To bake your beads, you can: Arrange them on a parchment-lined baking sheet. Place the beads on a length of firm, straight wire. Then, suspend the wire from an oven-safe baking dish and bake the beads like that. Once your baking time is up, remove the beads from the oven and allow them to cool completely before handling them.
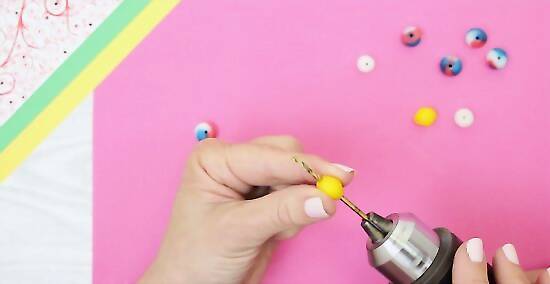
Drill holes. In case you chose not to poke holes in your beads before baking, now’s the time to create the holes. Work with each bead individually. Hold a bead steady on a hard surface with your thumb and forefinger. With your other hand, use the drill to carefully drill a hole through the center of the bead.
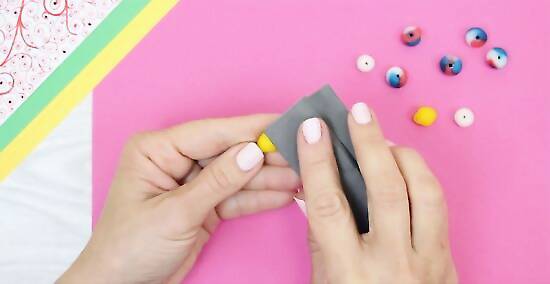
Sand each bead. Use a 400-grit (or higher) wet/dry sandpaper to remove any blemishes or fingerprints.
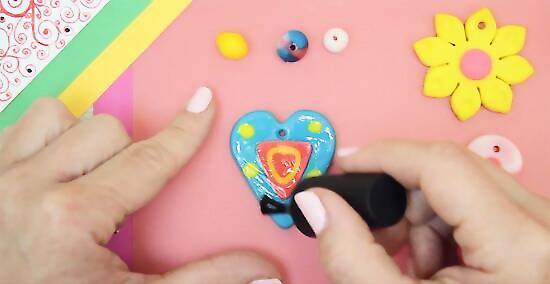
Coat your beads. Since polymer clay forms a nice, durable finish when it cures, sealing your beads isn’t necessary. However, if you choose to seal your beads, use a clean brush to apply a thin layer of polyurethane varnish to each bead. Allow them to dry before creating your jewelry.


Comments
0 comment