views
Using an Inflatable Air Mattress
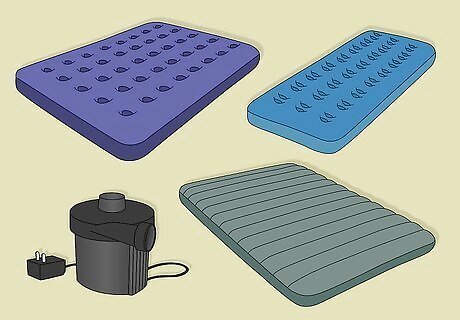
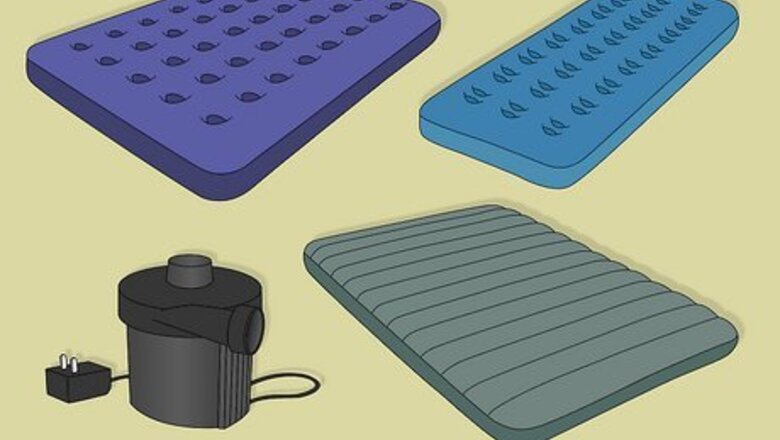
Choose which size to buy. Air Mattresses, like regular mattresses, come in twin, full, queen, and king sizes. It’s probably best to splurge and get the full or the queen. Even if you only plan on having one person sleep on it, the twin is still quite small and may not offer enough room to spread out comfortably. Make sure to buy one that has an electric air pump. Many come with this built right into the mattress. Blowing up an air mattress yourself is arduous and time consuming. More expensive doesn’t always mean better when it comes to an air mattress. Much of the comfort will come from how you set it up, so don’t feel like you need to spend an arm and a leg. A decent full sized air mattress can be purchased for anywhere from $45 to $75 dollars.
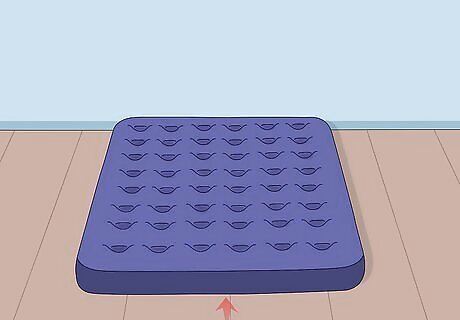
Set the mattress up against a wall. Unless your air mattress has a headboard, you’ll want to be sure there is a wall behind it. This will act in place of a headboard and keep your pillows from falling back behind the bed in the night. You can also put the mattress up against some furniture like a couch or a regular bed. Keep the mattress away from drafty windows. Don’t place it too close to a radiator. Not only will this make you too warm at night, too much heat runs the risk of damaging the plastic of the air mattress.
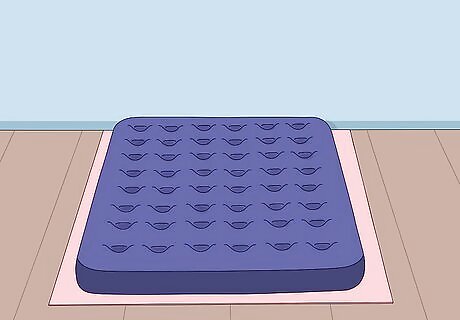
Place the air mattress on a soft surface. Most air mattresses have vinyl or plastic underneath to keep them from moving. This can make squeaking noises at night and isn't always the most effective at keeping the mattress in place. Put your mattress on carpet if you can. You can also put a blanket or yoga mat under the mattress to help keep it silent and stationary.
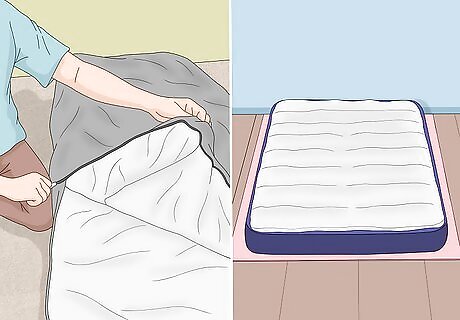
Use sleeping bags. Unzip a sleeping bag and place it on the mattress. This will act as a cushion to make the bed softer. It will also help you keep warm as the plastic of some air mattresses can become cool at night. Cover it with a fitted sheet to keep it in place.
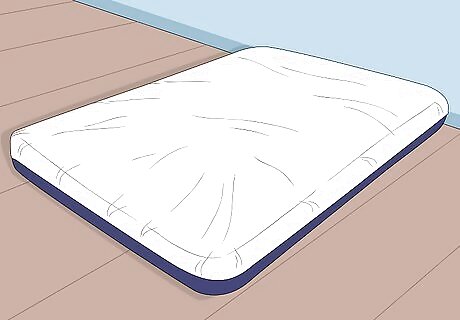
Make the bed as you would a regular bed. You should treat an air mattress like any other bed when making it up for the night. Start by putting a fitted sheet on it. Then lay out a regular sheet and a blanket. You can tuck them under the mattress to help them stay put. Finish it off with a warm comforter and some pillows.
Making a Floor Bed Out of Pillowcases
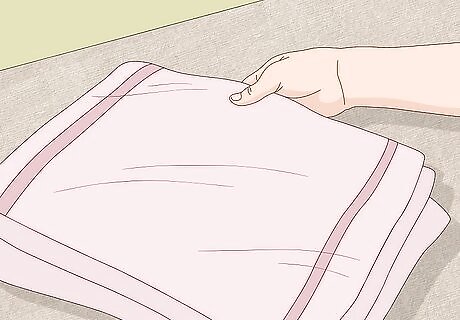
Get some old pillowcases. A pillowcase bed is a long mattress-type cushion that you can spread out on the floor to lay on. By sewing some pillowcases together and stuffing them with pillows you should have a cushion long enough to accommodate your whole body. You’ll need at least five pillowcases for this project, but depending on how tall you are and how big the pillowcases are, you may need to add more. Lay them out end to end on the floor and measure them to be sure you are making a pillowcase bed that is big enough. You can use pillowcases you have around the house or buy new ones from the store. They should be standard size and relatively sturdy. Consider going to a thrift store if you don’t want to use the pillowcases in your house or buy brand new ones. Ask family and friends if they have any old pillowcases they would like to get rid of. You can also use a twin sized bed sheet. This will require a little extra sewing.
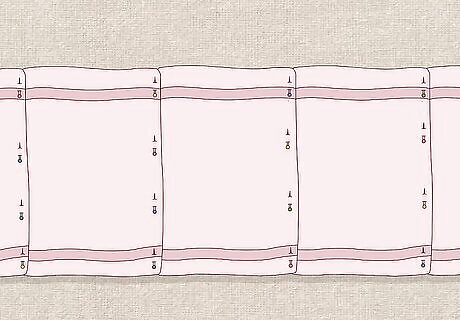
Lay one pillowcase on top of another. Line them on all four sides and make sure that the open ends are both facing the same direction. Pin them together on one of the long sides. This will be the side you end up sewing together.
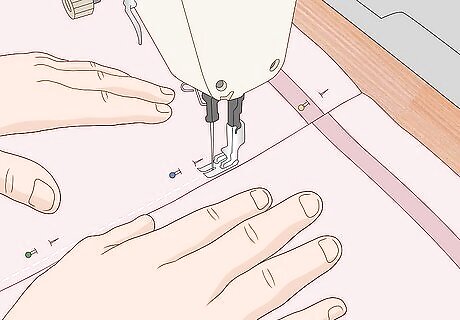
Sew the pillowcases together along the long side that you pinned. Try to stay as close to the edge as you can, sewing the cases together about half a centimeter from the edges. You can do this by hand or use a sewing machine.
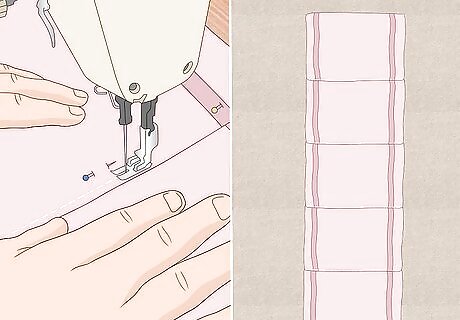
Repeat with the rest of the cases. After you have sewed the first two cases together unfold them on a table. Make sure your stitch is straight and close to the edge. Then, take the next pillow case and lay it out on top of one of the two connected ones. Pin it on the long side again like you did the first time and sew. Repeat this process until all five pillow cases are connected edge to edge. Make sure all the open sides are facing the same way. Make sure you are always sewing on the same side. The side with the stitching will be the bottom, leaving the top looking clean. Always unfold the pillowcase bed after attaching each case. You should only be adding the next case on top of the one preceding. Otherwise you will end up stitching more than two together and ruin your pillowcase bed.
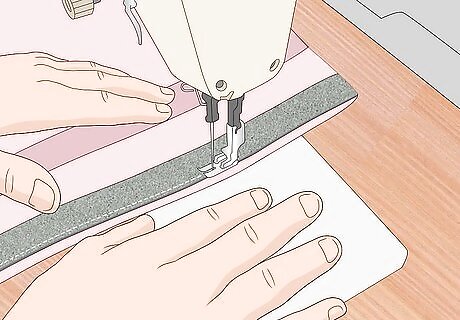
Attach some velcro to the openings. You can buy strips of velcro at hardware and craft stores. Sew it into the openings lengthwise all the way across. Since you’ll be putting more pressure on your pillow bed than a normal pillowcase, it will help to have something extra in place to keep the pillows from sliding out. If you are a little craftier you could also sew large buttons at the openings. Including a zipper would make it even more secure.
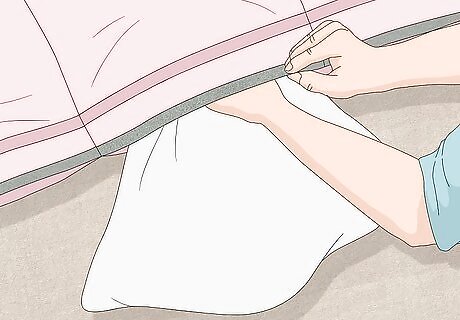
Insert the pillows. Once everything is assembled, stuff each of the five cases with pillows. Try the pillow bed out. If you are using old pillows, they may not all be even. You can experiment with which pillow feels best in which position. Some larger or fluffier pillows might make it difficult to close the ends of the pillow cases. This is fine, just keep it in mind.
Using Blankets and a Yoga Mat
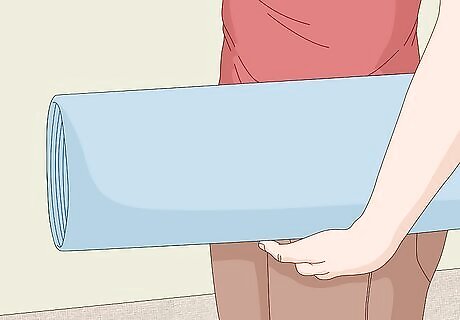
Get a yoga mat or sleeping pad. Yoga mats are soft and designed so that they don't slide around when rolled out, especially when used on a wood floor. Upcycling a Yoga mat will keep the upper layers of your bed from moving around and cushion you from the hardness of the floor. A sleeping pad is a good alternative to a yoga mat. Sleeping pads are foam or inflatable pads big enough to accommodate one person and are often used for camping. They are usually easy to roll up and store. You can get them at outdoor and wilderness stores or online.
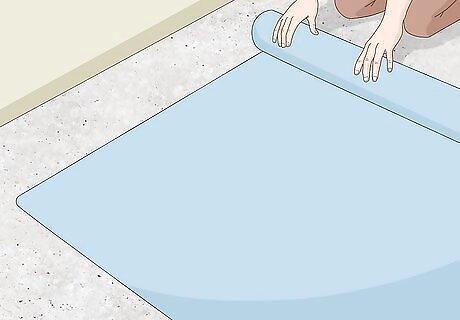
Lay out your yoga mat or sleeping pad. This should be the first layer of your floor bed. It will give your bed its shape and provide you with some cushion and support so you are not directly on the floor. Choose a place away from drafty windows, open doorways, or heaters.
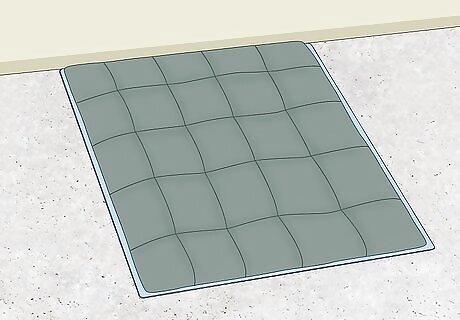
Lay out a sleeping bag on top of the mat. If you have one, a sleeping bag can add a lot of cushioning to a bed made on the floor. You can choose to put it on top and get in it, but if you have other blankets a sleeping bag makes a great soft base for your bed.
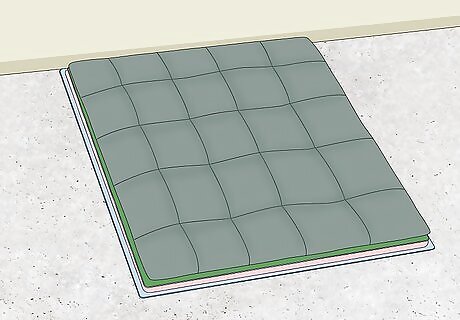
Add layers. Since making a bed on a yoga mat doesn’t provide much cushioning, the more layers of blankets you can add the better. Start with some sheets and soft blankets. Avoid using anything knitted or a blanket with a crazy design on it that might have bulging areas that will make the bed feel uneven. Use as many as you can spare.
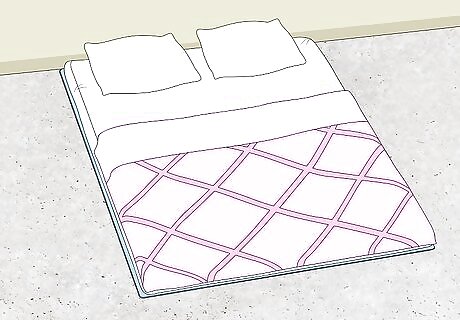
Make the rest of the bed up like normal. Add some sheets, a blanket, and a quilt. The other blankets are there to create a soft surface for you to sleep on. These should be set aside for last because you will use them to cover yourself while you sleep.


Comments
0 comment