
Adding furniture from the Autodesk Library
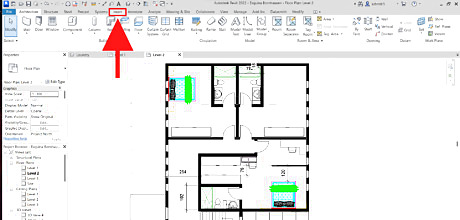
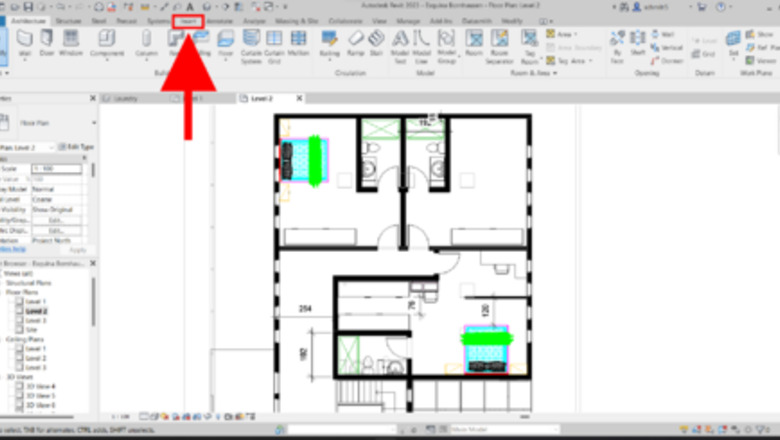
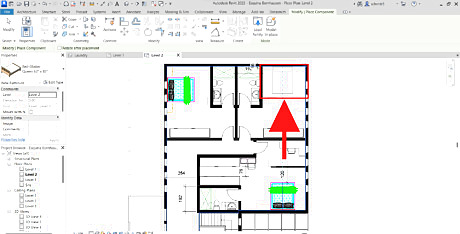
Select the “Insert” tab. With your model open on Autodesk Revit, select the “Insert” tab at the top.
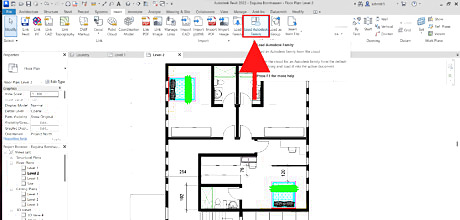
Select “Load Autodesk Family.” Just under the “Add-Ins” tab, select “Load Autodesk Family.
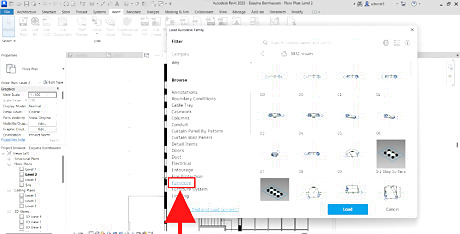
Select "Furniture." On the pop-up window, select furniture to see available models. You can find additional furniture in “Furniture System” and “Specialty Equipment”.Selfurniture.png
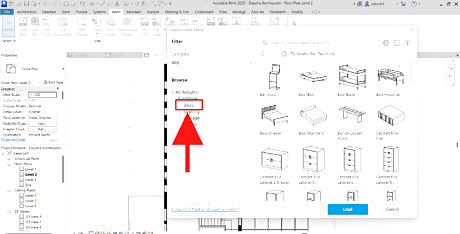
Select your preferred category. From the drop-down, select your preferred category of furniture.
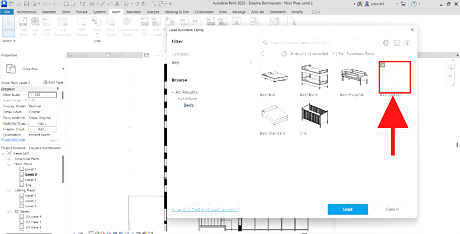
Select the furniture file. From the options available, select the furniture you would like to insert into your model. You may select multiple items from the same category to load. If you select items from different categories, only the last category will load.Selpreffurniture.png
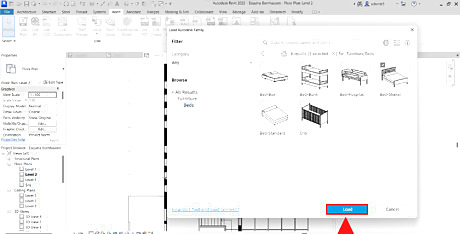
Select “Load”. Once you have made your furniture selection, click on “Load” to add it to your model.
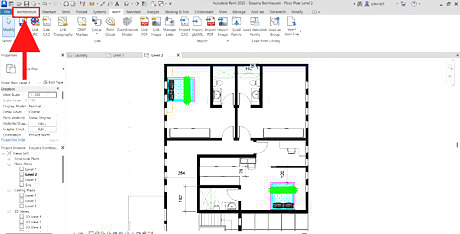
Select the “Architecture” tab. On the top left corner, select the “Architecture” tab.
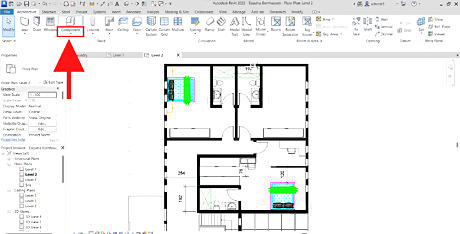
Select “Component”. Just under the “Steel” tab, select the “Component” arrow.
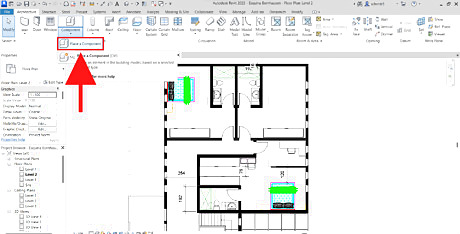
Select “Place a component”. From the options available, select “Place a Component.” The other option, “Model in Place”, allows you to create your own furniture design.
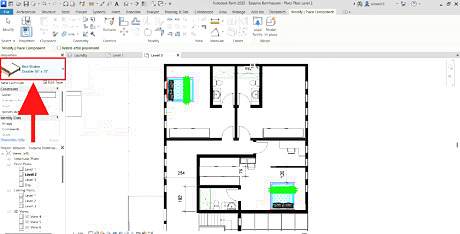
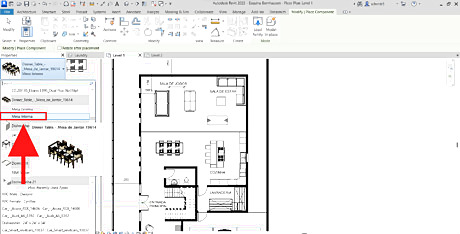
Select your component. On the properties panel, select the furniture component of your choice. Typically, recently loaded components will be automatically selected. If you selected multiple items, you may have to browse for each of them. For that, use the scroll bar or the search box.Selprefurniture.png
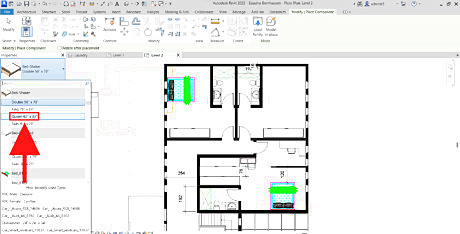
Select a size/type. For the component you chose, select a preferred size or type. Autodesk components typically have multiple sizes and types available to choose from. This is not the case for every item.Selsizetype.png
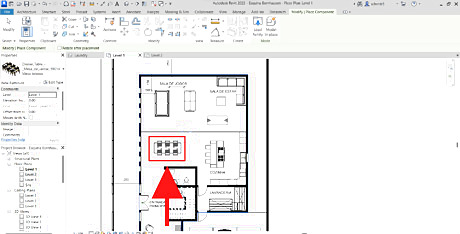
Place the component. Once you have selected the size/type, you may place the component where you would like it to be in your project. You can do so by left-clicking the mouse in the desired area. Use the space bar to rotate the component 90° at a time. Placefurniture.png
Adding furniture from an external file

Select the “Insert” tab. With your model open on Autodesk Revit, select the “Insert” tab at the top.
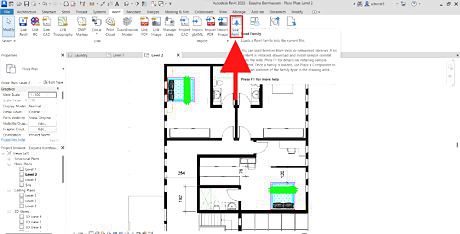
Select “Load Family.” Just under the “Manage” tab, select “Load Family”.
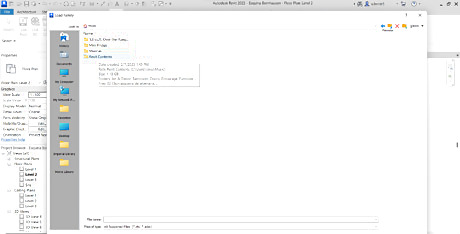
Browse through your files. To find the furniture you wish to add to your project, browse through your computer files. You need to have pre-downloaded Revit furniture items for this step. BIM Object and Revit City are websites that offer free Revit files of furniture and entourage.Browsefiles.png
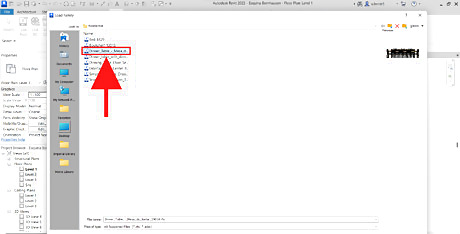
Select the furniture file. From the options available, select the furniture you would like to insert into your model. You may select multiple items by holding the ctrl key.Selfurniturefile.png
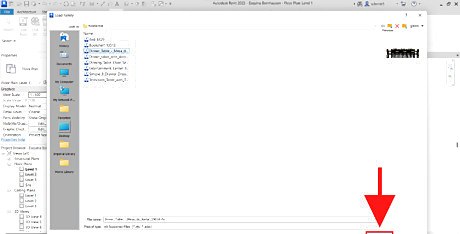
Select “Open”. Once you have made your furniture selection, click on “Open” to add it to your model.

Select the “Architecture” tab. On the top left corner, select the “Architecture” tab.
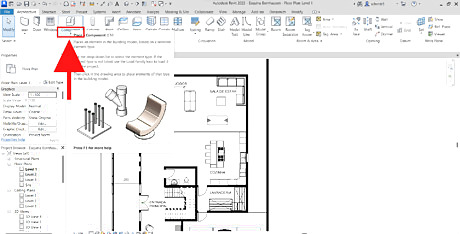
Select “Component”. Just under the “Steel” tab, select the “Component” arrow.
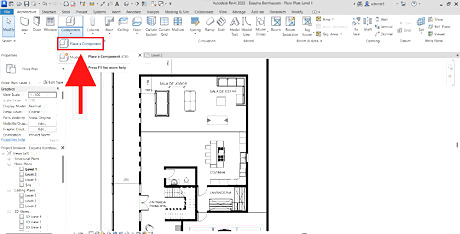
Select “Place a component”. From the options available, select “Place a Component.” The other option, “Model in Place”, allows you to create your own furniture design.Placecomponent.png
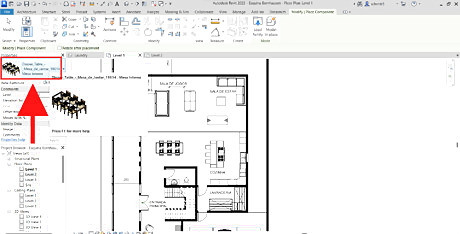
Select your component. On the properties panel, select the furniture component of your choice. Typically, recently loaded components will be automatically selected. If you selected multiple items, you may have to browse for each of them. For that, use the scroll bar or the search box.Selcomponen.png
Select a size/type. For the component you chose, select a preferred size or type. Downloaded components may have multiple sizes and types available to choose from. This is not the case for every item.Seltypesize.png
Place the component. Once you have selected the size or type, you may place the component where you would like it to be in your project. You can do so by left-clicking the mouse in the desired area. Use the space bar to rotate the component 90° at a time.Placecomponen.png


Comments
0 comment