views
Making the Base of the Shell
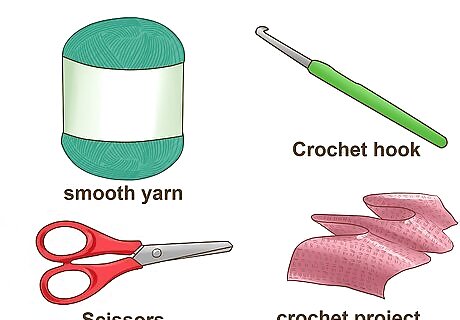
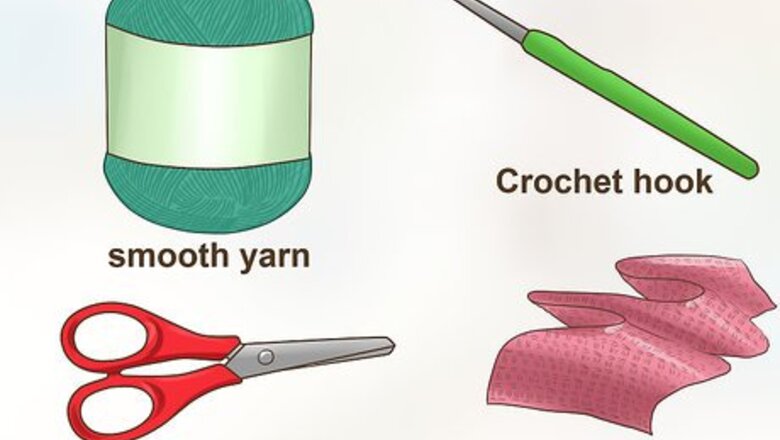
Gather your supplies. The reverse shell stitch is a simple one to do, but you will need to have some basic crochet materials handy. You will need: Yarn in the color and type of your choice. Make sure to choose a yarn that is smooth to ensure that the shells shapes will be recognizable. A fluffy yarn might result in shells that don’t really look like shells. Crochet hook. Choose a crochet hook that is appropriate for the type of yarn you are using. You can check the label to find this information. A crochet project to add reverse shell edging to, such as a blanket, scarf, or hat. Scissors
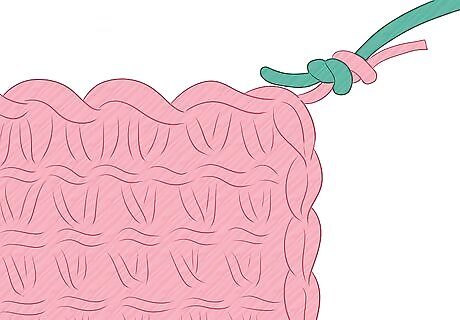
Attach the yarn to the outside of your project. To start edging a project with the reverse shell pattern, you will need to attach the yarn you want to use to the outside of your project. Tie the yarn through a stitch near the corner of your project. You can use this edging pattern for just about any type of project. For example, you could add reverse shell edging to a blanket, scarf, hat, or sweater. If you just want to practice reverse shell edging, then you can also make a chain of 12 or more stitches to practice on.
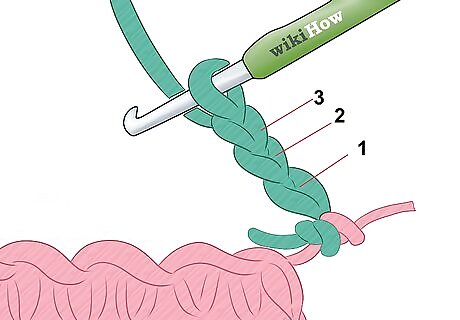
Chain three. Once your yarn is secured to the crochet project or you have made your practice chain, begin your first shell by making a chain of three. To make the first chain, loop the yarn over your hook twice and pull the first loop through the second loop. Then, yarn over the hook and pull through twice more to make the second and third chains.
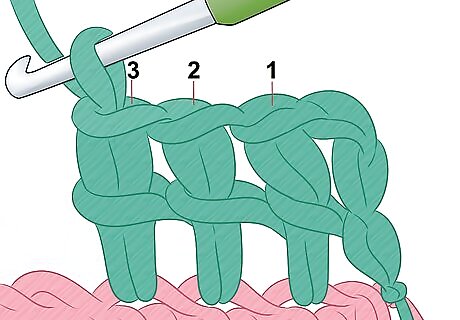
Do three double crochet stitches. Next, you will need to double crochet into each of the next three stitches on the edge of your project or into the chain. To double crochet, yarn over the hook, then push the hook through the third stitch from the hook and loop the yarn over again. Pull through the first stitch, and then yarn over again. Pull the yarn through the next two stitches, then yarn over again. Pull through the remaining two stitches to complete your first double crochet. Repeat twice more in the next two stitches for a total of three double crochet stitches.
Finishing the Shell
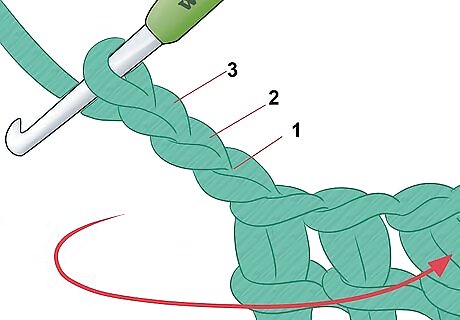
Chain three again and turn your work. After you finish the third double crochet stitch, chain three stitches. Then, turn your work over so you are looking at the back of the stitches you just made.
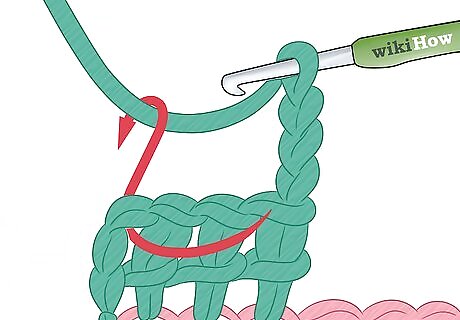
Slipstitch to top of chain of three. Slipstitch to connect your chain of three to the top of the first chain of three you created. This will form a chain loop that you will be working into to create your first shell. To slipstitch, insert the hook into the stitch and then loop the yarn over and pull through both loops on the hook.
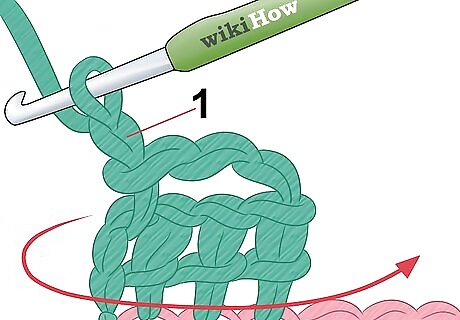
Chain one and turn over. Next, make a chain of one. Then, turn your work over again so that you are looking at the side you started out with.
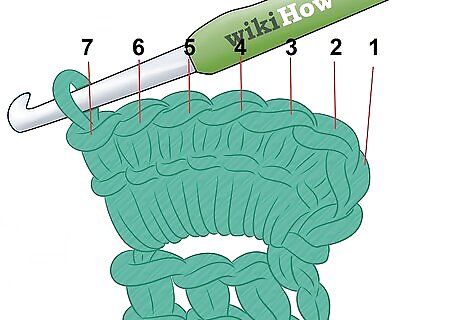
Double crochet seven times into center of chain. To finish the first shell, you will need to double crochet seven times into the chain loop that you created. Double crochet into the space in the loop, not into the chain itself. When you are finished, you will have your first shell!
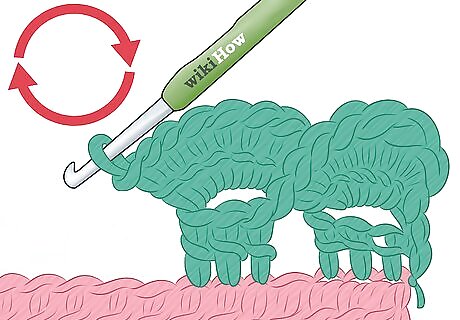
Repeat the process to make more shells. You can continue to make shells along the edges of your crochet project. Start by making a chain of three and then double crocheting into the next three stitches. Then, complete the rest of the steps to create a second shell.
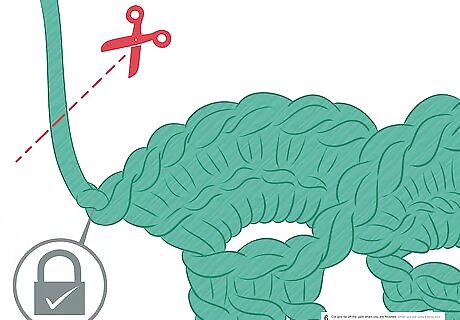
Cut and tie off the yarn when you are finished. When you are done edging your project with the reverse shell stitch, then you can cut the tail of your yarn and pull it through the last loop to make a knot. Then, tie the yarn through the last stitch one or two more times to secure it. Cut the excess yarn near the knot.





Comments
0 comment