views
Using a Flash Drive
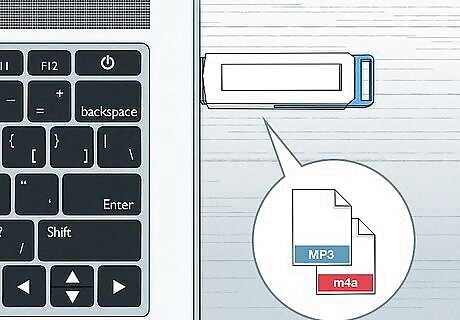
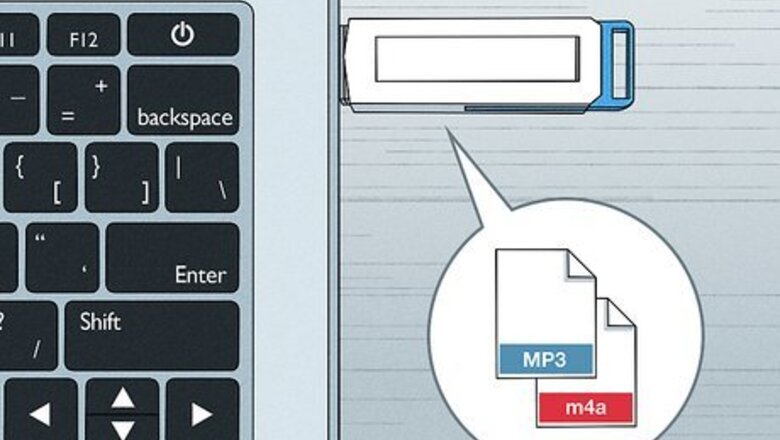
Add the music you want on your phone to your flash drive. Make sure it's in a format that your Android can use, like .mp3 or .m4a.
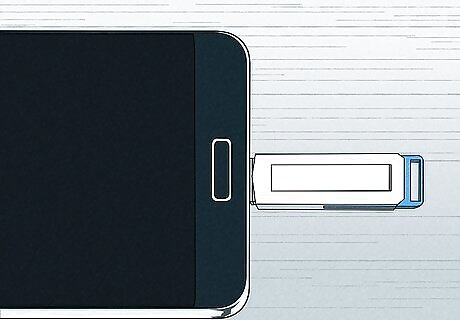
Connect the flash drive to your Android. If you have a compatible drive and phone, like a USB-C flash drive and a phone with a USB-C port, you can just plug the two together. However, if you have an incompatible drive and phone, like a USB-C port and a USB-B flash drive, you'll need an adapter to continue. You can get these adapters for pretty cheap from any online electronics retailer, like Amazon, or any electronics store, like Best Buy.
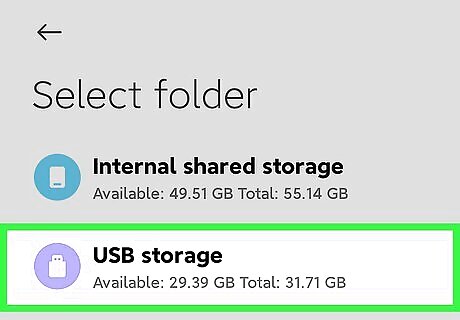
Navigate to your flash drive and copy the music to your local storage. The different file managers will have different wording, but the idea is pretty simple: Open your file manager and go to your flash drive, then locate your music, and Move or Copy the files to local storage.
Using a USB Cable for Windows
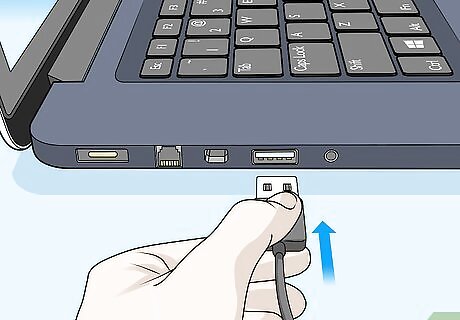
Connect your Android to your computer. Use the Android's charging cable to connect your Android to one of your computer's USB ports. If your Android prompts you to select a connection type, tap Media device (MTP) on its screen before continuing.

Open Start Windows Start. Click the Windows logo in the bottom-left corner of the screen.
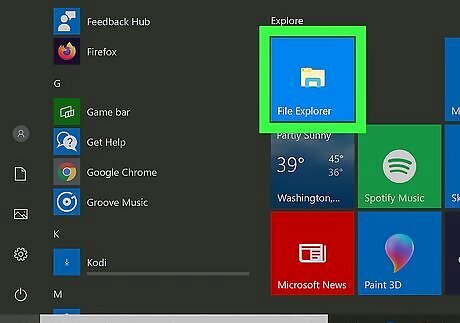
Open File Explorer Windows Start Explorer. Click the folder-shaped icon in the lower-left side of the Start window.
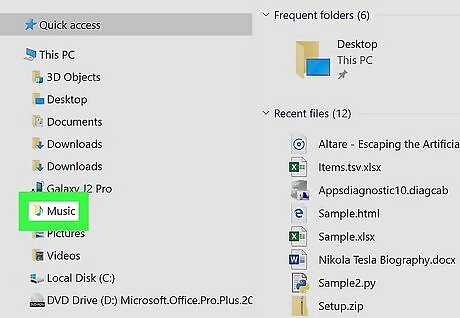
Go to your music folder. Open the folder where your music is stored by clicking a folder on the left side of the File Explorer window. You may have to double-click additional folders in the main Explorer window to navigate to your music.
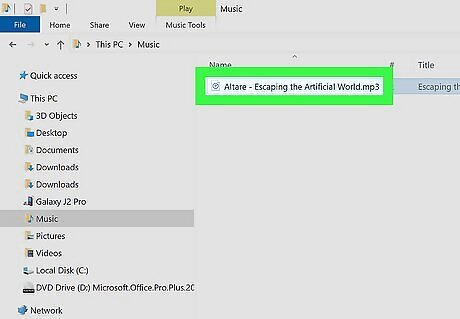
Select the music you want to add. Click and drag your cursor across a selection of music to highlight it, or hold down Ctrl while clicking specific songs to highlight them individually.
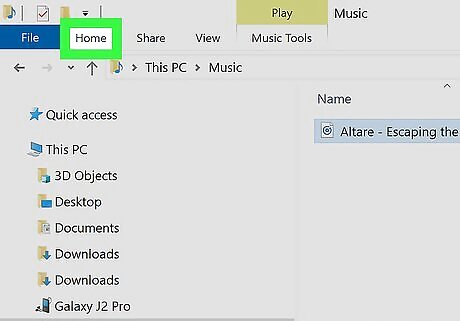
Click the Home tab. It's in the upper-left side of the File Explorer window. Doing so will open a toolbar below the Home tab.
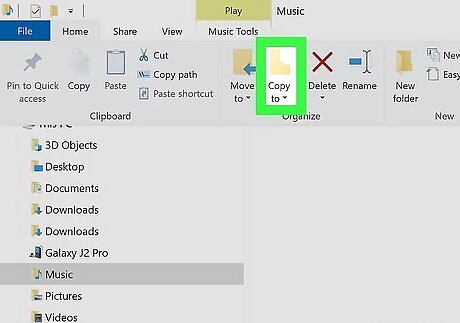
Click Copy to. This folder-shaped icon is in the "Organize" section of the toolbar. A drop-down menu will appear.
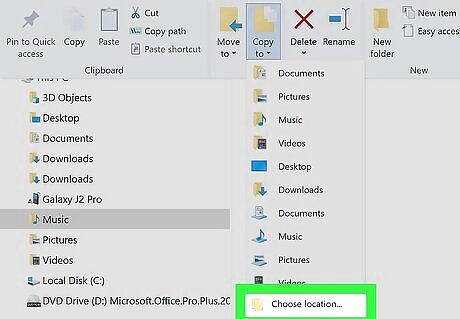
Click Choose location. It's at the very bottom of the drop-down menu.
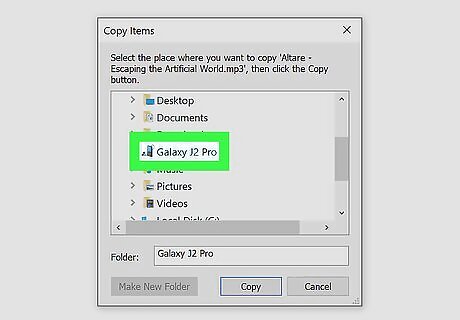
Click your Android's name. This folder should be in the pop-up window. Doing so will expand the folder to show your Android's internal files. You may have to scroll down to see your Android's name.
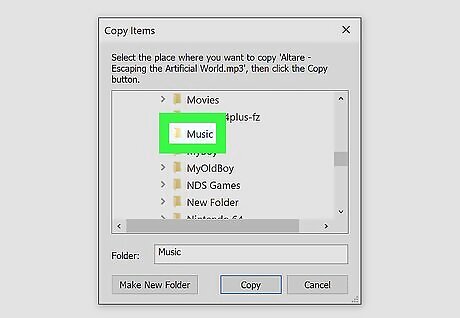
Click the "Music" folder. It's below your Android's expanded folder.
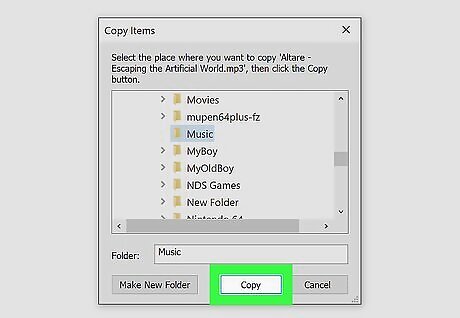
Click Copy. This button is at the bottom of the window. Doing so will begin copying your selected music onto your Android. This process will likely take some time.
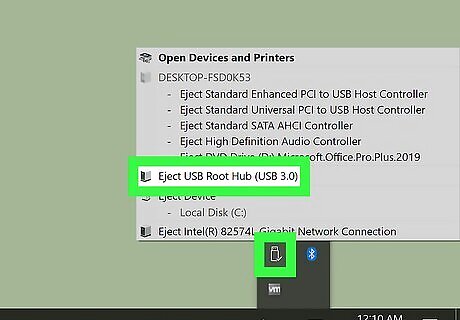
Eject your Android. This will ensure that you can safely detach your Android from you computer once the music is done transferring. You can also try to transfer your music files via Bluetooth, but that may be an unreliable solution.
Using a USB Cable for Mac
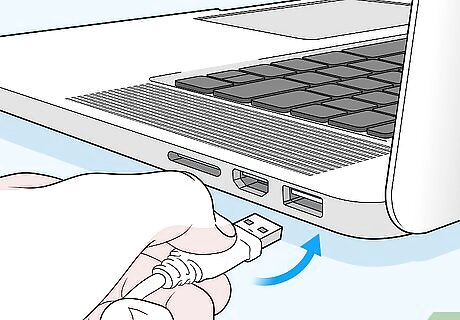
Connect your Android to your Mac. Use the Android's charging cable to connect your Android to one of your computer's USB ports. If your Mac doesn't have a USB port, you will need to purchase a USB-C to USB-3.0 adapter. If your Android prompts you to select a connection type, tap Media device (MTP) on its screen before continuing.
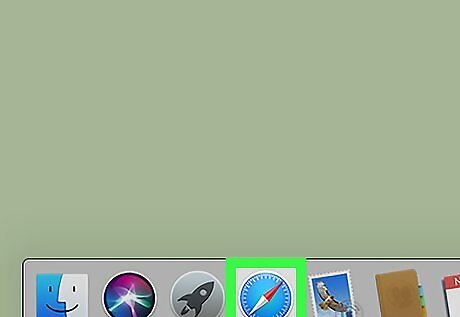
Open a browser on your Mac. Since Androids don't automatically synchronize with Mac computers, you will need to download an official program to help your Android interface with your Mac.
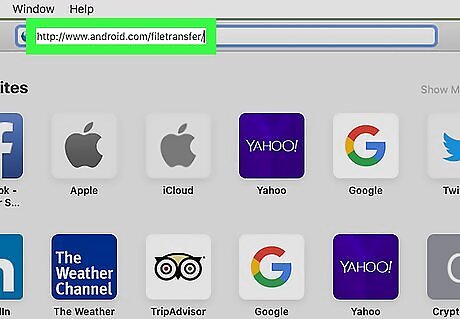
Go to the Android File Transfer page. Go to https://www.android.com/filetransfer/. This will open the download page.
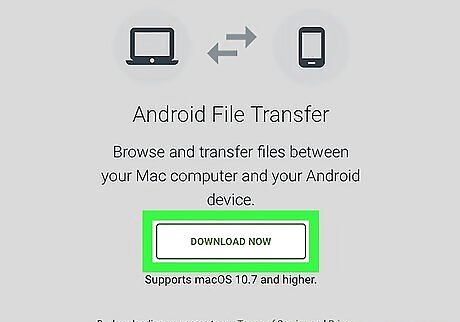
Click DOWNLOAD NOW. It's a green button in the middle of the page. Doing so prompts the Android File Transfer setup file to begin downloading. Depending on your browser's settings, you may first have to confirm the download or select a download location.
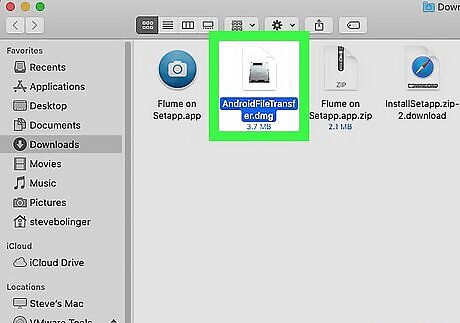
Install Android File Transfer. This will consist of double-clicking the DMG file, verifying the file in your System Preferences (MacOS Sierra and up), and then clicking and dragging the Android File Transfer icon onto the "Applications" shortcut.
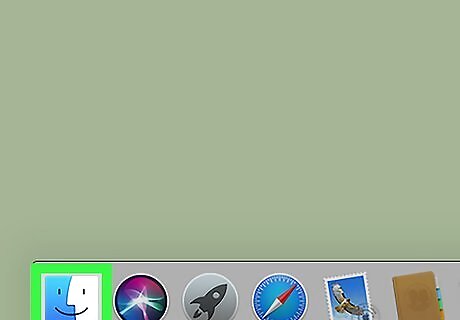
Open Finder. It's a blue face-shaped app in your Mac's Dock.
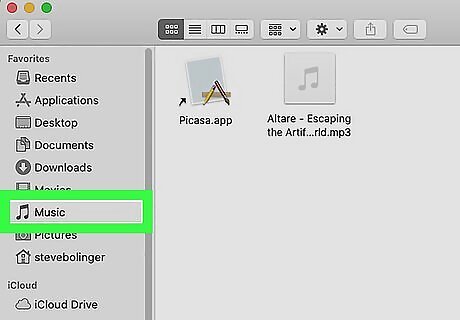
Go to the folder where your music is stored. Click the folder where you keep your music files on the left side of the Finder window. You may have to double-click additional folders in the main Finder window to navigate to your music.
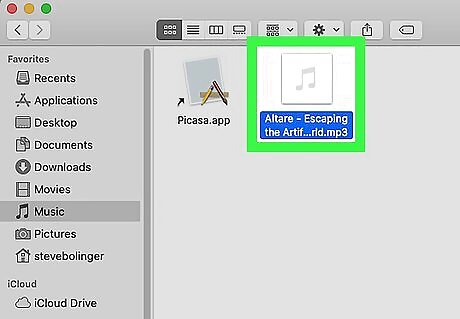
Select the music you want to add. Click and drag your cursor across music to highlight it, or hold down ⌘ Command and click specific songs to highlight them individually.
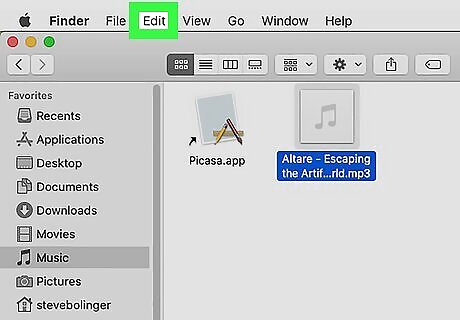
Click Edit. This menu item is in the top-left side of the Mac's screen. A drop-down menu will appear.
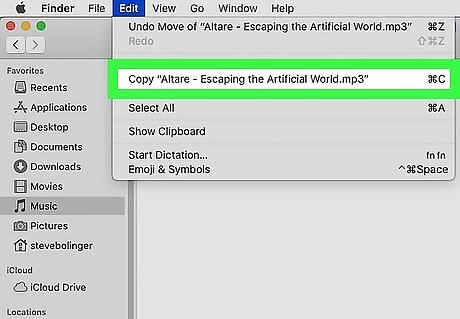
Click Copy. You'll find this near the top of the Edit menu. This will copy your selected music.
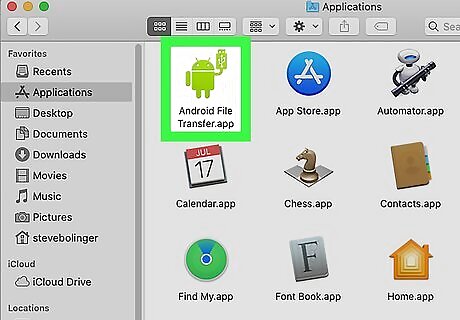
Open Android File Transfer. After doing so, you should see your Android's folders, one of which is "Music", listed in the Android File Transfer window.
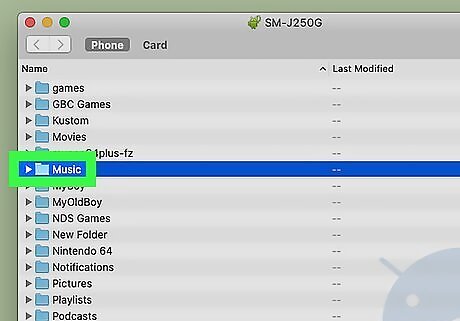
Double-click the "Music" folder. It should be in the middle of the Android File Transfer window. Doing so will open the "Music" folder.
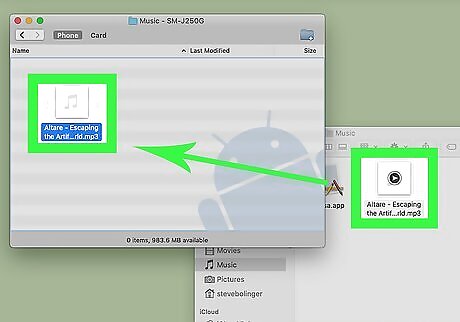
Click Edit, then click Paste Items. You'll find Paste Items near the top of the Edit drop-down menu. Doing so will begin copying your music onto your Android. Once this process is complete, you can safely remove your phone and begin listening to your music. This process may take a while depending on your Internet connection, speed, and the size of the files you are trying to transfer.
Using Google Drive
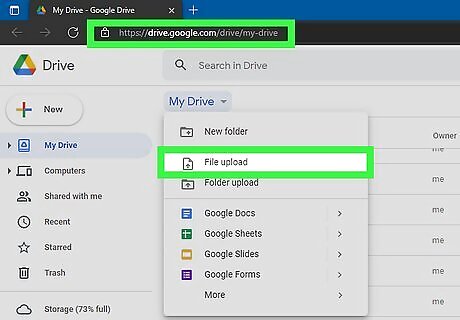
Go to https://drive.google.com/drive/ in a web browser and upload your music. Click New in the top left corner and select if you want to upload a File or Folder. Since the Google Drive Android app doesn't allow you to download folders at the same time, you'll want to use an app that's connected to your Drive called CloudBeats.
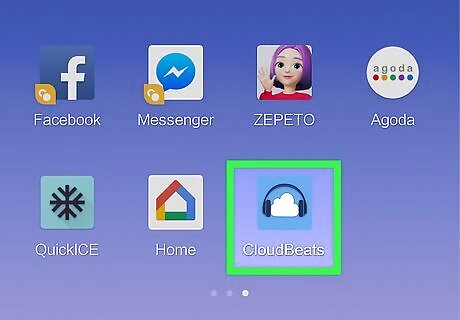
Open CloudBeats on your Android and swipe left to access "Files." This app icon looks like a cloud with headphones. If you don't have this app, you can get it for free from the Google Play Store. This app works with multiple cloud services, including Google Drive, Dropbox, and OneDrive, so you don't have to use Google Drive if you don't want to.
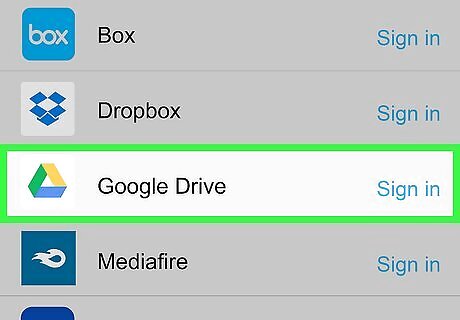
Tap Add cloud, select Google Drive, and tap Allow. Since all your music was uploaded to your Google Drive account, you'll want to allow the app to access your cloud storage so you can listen to your music.
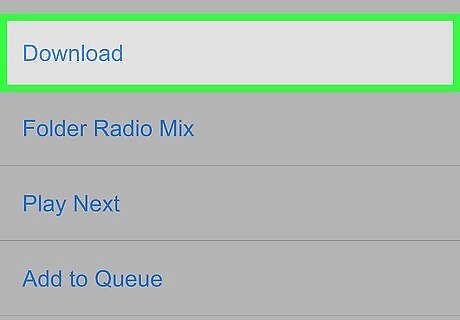
Navigate the folder containing your music, tap ⋮, and select Download. You'll see the three-dot menu to the right of the folder name. Tapping this will let you download the entire folder of music at the same time. Once the music is downloaded, you can play them with CloudBeats, or with another music app of your choice.
Transferring Music Files Wirelessly with AirDroid
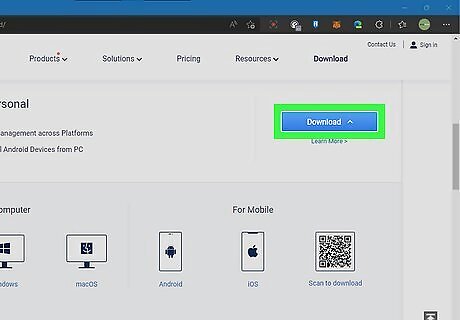
Get AirDroid for your Android and computer. It has a downloadable client for a Windows computer and a web interface for Mac computers. Just make sure you're logging into the same account across your phone and computer. Open AirDroid on your Android and computer to continue.
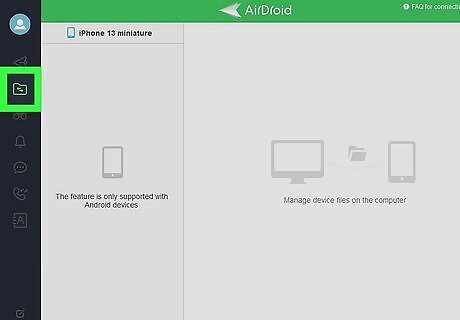
Click the Files icon. This looks like a Folder with some arrows on it in the panel on the left side of your screen. If you have AirDroid open on both your computer and phone and they are both logged into the same account, you should see your phone listed as an "Android device" on your computer.
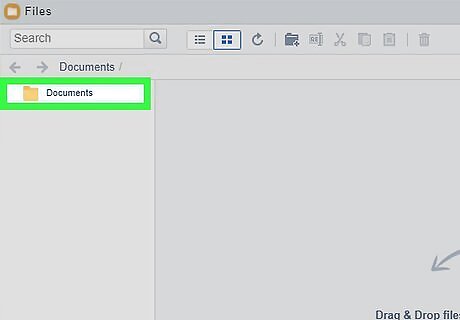
Select a location. You'll be able to move your music to "SD," which is your Android's local storage, or "External SD", which is your Android's external SD card.
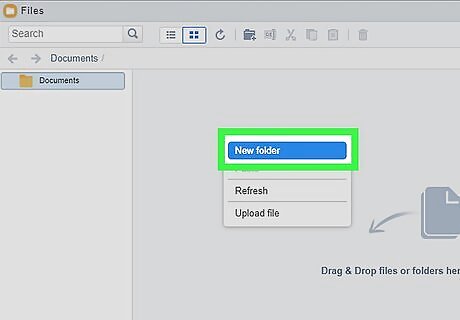
Create a new folder. Once you're inside either "SD" or "External SD," you'll want to create a folder that you'll recognize. You can name it something like "Music Collection". To make a new folder, right-click an empty space and select New Folder.
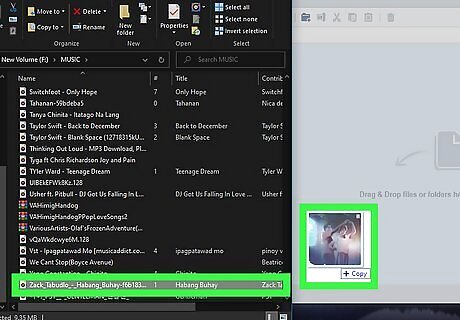
Drag your music from your computer to this new folder. If you're using the free version of AirDroid, make sure your music is not inside folders to prevent folders in folders on your Android. Once you move the music into this location on your computer, it will also be available on your Android.


Comments
0 comment