views
- To add a clip to a new mixer track, select the clip in your playlist, then press Cmd + L (Mac) or Ctrl + L (PC).
- To add a mixer track for an instrument, just right-click the playlist track name and select an instrument.
- If you're using a Channel Rack, select the instrument in the rack, then use Cmd + L (Mac) or Ctrl + L (PC) to add a mixer line for that instrument.
Adding Audio Clips to Mixer Tracks
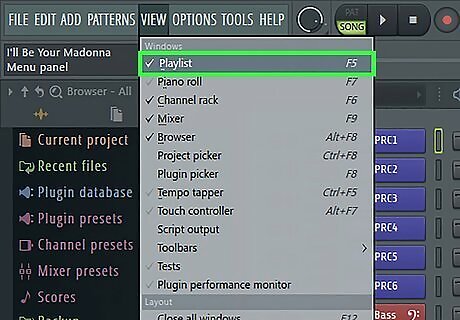
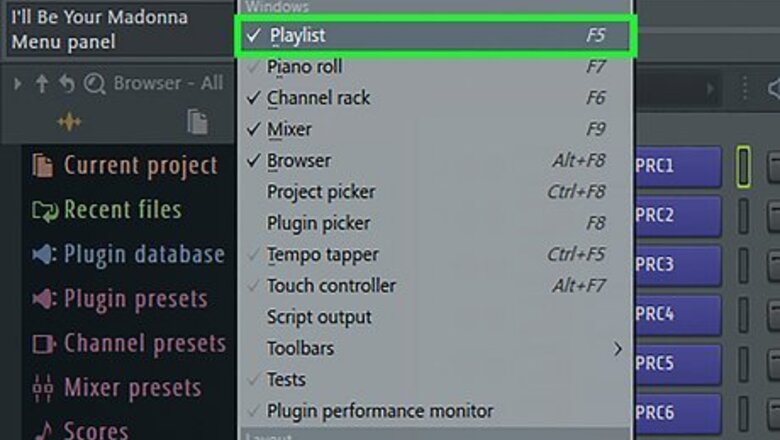
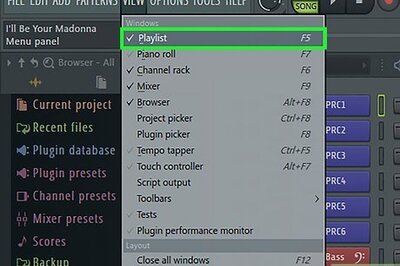
Open the Playlist window in your FL Studio project. If you haven't already, you can get there by pressing F5 on your keyboard, or by clicking Playlist in the View menu.
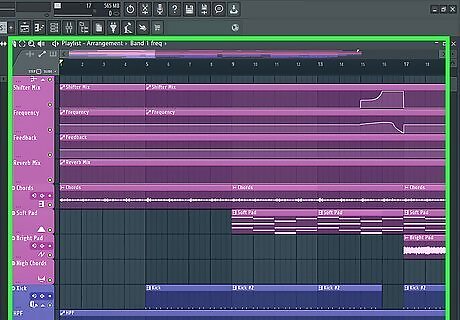
Double-click the clip you want to add to the mixer. You can select any audio clip, such a sample, bassline, or drum track. If you've armed a track for recording and haven't recorded yet, right-click the playlist track you're recording, select Assign to new mixer track(s), and choose a mixer track number instead.

Press ⌘ Cmd+L (Mac) or Ctrl+L (PC). This quick keyboard shortcut instantly adds the selected clip to the first available mixer channel. You'll now see the name of the clip at the top of the selected mixer channel instead of "Insert (number)." If you'd rather choose a specific mixer channel number, click and drag the mouse right on the "Track" box at the top-right corner of the window until the desired track number is in the box. The change will take effect immediately. If you set the Track box to 10, the selected audio clip will stay assigned to track 10 on the mixer.
Adding Instruments to Mixer Tracks
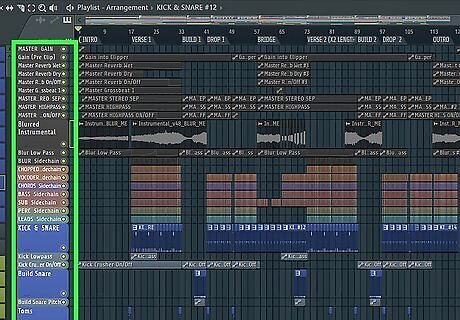
Right-click a playlist track name in the left panel. A menu will expand. If you don't already have a track for the instrument on your playlist, just press F8 to open the Plugin Picker, then drag the desired plugin to a playlist track.
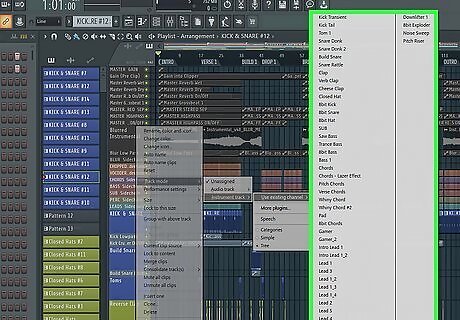
Select an instrument to instantly add a mixer track (line). You can choose any built-in instrument or VST plugin. This instantly links the select instrument to the playlist track to a new mixer track. This will also insert a default pattern on the track, though you can replace it with other clips.
Adding Mixer Tracks from the Channel Rack
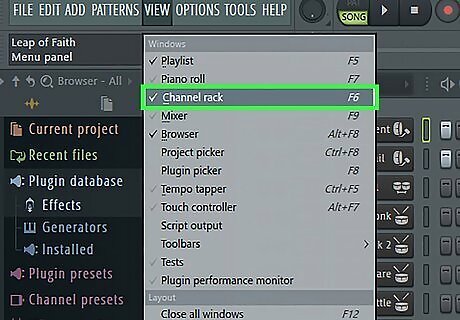
Open the Channel Rack (if you haven't already). If you've created a rack for multiple instruments, you can easily route the instruments in the rack to new or existing mixer tracks. To open the Channel Rack, select the track in your playlist, then click the Channel Rack icon near the top-right—it's three horizontal boxes stacked vertically with smaller boxes beside them. You can also select the track and press F6 for a quick shortcut.
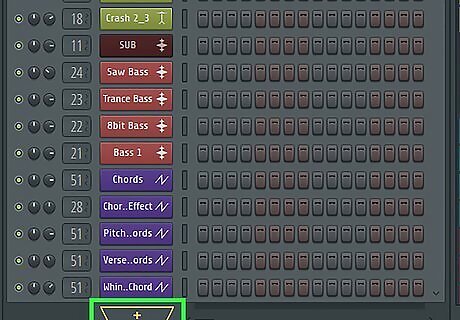
Select an instrument. If you already have an instrument in the rack that you want to add to the mixer, click to select it. If not, click the + at the bottom of the Channel Rack and select an instrument now. Each instrument on the Channel Rack has a field to the left of its name that contains either several dashes or a number. If there's a number in the field, that number corresponds to a mixer track.
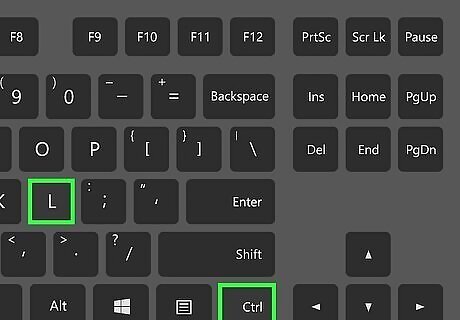
Press Ctrl+L (PC) or ⌘ Cmd+L (Mac) to create a new mixer track for the instrument. This automatically adds the selected instrument to the first available insert track in the mixer and titles it appropriately. The number of the mixer track will then appear in the field to the left of the instrument's name. Alternatively, you can drag the mouse right on the track number field until you've reached the mixer track number you want to use. You can link multiple instruments to the same mixer track if you'd like. Right-click the channel selector (the vertical rectangle) to the right each instrument's name that you want to route together—when you right-click, you can select multiple channels. Then, right-click the desired mixer track and select Channel routing > Link selected channels to this track.






Comments
0 comment