views
- To run diagnostics on a Mac with an Apple silicon chip, hold down the power button while booting up, then press Command-D.
- For Intel Macs released after June 2013, press and hold D or Option-D immediately after starting up.
- Macs released before June 2013 use the Apple Hardware Test instead. You can run the AHT by pressing D or Option-D after startup.
Macs with Apple Chips (M1, M2, or M3)
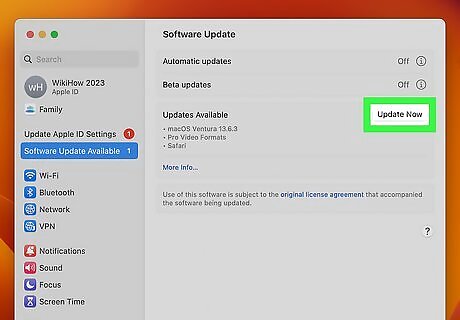
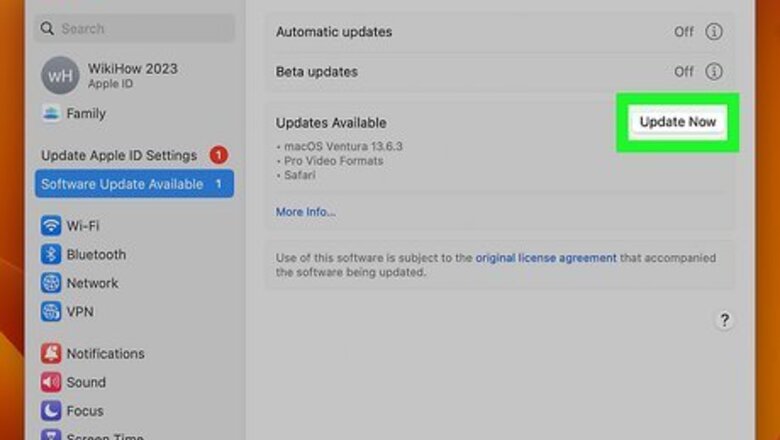
Make sure your Mac is up to date. Your Mac’s Diagnostics tool will work best if you’re running the latest version of your operating system. Before you start, update your Mac if you’re able to. Not sure what kind of processor your Mac has? Go to Mac Apple Apple menu > About This Mac to see if you have an Apple chip (M1, M2, or M2) or an Intel processor.
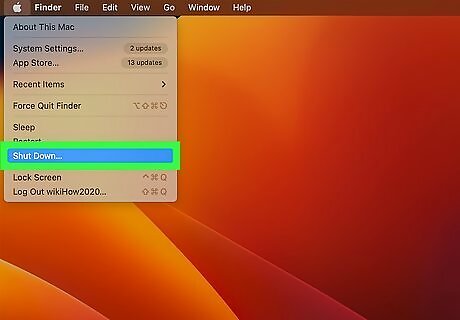
Shut down your Mac and unplug external devices. Click the Mac Apple Apple menu at the top of your screen and select Shut Down…. If your computer is frozen and you can’t shut it down that way, you may have to do a force shut-down. Once your computer is powered off, unplug any external devices, such as headphones, printers, or external hard drives. Leave essentials like your monitor and AC power cord plugged in.
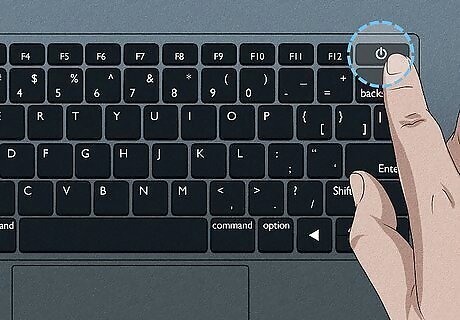
Press and hold the power button. Depending on your Mac model, this button may be located on the back of the monitor, the keyboard, or the outer body of the CPU. On newer Mac laptops, the power button is the same as the Touch ID button at the top right corner of the keyboard.
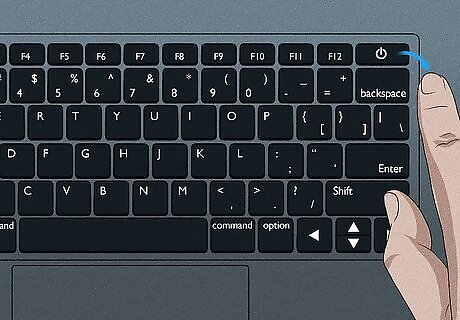
Release the button when the Options screen appears. After your computer starts up, you’ll see a screen displaying icons of your hard drive and any other available startup disks, a gear icon labeled “Options,” and shutdown and restart buttons.

Press and hold ⌘ Command+D. Don’t click any of the buttons on the screen. Instead, press Command-D on your keyboard. Hold those keys down until the diagnostics screen appears. At this point, you may be asked to select a language for the diagnostic scan. You might also be prompted to connect to Wi-Fi.
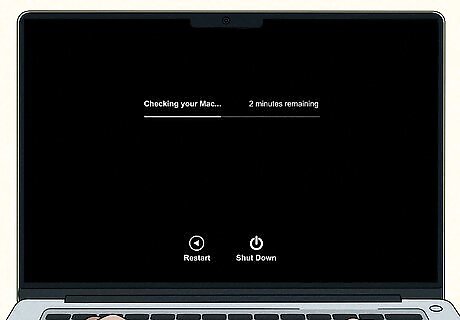
Wait for the diagnostic to complete. As your computer completes the diagnostic, you’ll see a progress bar on your screen. This may take a few minutes. Once it’s done, you’ll see a list of results. EXPERT TIP Typically, you don't need to run your diagnostics unless you're having some kind of problem like slow performance or connectivity issues. Chiara Corsaro Chiara Corsaro Computer Specialist Chiara Corsaro is the General Manager and Apple Certified Mac & iOS Technician for macVolks, Inc., an Apple Authorized Service Provider located in the San Francisco Bay Area. macVolks, Inc. was founded in 1990, is accredited by the Better Business Bureau (BBB) with an A+ rating, and is part of the Apple Consultants Network (ACN). Chiara Corsaro Chiara CorsaroComputer Specialist If the test finds any issues, you’ll see them listed with reference codes. You can review a list of all the possible codes, what they mean, and how to deal with them on this page from Apple Support. Once you’ve reviewed the results, you can do one of the following: Click Run the test again or press Command-R to repeat the test. Click Restart or press R to restart your Mac. Click Shut Down or press S to shut down your Mac.
Intel Macs (2013 and Later)
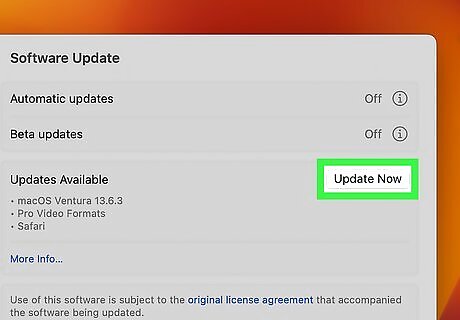
Make sure your Mac is up to date. You’ll want to run the latest version of your computer’s OS for the best results. Before you start, update your Mac if you’re able to.
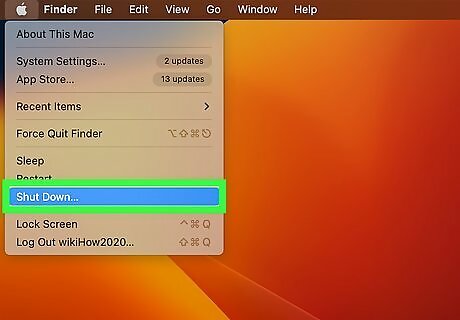
Shut down your Mac. Click the Mac Apple Apple menu at the top of your screen and select Shut Down…. If your computer is frozen and you can’t shut it down that way, you may have to do a force shut-down.
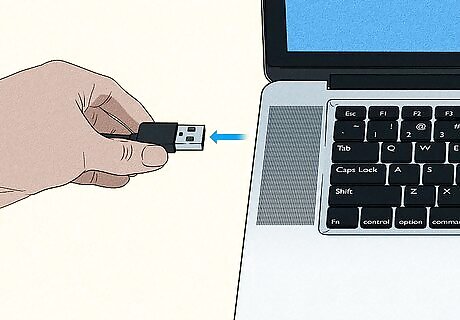
Unplug external connections. If you have anything non-essential plugged into your Mac (such as USB flash drives), unplug them before you begin the test. Leave essentials like your power cord or external monitor plugged in.
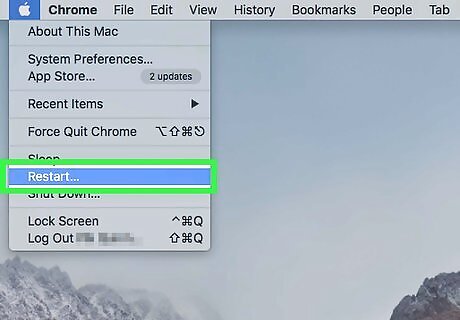
Turn on your Mac. You can only access Apple Diagnostics as your computer is starting up. Press the power button on your computer to boot it up.
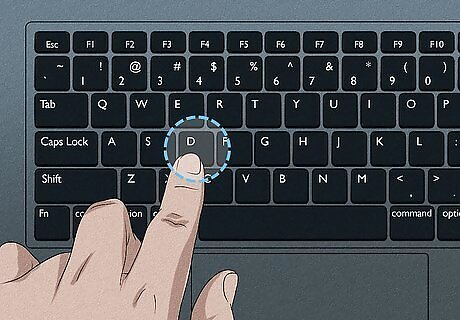
Press and hold D before the screen displays anything. Press the D key on your keyboard when you turn on your computer. If your Mac still plays the startup chime, press and hold the key before the chime plays. If Apple Diagnostics doesn't start, reboot the computer and press ⌥ Option+D at startup instead. The machine will try to start the diagnostics test online. Select your network connection, enter the password (if needed), and press the checkmark. These key combinations may be more likely to work if you shut your computer down altogether and boot up with the power button rather than using them after restarting from the Apple menu. For more tips, check out Apple’s guide to using startup key combos.

Click on your language. Once you've selected your language, the diagnostics scan will start.
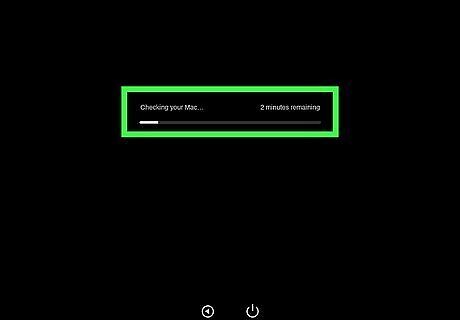
Allow the diagnostics scan to take place. This may take several minutes, and your computer may run loudly and seemingly erratically. This is normal—it's testing the hardware to make sure it works.
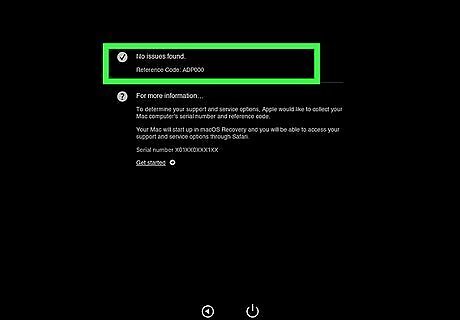
Take note of the results. If Apple Diagnostics finds any abnormalities on your Mac, it will list a summary of the problem(s) and include a reference code under each listed result. From here, you can write down the reference code(s) for use when getting it repaired. Some errors have multiple reference codes, so write down the reference code rather than just the problem summary. You can review the diagnostic codes and their meanings at the Apple Support website. If any hardware faults are listed, schedule an appointment with Apple to repair your computer. Once you’ve reviewed the results, you can run the test again, restart your computer, or shut down your computer.
Intel Macs (2013 and Earlier)
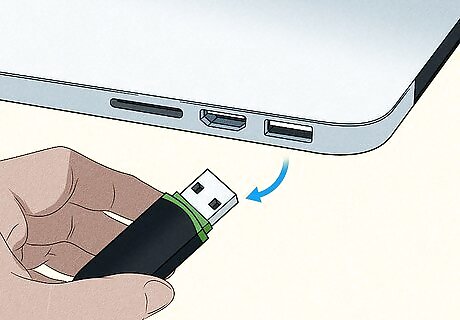
Unplug external connections. Apple Hardware Test is an earlier diagnostic tool for Macs released before June 2013. If you have an older Mac, you’ll need to use this tool instead of Apple Diagnostics. If you have anything non-essential plugged into your Mac (such as USB flash drives), unplug them before you begin the test. Leave essentials like your power cord or external monitor plugged in.
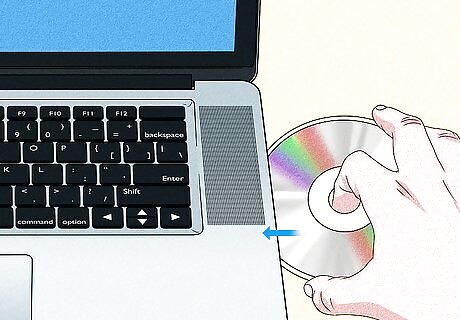
Insert the OS installation disc, if necessary. If the Mac still has a disc drive and runs Mac OS X Snow Leopard (10.6) or below, insert the OS installation disc into your computer to ensure Apple Hardware Test can boot. If you have a Mac without a CD drive, like a MacBook Air, insert the Software Reinstall USB drive into one of the computer's USB ports. This is not necessary if you're running OS X Lion or later. If your computer was released after July 2011 or you've updated your OS since then, it will either retrieve the Hardware Test from the hard disk or download it from the internet. Depending on your OS and model, some older Macs will simply run the Apple Diagnostics test instead. You can also find and download the correct version of Apple Hardware Test for your model of Mac here. For some Mac models, you may need to do an EFI Firmware update before you can run the Apple Hardware Test from the internet. You can find detailed instructions on the Apple Support website.
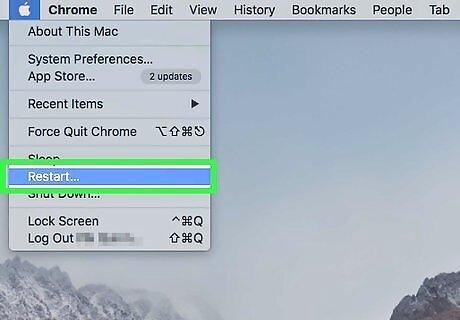
Restart your Mac. You can only access the Apple Hardware Test as your computer is starting up. Click Mac Apple. Click Restart. Click Restart to confirm.
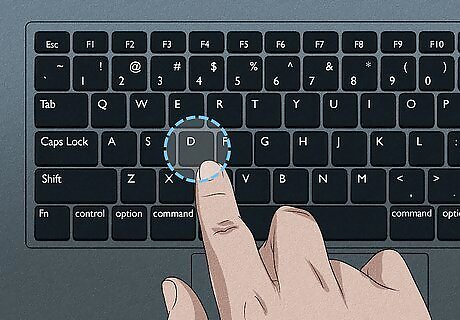
Press and hold D before the screen displays anything. If your Mac still plays the startup chime, press and hold D before the startup chime plays. If Apple Hardware Test doesn't start and your computer was released in 2011 or later, reboot the computer and press ⌥ Option+D to start the hardware test over the internet. Select your network connection, enter the password (if needed), and press the checkmark. It might also help to shut your computer down completely and restart it with the power button instead of restarting from the menu. If you’re installing from a bootable disk, such as a USB drive, hold down Option during startup and select the Apple Hardware Test from your disk. If you’re not sure how to create a bootable USB drive with the Apple Hardware Test on it, check out this detailed guide from GitHub.
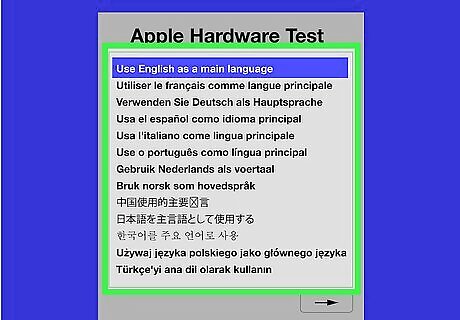
Select your language. Click on → or press the → key on your keyboard to confirm your selection. Depending on how you’re running the test, you might be prompted to choose a Wi-Fi network first. If you’re running the test over the internet, the test software will then be downloaded to your computer.
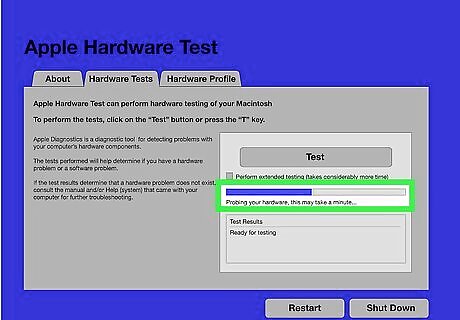
Wait for the Apple Hardware Test window to come up. The Hardware Test will do a quick "probe" of the machine before it does any testing; let it complete the probe.
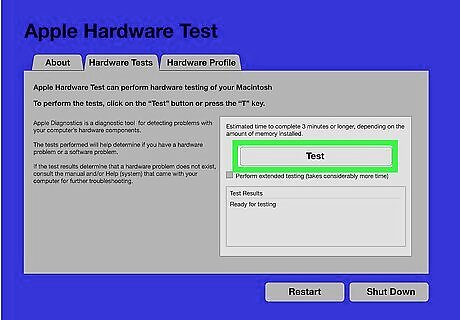
Click Test to begin testing. You can also press T or hit ↵ Enter to start the hardware test. The test may take an hour or more, and your computer may run loudly and seemingly erratically. This is normal—it's testing the hardware to make sure it works. If you want the computer to check everything, check the box next to Perform extended testing (but be aware this will significantly increase the time it takes for the scan to complete).
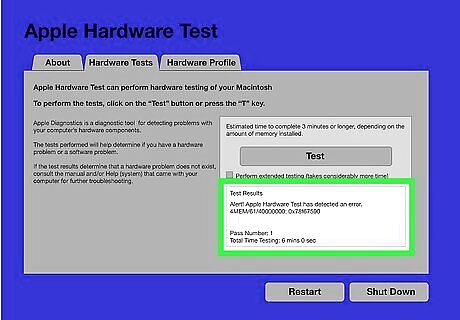
Take note of the results. If Apple Hardware Test finds any abnormalities on your Mac, it will let you know it found an error and will list the technical code of the problem in the box in the lower right. From here, you can write down the code for use when getting your computer repaired. Apple Hardware Test codes are a little different from Apple Diagnostics codes. You can find a list of them here. If any hardware faults are listed, schedule an appointment with Apple to repair your computer. Once you’ve reviewed the results, you can choose to Perform Extended Testing to do a more in-depth test (if you didn’t select that option already), Restart, or Shut Down your computer.


Comments
0 comment