views
Setting the Top Row
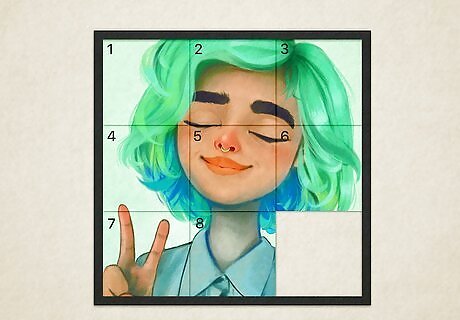
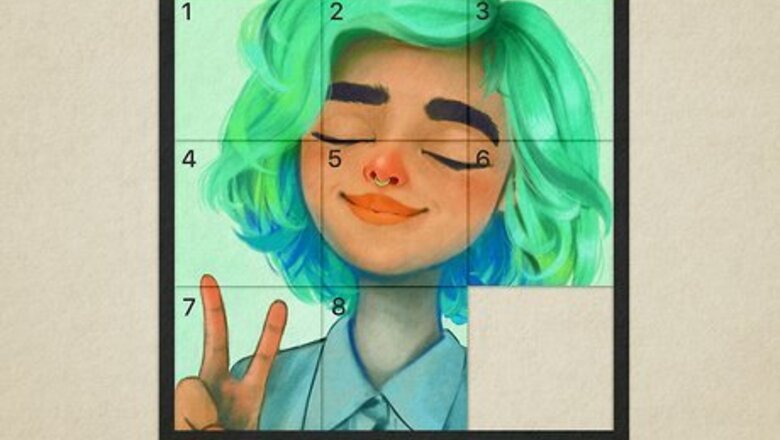
Look at a picture of the finished puzzle so you know what it should look like. If your slide puzzle just has numbers on the tiles, then they will read in ascending order when you finish. If your puzzle has a picture on it, check the package for a finished picture so you get a better idea of where you need to position the tiles. Assign numbers to the tiles based on their final correct positions if they only have images on them. For example, if you know the tile belongs in the top left corner, then label it “1” so you know it belongs in the first position. Usually, the empty square will end in the bottom right corner, but it may vary depending on your puzzle.
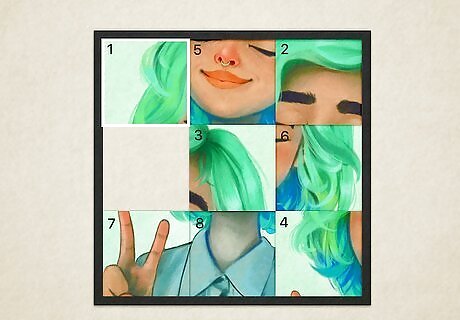
Position the first tile in the top left corner. Moving the first tile into place is the easiest place to start so you don’t have to worry about it later on. Slide the surrounding tiles into the empty square on the puzzle to bring the first tile up to the corner. You may need to move a lot of the other tiles depending on how you mixed up your puzzle, but don’t worry about their positions yet. Once you get the first tile into the top left, leave it there and avoid moving it again. You will not have to move the first tile again after you set it in position.
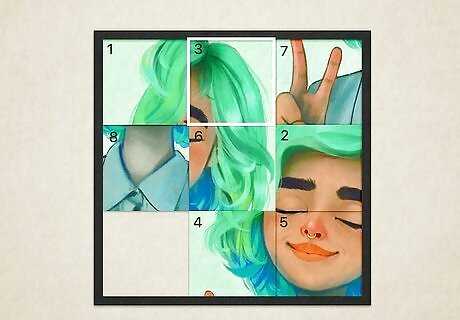
Bring the third tile into the middle position in the top row. Even though you may want to put the second tile into the correct spot, that makes it a little tougher to complete the top row. Instead, plan ahead by shifting the tiles around the board so the third tile is in the middle of the top row. Just make sure to leave the first tile in the top left corner. It doesn’t matter where the gap ends up after you make this move. If you move the second tile into the middle of the top row, then you’ll usually need to move it and the first tile again when you try to slot the third one into place. By moving the third one into that spot instead, you’re planning ahead to rotate the tiles into place.
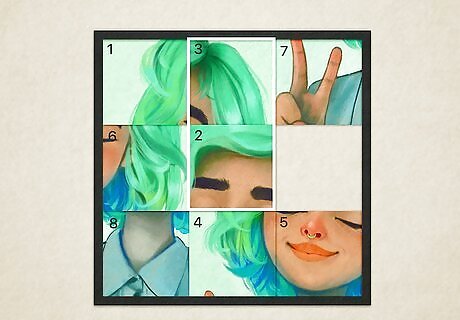
Slide the second tile directly underneath the third one. Move the tiles around the board so the tile that should end in the middle of the top row is in the center of the puzzle. Keep the first and third tiles in their current positions, but you can move any tile into the top right corner if you need to. This is usually the trickiest part of solving a 3 x 3 puzzle and may require you to move a lot of the tiles in the bottom 2 rows.
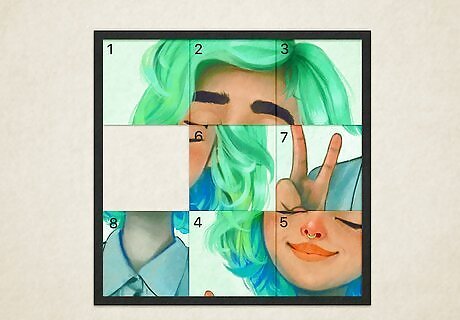
Rotate the second and third tiles until they’re in the correct spots. Slide any of the other tiles so the gap is either in the top right corner or the right side of the center row. If the gap is in the top right corner, simply move the third tile to the right and push the second tile up to take its place to finish the row. If the gap is in the rightmost slot of the center row, slide the tile currently in the top right corner down, and then move the third and second tiles into their positions as stated above. Once you finish the top row, leave it alone. You’ll never have to move them again and you only need to work with the bottom 2 rows.
Finishing the Puzzle
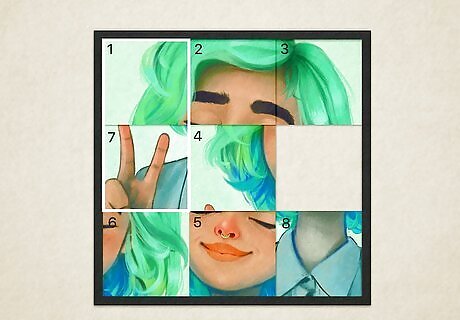
Position the seventh tile directly underneath the first tile. Only move the 5 tiles in the bottom 2 rows from now on so you don’t mess up the top row. Slide the tiles around the bottom 2 rows until you have the seventh tile in the leftmost space of the middle row.
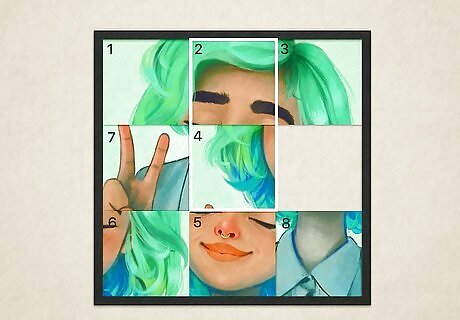
Slide the fourth tile so it’s to the right of the seventh tile. This might be a little tricky since you have pretty limited space to move the tiles around. If you can, leave the seventh tile in place and move the remaining tiles around until the fourth tile is in the center of the puzzle. You may need to move or rotate the seventh tile out of its position while you try to get the fourth tile in the center. If this happens, work the tiles around the board so the gap is in the fourth space, the seventh tile is in the center, and the fourth tile is in either space directly adjacent to the seventh tile. Then, you can easily slide all the tiles back into the correct positions.
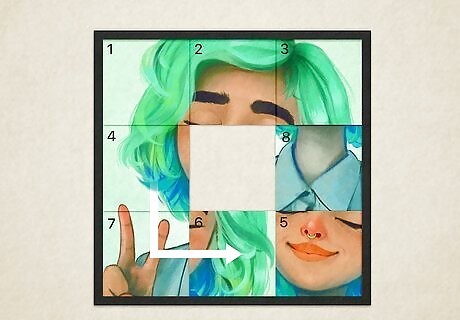
Cycle the seventh and fourth tiles into their positions in the left column. Move the remaining tiles so the gap is in the bottom left corner if you need to. Then, push the seventh tile down into the corner, and move the fourth tile into the leftmost spot in the middle row. Once you do that, you’ve finished the left column. Do not move the tiles in the left column once you get them in the right spots.
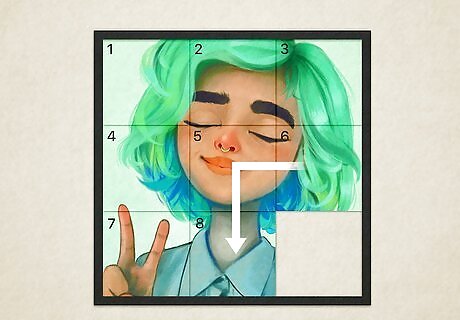
Rotate the fifth, sixth, and eighth tiles into their final positions. The remaining tiles are the easiest since you can just cycle them clockwise or counterclockwise until they fit into their final positions. After that, you’ve finished the puzzle!








Comments
0 comment