views
Sewing Sleeves Flat
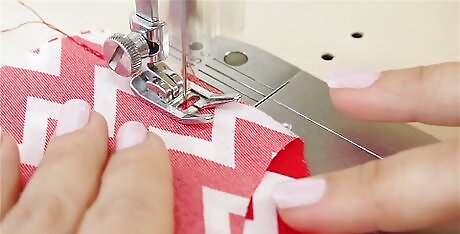
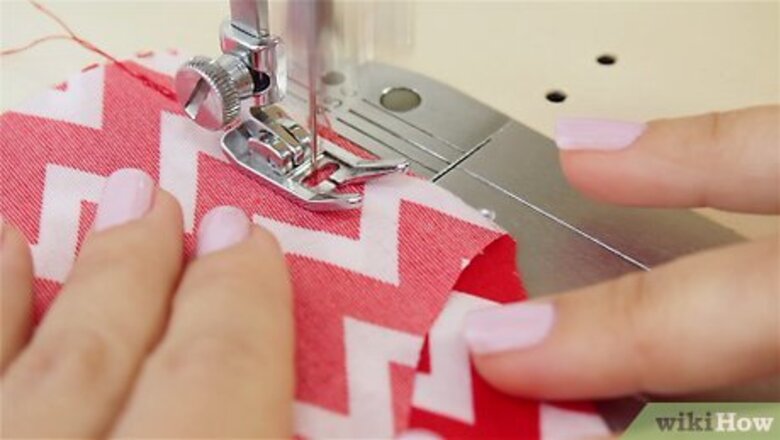
Sew the shoulder seams closed. The shoulder seams on your body piece need to be closed before you can sew a sleeve into place. Line up the correct sides of your body pieces so that the shoulder seams are even with each other. Then, pin the edges to secure them and sew along each of the pinned areas. Use your sewing machine to sew a straight stitch about 0.5 inches (1.3 cm) from the raw edges of the fabric. Do not sew past the shoulder areas. Avoid sewing along the neckline or along the armhole openings. Otherwise, your garment will not function properly.
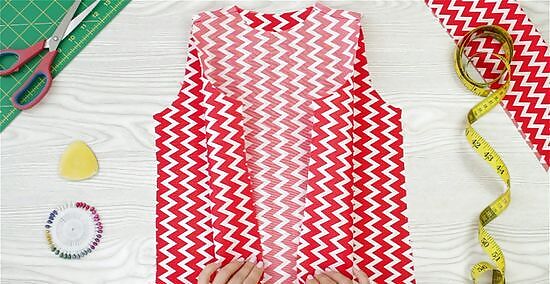
Leave the sides of your garment’s body piece open. These are the areas that run down the sides of your abdomen on the body piece. Leaving the sides open is necessary for the flat sewing method, so do not sew these areas yet.
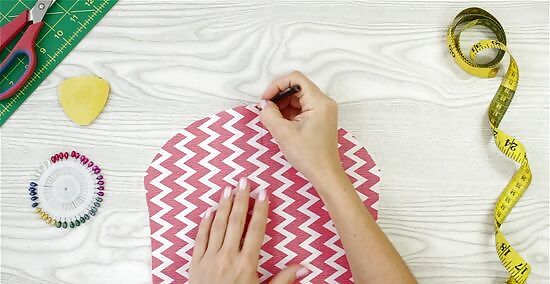
Identify the center of your sleeve. Before pinning and sewing your sleeve to the body piece, it is helpful to identify the central point of the shoulder. This will help to ensure an even fit between your sleeve and shoulder point. Fold your sleeve in half lengthwise and use a piece of chalk to mark the center point (the folded area) of the sleeve at the shoulder.
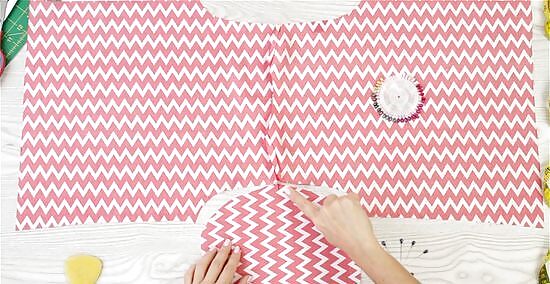
Match up the edges of the armhole opening and sleeve. Open up your body piece so that the 2 pieces are spread out and the correct sides of the fabric pieces are facing up. Then, take 1 of your sleeves and turn it so that the correct side of the fabric is facing down towards the body piece. Line up the edges of the shoulder part of your sleeve with the shoulder of your body piece.
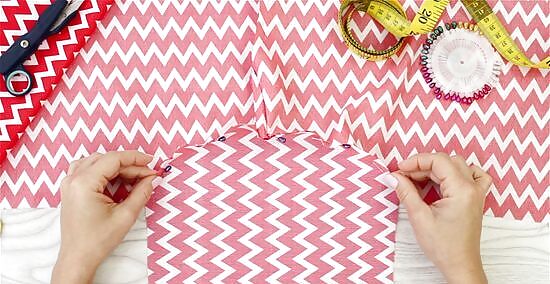
Pin the sleeve to the armhole opening. Pin along the edges of the sleeve’s shoulder area and armhole opening to secure them together. Make sure that the correct side of the sleeve’s fabric is facing the correct side of the body piece’s fabric. To ensure that the sleeve will be evenly distributed on the armhole opening, start pinning from the center of the shoulder. Identify the central point of your shoulder piece and pin this point to the shoulder seam on your body piece. Then, pin the rest of the sleeve to the armhole opening one side at a time.
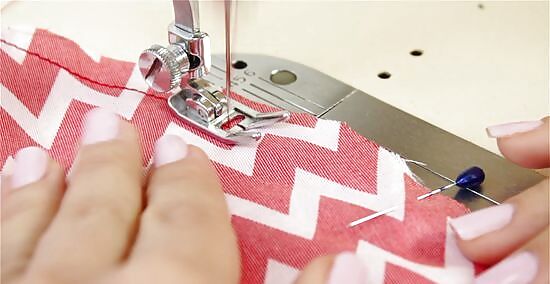
Sew along the edges. After you have pinned the sleeve in place, take your pieces to the sewing machine and use your sewing machine to sew a straight stitch along the raw edges of the piece. Sew about 0.5 inches (1.3 cm) from the raw edges of the fabric. Remove the pins as you go. Cut the excess threads after you finish sewing.
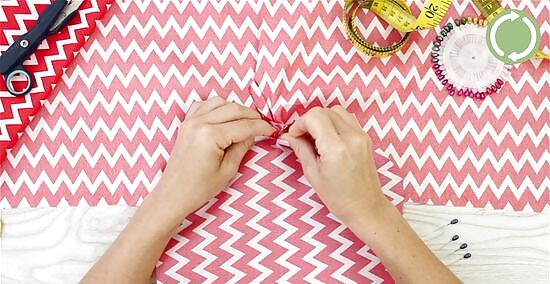
Repeat the identifying the center point, matching, pinning, and sewing steps for the other sleeve. It is necessary to sew both sleeves onto the garment before you sew up either of the sides. Otherwise, you will not be able to open up the garment all the way and lay it out flat. Repeat the last 4 steps for your next sleeve before moving on to the last 2 steps.
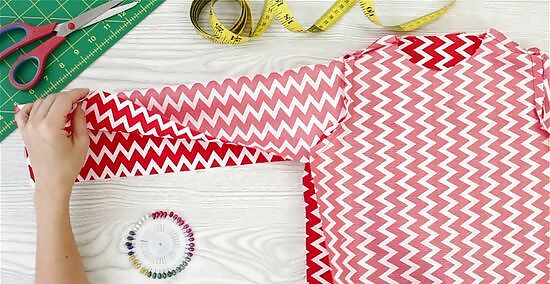
Turn the garment inside out and line up the edges. When the sleeve pieces are both attached, take the whole garment and turn it inside out. The seams you just sewed should all be visible. Then, line up the edges of the body piece and the edges of the sleeves so that they are even.
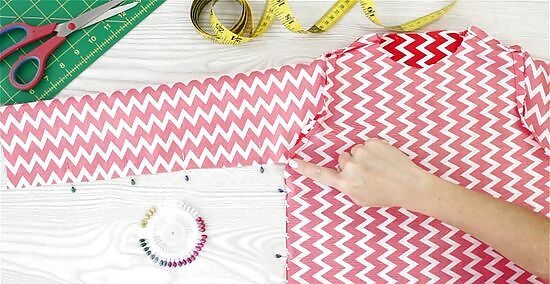
Pin the edges of the sides of the body piece and the bottom of the sleeves. Place pins along the sides of the body piece and along the bottom of both of the sleeves to secure them together. Having these pins in place will make it easier to keep the fabric lined up as you sew.
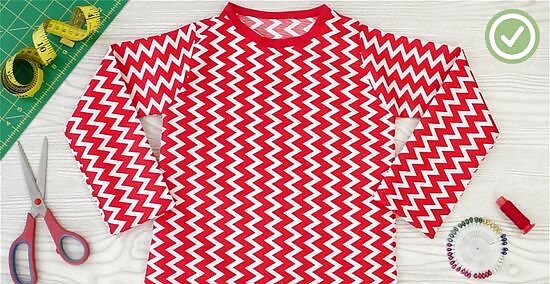
Sew along the bottom edges of the sleeve and along the sides of the shirt body. Use your sewing machine to sew a straight stitch along the bottom edges of the sleeves and the sides of the shirt body. Sew about 0.5 inches (1.3 cm) from the raw edges of the fabric. Remove the pins as you sew. Cut the excess threads when you are finished.
Sewing Set-In Sleeves

Turn the body piece inside-out and slip the right-side-out sleeve in wrist-first. If your body piece is already intact and your sleeves are sewn up along the bottom edges as well, then you can attach the sleeves by matching up the seams of your sleeves and armhole openings. Turn the body piece inside out and leave the sleeves right-side out. Slip one of the sleeves through one of the armhole openings wrist first. Keep sliding the sleeve into the opening until the edges of the armhole opening and the shoulder area of the sleeve are aligned.

Pin the sleeve to your armhole opening. Identify the seam on the bottom edge of your sleeve and on the bottom edge of the armhole opening. Place a pin to secure the seams together. Then, pin around the rest of the sleeve and armhole opening to connect them. Make sure to distribute the fabric evenly and pin the fabric together so that the raw edges are facing each other. You may also pin the center point of the shoulder to the shoulder seam on the armhole opening for increased accuracy. Make sure that the correct sides of the fabric are facing each other and the raw edges are lined up.
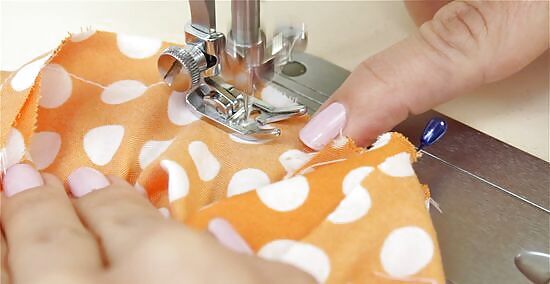
Sew along the edges. When you have finished pinning your sleeve into place, use your sewing machine to sew a straight stitch around the edges of the sleeve and armhole opening to secure the pieces together. Sew about 0.5 inches (1.3 cm) from the raw edges of the fabric. Remove the pins as you sew. Cut the excess threads when you are finished sewing.

Repeat the process for the other sleeve. After you finish attaching 1 sleeve using this process, you will still need to attach the other sleeve. Repeat the steps to attach the other sleeve to your body piece.
Hemming Sleeves
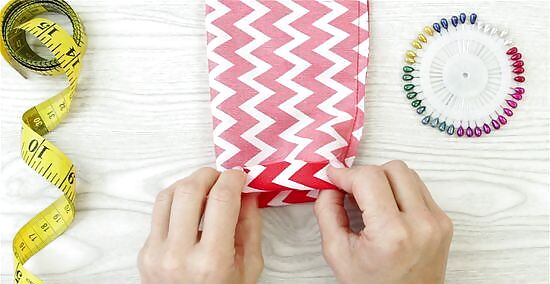
Fold over the edges of the sleeve. After your sleeves are attached, you may want to hem the ends of the sleeves. To do this, start by folding over the fabric at the ends of the sleeves into the sleeves by 0.5 inches (1.3 cm). Do this all the way around the sleeves to create the hem.
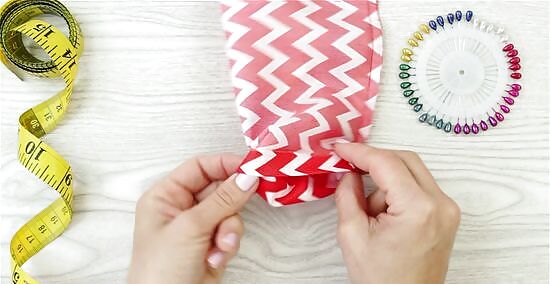
Fold the sleeve over to avoid a raw-edge hem. Make sure to fold the fabric into the sleeve so that the raw edges will be hidden. Remember that the raw edges are the cut edges of your fabric, and you usually would not want these to be visible. Double check to make sure your folded over fabric measures 0.5 inches (1.3 cm) as you pin it in place.
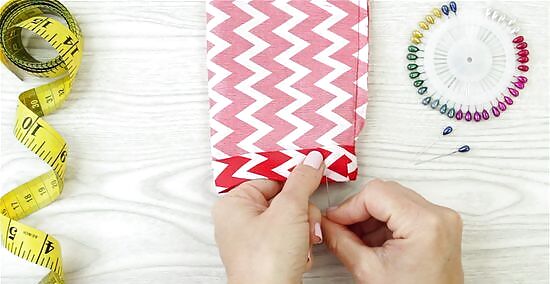
Pin the hem in place. Secure the fold you have made in each of the sleeves by placing pins through the fabric. Place a few pins around the edges of the sleeve to keep the ends folded.
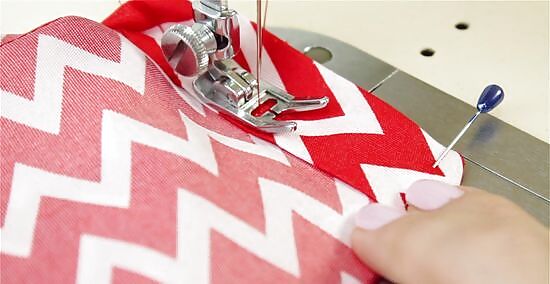
Sew a straight stitch around the edges of the sleeve. To make the hem permanent, sew a straight stitch around the edges of the folded sleeve ends. Sew about halfway down the fold, or 0.25 inches (0.64 cm) from the folded edge of your sleeves. Remove the pins as you sew. Cut the excess threads when you finish sewing.
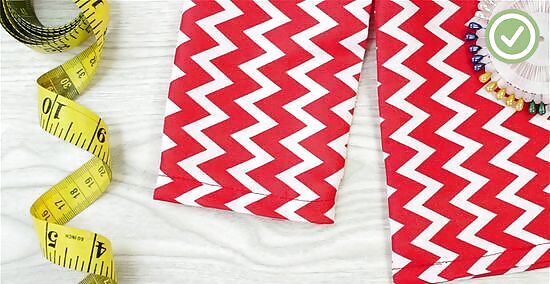
Repeat the process. After you finish hemming the first sleeve, you will need to sew the other one. Repeat this process for the other sleeve when you are finished with the first one.




Comments
0 comment