views
Preparing Your Planting Location
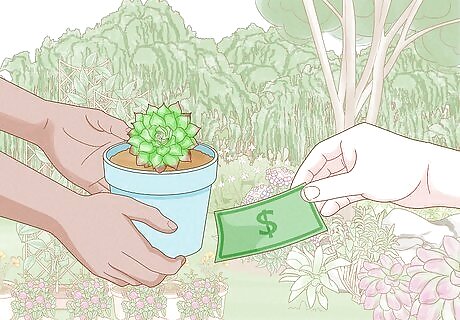
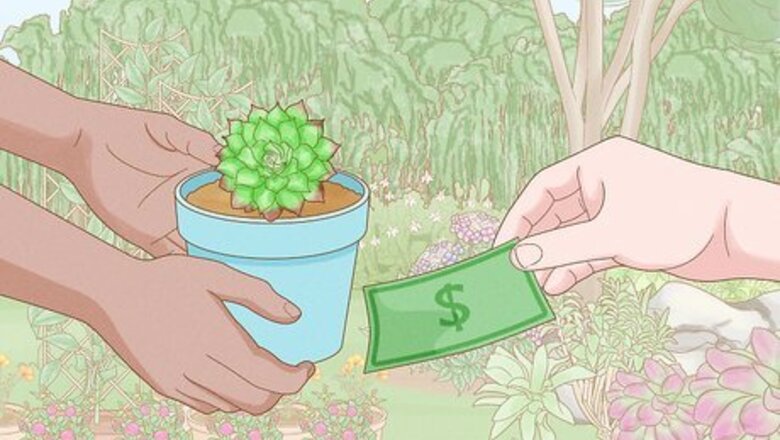
Purchase hens and chicks cuttings from a local nursery. Visit a local nursery and browse different hens and chicks varieties. They come in a variety of looks and colors. Some can be blue, green, or pinkish. When planting hens and chicks plants, it is best to grow them from cuttings rather than seeds. It takes a very long time to sow seedlings, and the seeds are very rare and tough to find. To find a nursery near you, search online.
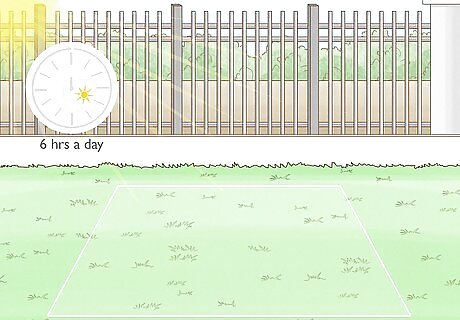
Choose a home for your hens and chicks with partial to full sunlight. Hens and chicks look the best when they receive ample sunlight for most of the day. The sun makes their colors look more vibrant, and they grow at a faster rate. Choose a sunny spot in your garden, or select a sunny location to place your containers. They should receive at least 6 hours of sunlight a day. You can place your containers on your patio or deck, for example. Hens and chicks look great when planted in rock gardens, as edging borders, and along wall crevices. If you plant your hens and chicks in a shady spot, they will turn solid green rather than tinted blue or purple.
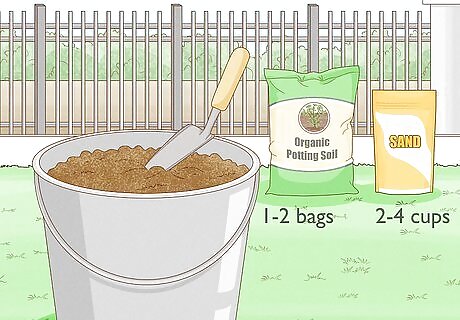
Mix together potting soil and gravel or sand to ensure proper drainage. It is important to always use very well-draining soil when planting hens and chicks either in containers or in garden beds. Take a bucket or bin, and pour in 1-2 bags of organic potting soil. Then, mix in around 2-4 cups (473.2-946.4 g) of pea gravel or sand. Mix all of this together using your hand or a garden tool. This mixture does not have to be precise. You can use more gravel if you'd like. Gravel and sand helps your soil drain well, so your plants can stay as healthy as possible. When selecting your potting soil, look for a type advertised as well-draining, and select an organic variety.
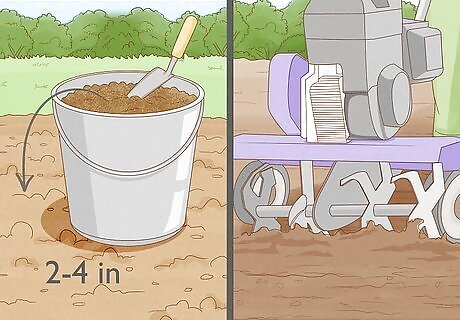
Till a space in your garden with your soil mixture if planting outdoors. Hens and chicks look great in your outdoor garden! Before you plant them, it is best to break up the soil. Use a rake if planting across a large area, or use a garden spade if planting in a section 3–4 ft (0.91–1.22 m) or smaller. Then, line your garden bed with a 2–4 in (5.1–10.2 cm) even layer of your soil mixture so your garden can adequately drain. This freshens up the soil, so you can easily make room for the “hen” and plant the “chicks.”
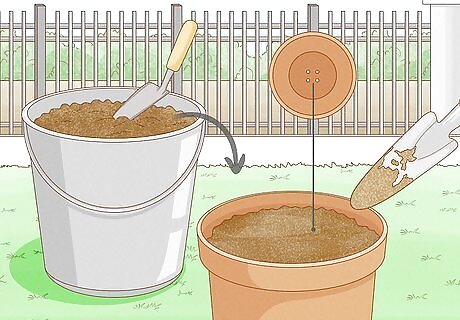
Fill a well-draining pot with your soil mixture if planting in containers. You can use any size container to plant your hens and chicks. If the container does not have drainage holes already, use a drill to create small 2-7 holes around the bottom and sides of the pot. Once you have your container, fill it up to the top with your soil mixture. You can use a basic drill bit to create your holes. The size does not matter, as long as there are several holes to drain any excess water. Purchase your containers from most garden supply or home supply stores. You can use a garden spade to help you scoop it into the container, if you'd like.
Planting Hens and Chicks
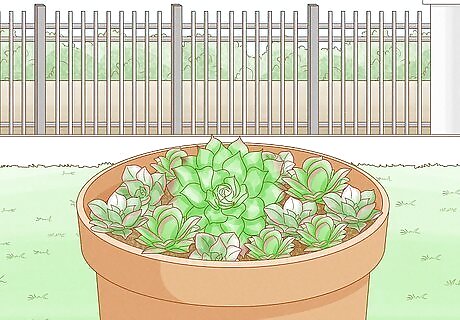
Plant the hen and chicks together if you prefer a clustered look. When you purchase hens and chicks, they will come in a bundle with 1 main “hen” and several smaller “chicks.” While you can grow many more plants if you separate them, you can easily plant the entire bundle if you like the way it looks. In addition, you can fill an entire pot with several bundles if you like a very dense appearance.
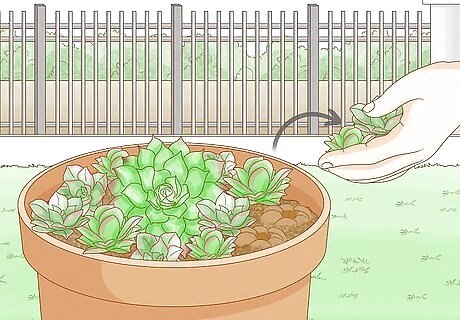
Separate the chicks from the hen using your fingers to propagate them. To do this, take the bundle out of the plastic container, and gently roll the chicks away from the main cluster. You can use your fingers to separate the dirt from the roots as well. The chicks should easily come apart.
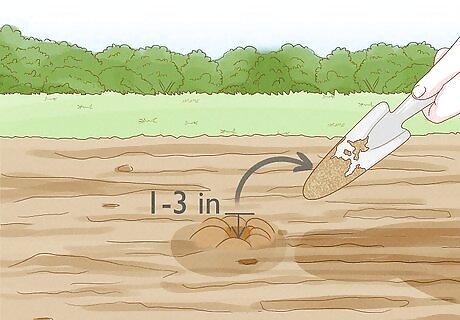
Dig a hole 1–3 in (2.5–7.6 cm) deep to plant the "hen." Whether planting the hen in a container or in your garden, it needs a bit more space than the chicks. Use a garden spade to dig a hole a few inches deep. Then, use your fingers to loosen the roots and remove extra dirt. Place the hen in the hole with the roots facing downward. Once your plant is in the soil, gently pack your soil mixture around the base of the “hen” so it is securely in place. Hens and chicks do not have very large root systems, so you can easily fit them in your container or garden. Packing the soil around the plant helps maintain its structure as it takes to its new home.
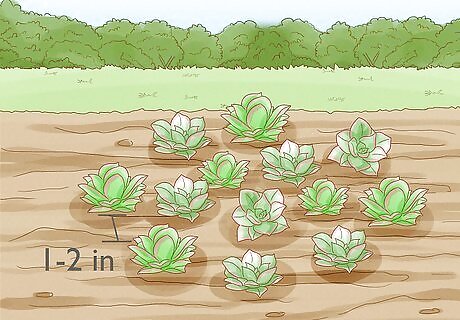
Place the “chicks” directly into the top of your soil. If you’ve separated the “chicks” from the hen, place the chicks into the soil so the small stem is submerged. The chicks simply sit on top of the soil. Leave 1–2 in (2.5–5.1 cm) in between each chick. Continue adding your “chicks” to your container or garden bed until all of them are replanted. You can use your hands to gently pack your soil mixture around the chicks, giving them more support. If using a container, you can line the outside with your chicks and reserve the inner center for the hen if you’d like. If using your garden, you can create a border with your chicks and then place the hen in another row, for instance.
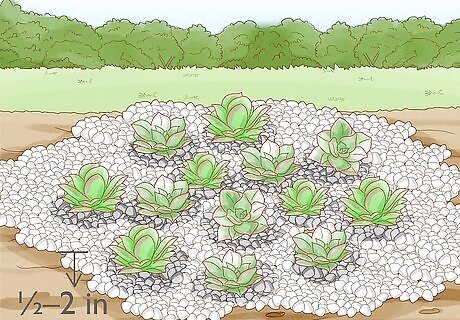
Cover the top of the soil with a thin layer of gravel. Use your hands or a garden spade to spread the stones across your container or garden bed. Pack the stones around the base of the plants to give them some support. Gravel helps the plant distribute moisture evenly and get rid of any excess wetness. Your layer can be between ⁄2–2 in (1.3–5.1 cm) thick. You can use small stones, such as a pea gravel. Alternatively, you can use sand instead of gravel.
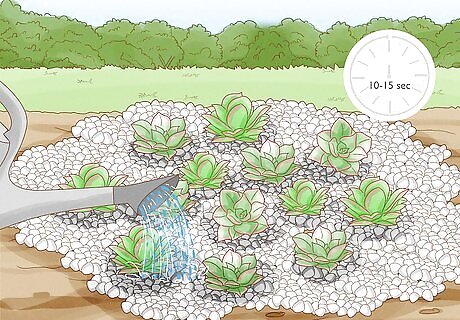
Water the plants thoroughly immediately after you plant them. To help your hens and chicks take to their new home, thoroughly water the base of the plant for 10-15 seconds. You can use a garden hose or a watering can. Avoid getting water on the leaves of the plant. If water remains on the leaves, it can cause them to rot.
Caring for Hens and Chicks
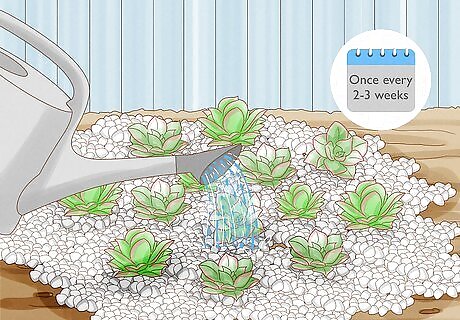
Water your plants once every 2-3 weeks. Succulents require little water, and hens and chicks are no exception. These plants have a low water requirement, and they only need a thorough soaking every few weeks. If they are planted outdoors, you can wait even longer to water them, depending on natural rainfall.
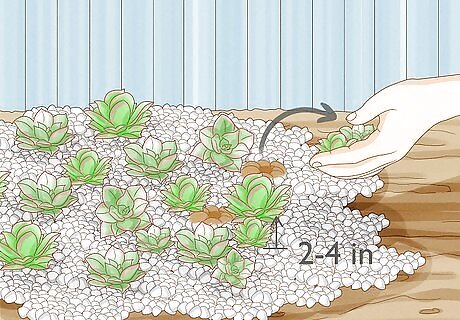
Pluck off newly grown “chicks” when they grow to 2–4 in (5.1–10.2 cm). The hen will begin to grow new chicks after you pluck them off. Once the new chicks grow to a few inches, you can remove them and propagate them as well. This should take around 4 weeks in total, depending on your growing conditions. Some “chicks” will grow longer stems away from the “hen,” while others will grow wider and closer to the “hen.”
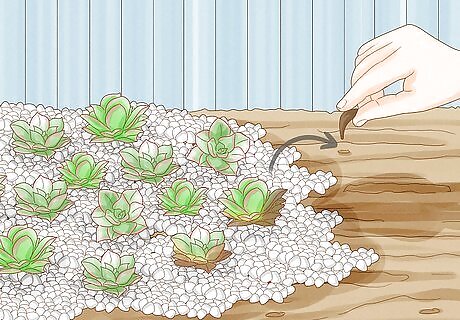
Remove dead leaves as soon as you notice them to avoid garden pests. If a hens and chicks plant gets too dry, the leaves on the very bottom will shrivel up and wilt away. This is a drain of nutrients on the plant, so pluck them off with your fingers. Garden pests including spider mites and mealybugs often feed on the dead leaves if left on the plant, and then they may feed on healthy leaves as well. This way, your plant looks great and stays healthy!




Comments
0 comment