views
Initial Preparation
Determine a well-ventilated area to work in. The fumes produced by some of the products used can be harmful if ingested in a high amount. There will also be an abundance of dust particles.
Determine proper positioning for the parts in order to ensure efficient paint coverage. It's important to make sure the paint will reach the part and cover the anticipated area in full To help keep the painting area concentrated, keep the part in a box For larger parts, hanging the part on twine will greatly improve efficiency
Conditioning the Part
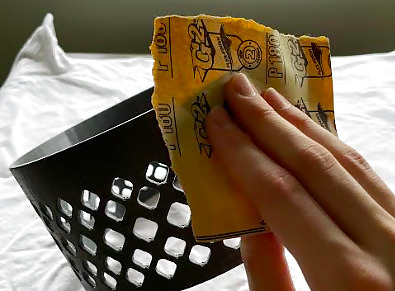
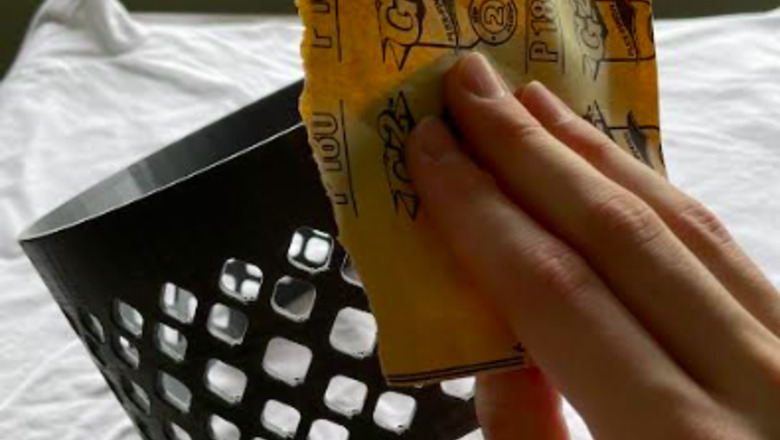
Perform an initial sanding on the part. When the part comes out of the printer, there will likely be many visible layer lines. It's helpful to start reducing these early InitialSand.png It is recommended to use a more coarse variant of sandpaper like 220 grit for this step After sanding, rinse the part in water to remove dust and dry with a microfiber cloth
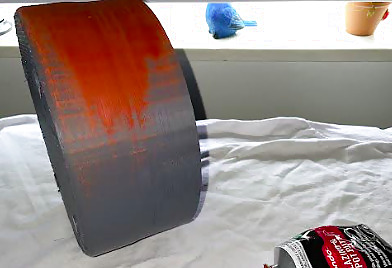
Apply spot putty to the part. This will fill in any gaps from the layer lines that were not able to be sanded down.ApplyPutty.png Use a firm scraping tool to spread the putty on the part and maintain a thin layer in order to not significantly alter part geometry Allow a 20 minute drying time
Perform a secondary sanding. Continue to use the more coarse paper. This step is to make sure the layer of spot putty is uniform. Rinse the dust away afterwards and allow a 20 minute drying time.
Painting
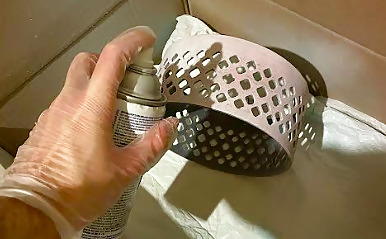
Spray a layer of primer. This covers the color from the spot putty and better conditions the part for the desired color to be sprayed on.ApplyPrimer.png Maintain a thin layer. It's important to hold the can 7+ inches from the part to avoid paint running If the whole part isn't covered by the first coat, allow a 20 minute dry time and apply a second thin layer Allow an hour of drying time after the final layer
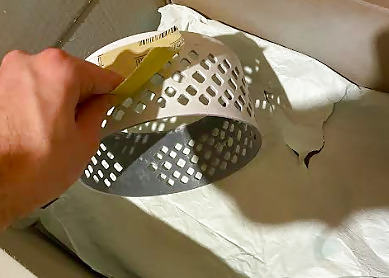
Perform a final sanding. To make the part as smooth as possible, sand the layer of primer.SandPrimer.png Use a fine sandpaper for this step, something like 320 grit should do well Rinse the dust, then dry with a microfiber cloth
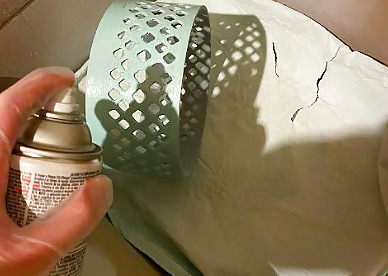
Start spraying your desired color of paint.ApplyPaint.png Like applying primer, it's important to maintain distance between the part and can to avoid running paint. Maintain a thin layer If the part was not covered by the first layer, allow 20 minutes of drying time and apply a second thin layer If the part is not covered by the second layer, allow the paint to dry overnight and apply a third
Allow drying time. For the best finish, the final painted part will need 24-48 hours of drying time. After this period has completed, the part will be ready for use.
Optional Water Resistance Treatment
Depending on the polymer used by the 3D printer for your part, the part may not react well with water. To treat the part for water exposure, a layer of polyurethane can be applied. Polyurethane is typically used to coat countertops It can typically be found near the spraypaint aisle
Using the same setup from spray painting, coat the part with a thin layer of polyurethane. Ensure distance between the spraycan and part Allow a 4 hour drying time, then apply a second layer
Allow the part to cure for 24-48 hours. The part will have water resistance.




Comments
0 comment