
Managing iPad Storage
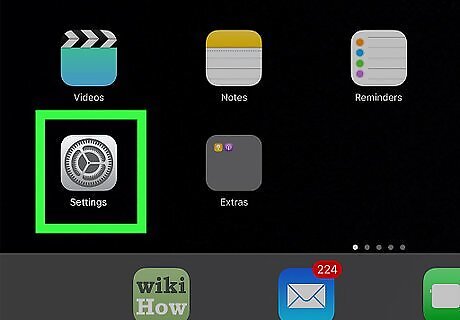
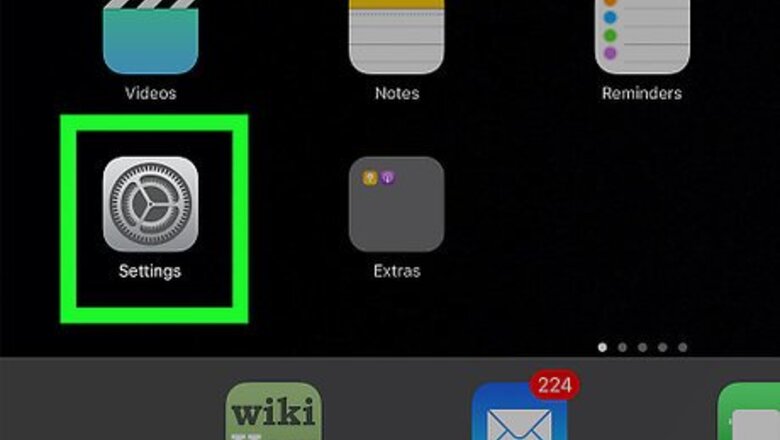
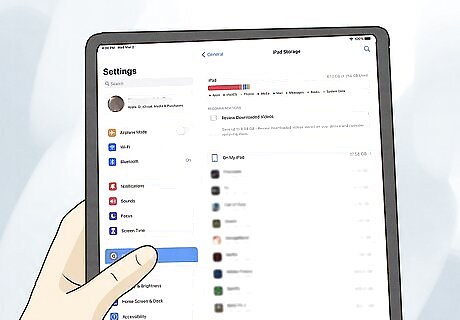
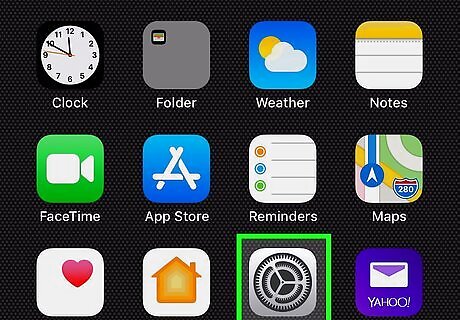
Open your iPad's Settings iPhone Settings App Icon. It's the gear icon on your home screen or in your app library.
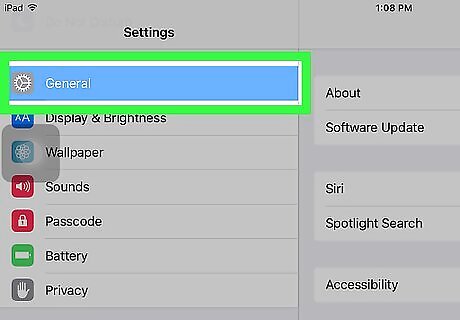
Tap the General menu. It's in the left panel.
Tap iPad Storage. It's near the middle of the menu.
Find your general usage information at the top of the screen. This is where you'll see an image that represents the data using storage space on your iPad. At the top you'll see the amount used on your iPad, as well as the total amount of space. The colored bars represent system files, media, apps, and other data.
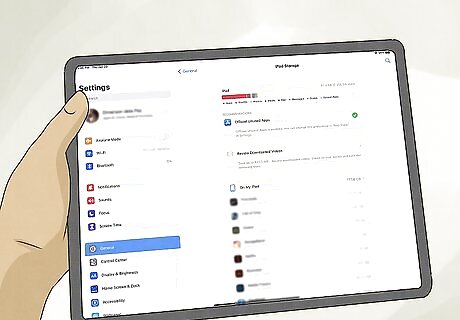
View your storage-saving recommendations. You may see a "Recommendations" section below the general storage information that gives you ideas for freeing up space, such as turning on iCloud Photos or offloading unused apps. The amount of space you'll save using these recommendations appears next to each one. Tap SHOW ALL to see all recommendations. To use a recommended solution, tap Enable next to it.
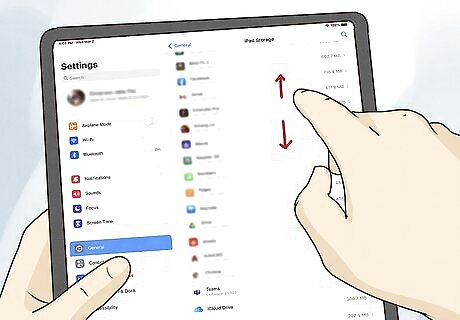
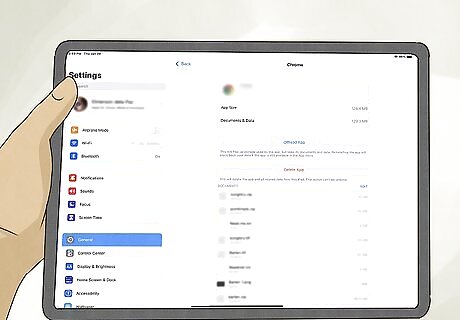
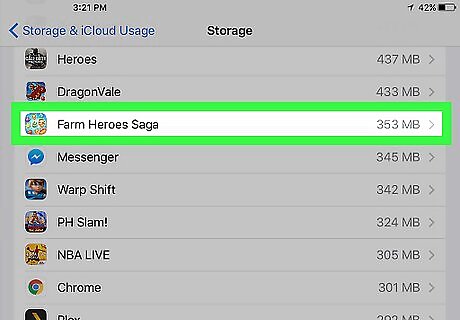
Scroll down to see used storage space by app. Below the recommendations (if you have any), you'll see a list of apps on your iPad. The apps are listed in order, starting with the app that takes up the most space to the one taking up the least space.
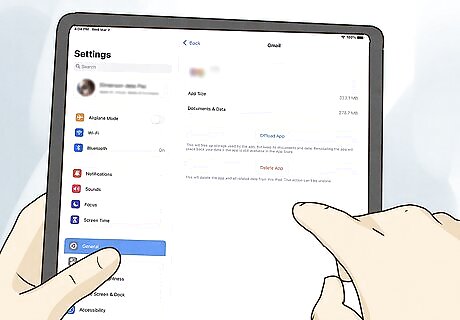
Tap an app to see what's taking up space. The first section, App Size, tells you the amount of space consumed by the app itself. The Documents & Data section tells you how much space is consumed by data and documents used by the app. For example, if you're using the Apple Podcasts app, you will see the size of the Podcasts app itself, as well as the amount of space consumed by downloaded podcasts.
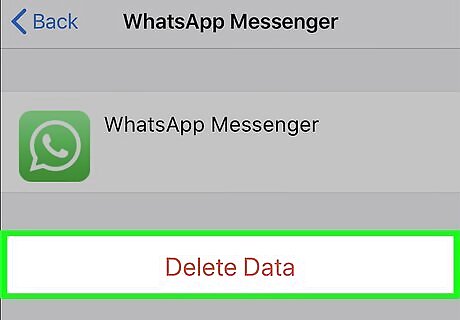
Delete or back up app data you don't need. Depending on the app you're looking at, you may see a list of files or options for viewing, backing up, or deleting data from the app. This is common for apps made by Apple, such as Podcasts and Photos. In the case of the Podcasts app, you can tap Edit above the list of saved episodes to delete ones you don't need. Just tap the red-and-white minus sign to delete each episode. In the case of the Photos app, you'll usually have the option to empty the Recently Deleted album, which you can do by tapping Empty
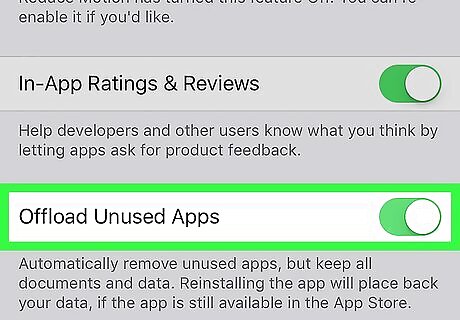
Delete or offload unused apps. If you want to delete an app that's using a lot of storage space, tap Delete App. But you also have an alternative—select Offload App will temporarily delete the app while keeping the app's data on your iPad. In most cases, the apps aren't what's taking up space—it's usually the data saved by the app. That means offloading apps will usually not free up as much data as deleting the app, which also deletes its data.
Managing iCloud Storage
Open your iPad's Settings iPhone Settings App Icon. It's the gear icon on your home screen or in your app library. Your iCloud storage is different from the storage used on your actual iPad. If you back up your files to iCloud, including your photo library, your iCloud storage can fill up.
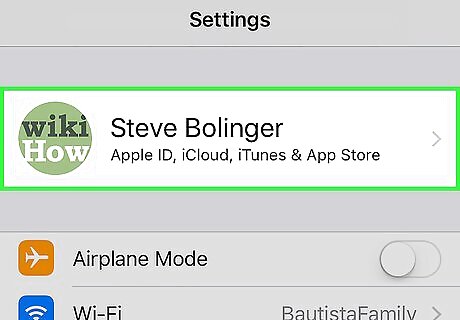
Tap your name. It's at the top of the screen.
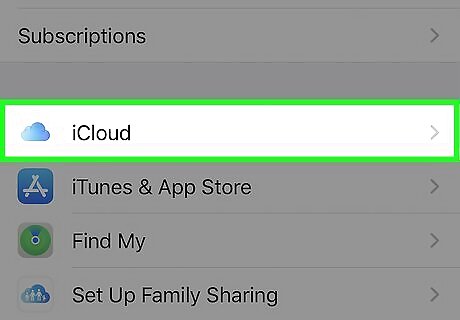
Tap iCloud. This displays information about your iCloud storage.
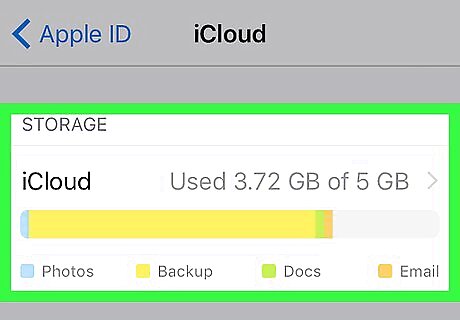
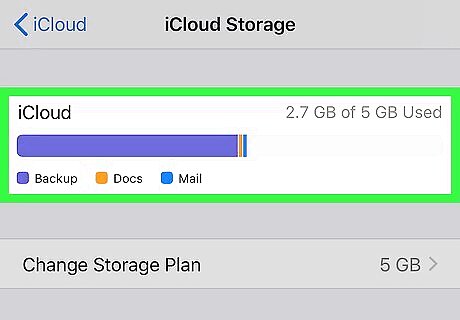
Find your general storage information at the top of the screen. This is where you'll see an image that represents the type of data taking up space in iCloud. The colored bars represent types of data, such as Messages (including images and videos you send and receive through iMessage), docs (includes Notes), and Mail.
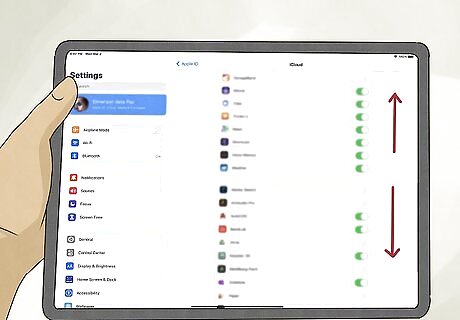
Scroll down to see which apps and services save data to iCloud. If you see a green/On toggle switch next to an app or service, it is actively syncing data to your iCloud account. If the switch is gray/Off, its data is only stored on your iPad.
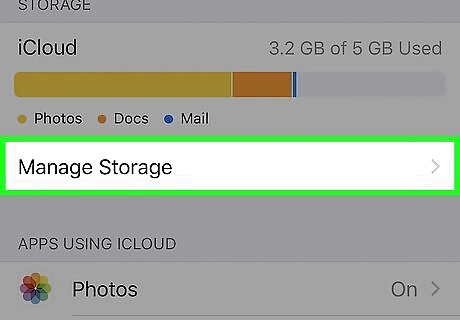
Scroll up and tap Manage Storage. It's near the top of the menu.

View how much space is consumed by each app and service. This page gives you a more detailed breakdown of the data saved to your iCloud account by app/service. The apps and services are listed in order, beginning with the app or service consuming the most amount of iCloud space. You'll also see your total amount of iCloud space next to "Change Storage Plan." If you need more space, you can tap this option to upgrade.
Tap an app or service to manage its data. When you tap the name of an app, such as iCloud Drive, you'll usually see the option to delete its documents and data, and/or the option to disable it. The options you'll see vary by app.
Tap Delete Documents & Data to free up space (optional). If you see an option like this, you can tap to delete its files from iCloud. Only do this if you have access to the files elsewhere. If you select iCloud Drive, you can browse for and delete specific folders rather than all data on the drive. If you select Messages, you can disable and delete messages in iCloud—however, your iPad will no longer save messages to iCloud—just your iPad. If that bothers you, tap Top Conversations to see which conversations are taking up the most space, and delete that conversation or its media.
Managing Your iCloud Photo Library
Open your iPad's Settings iPhone Settings App Icon. It's the gear icon on your home screen or in your app library. iCloud Photo Library automatically uploads and stores all of your photos and videos on your iCloud Drive, making them instantly available on any of your iCloud devices. What this means is that every device that has iCloud Photo Library turned on will download and store a copy of each photo onto its local storage. That means that if you have iCloud Photo Library enabled on your Mac and your iPad, photos from your Mac will also be synced to your iPad, and vice-versa.
Tap your name. It's at the top of the Settings menu.
Tap iCloud. It's in the second group of settings.
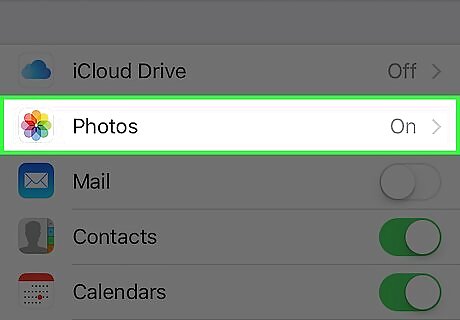
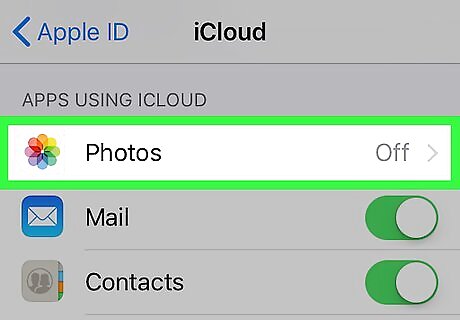
Tap Photos. It's at the top of the list. If you are not currently backing up photos to iCloud, you'll see the word "Off" next to Photos.
Turn iCloud Photos on or off. Tap the switch to enable or disable iCloud Photos. If you turn iCloud Photos off, your photos and videos will not be backed up. However, if you're running short on iCloud space, you can always turn this off to prevent your iCloud photos from syncing to your iPad. Turning iCloud Photos on will download any photos in your iCloud account (including those synced from your Mac or iPhone) to your iPad, as well as sync new photos and videos to iCloud.
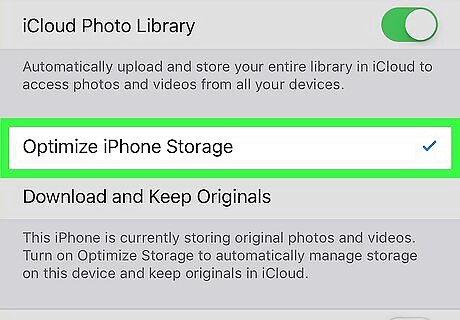
Tap Optimize iPhone Storage to conserve space on your iPad. You'll see this option if iCloud Photos is enabled. This will make the iPad download optimized versions of the photos in iCloud to reduce the amount of local storage needed. Optimized versions of your photos and videos take up about half as much space as full-quality versions.
Deleting Photos and Videos
Open the Photos app. If you want to delete photos and videos from your iPad, you can do so in the Photos app. If you're using iCloud Photo Library, deleting photos and videos from your iPad will also delete them from iCloud.
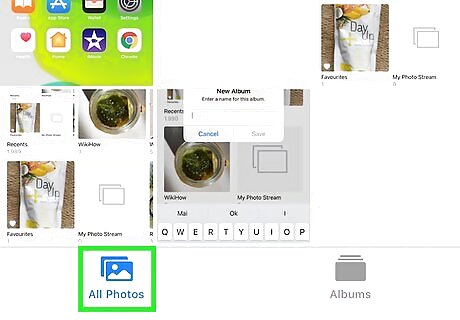
Tap All Photos. It's at the bottom-right corner of the Library tab. If you're not on the Library tab, tap it to go there.
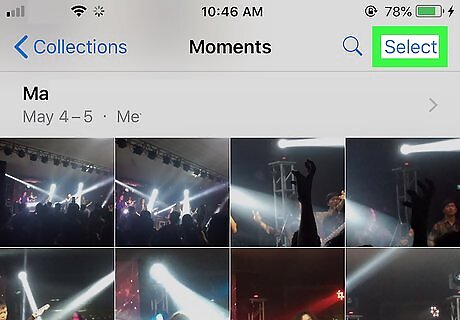
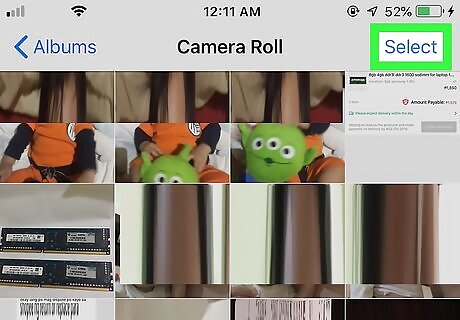
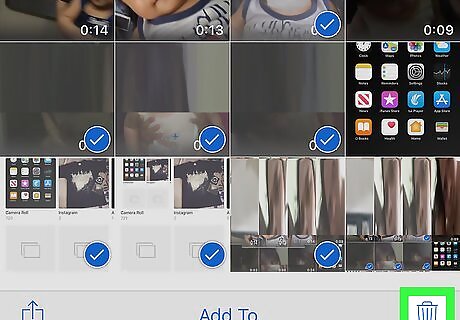
Tap Select. It's at the top-right corner. You will now see "Select Items" on the bottom.
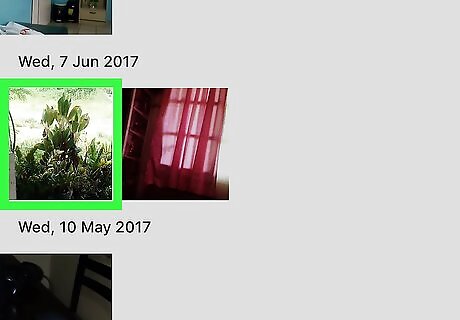
Tap each photo you want to delete. When you select a photo for deletion, a blue-and-white checkmark will appear at its bottom-right corner.
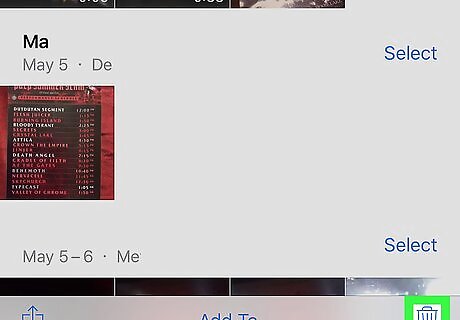
Tap the trash can icon. It's at the bottom-right corner.

Tap Delete (number of) Photos/Items. This moves the photos (and videos, if you selected any) to the Recently Deleted folder, where they will remain for 30 days. Since your photos and videos are still in that folder, you haven't freed up space on your iPad yet.
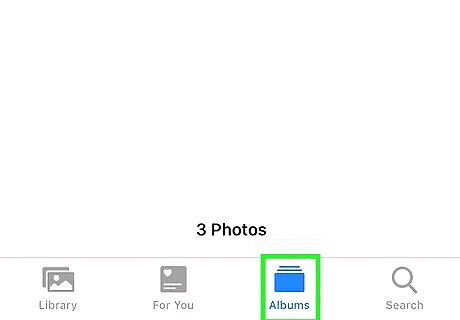
Tap Albums. It's at the bottom of the screen.
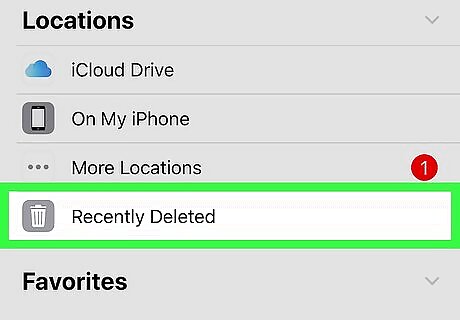
Scroll down and tap Recently Deleted. It's under "Utilities."
Tap Select. It's at the top-right corner.
Tap Delete All. It's at the bottom-right. A confirmation will appear.

Tap Delete (number of) Photos/Items. Once the selected items are deleted, you'll have recovered space on your iPad.
Deleting Music, Movies, and Shows
Open the Settings app on your iPad iPhone Settings App Icon. It's the gray gear icon on your home screen or in your app library.
Tap General. It's toward the top of the menu.
Tap iPad Storage. It's near the middle of the menu.
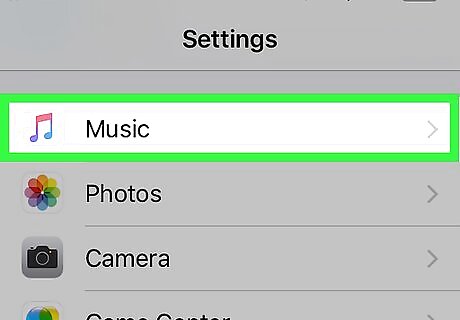
Scroll down and tap Music. You can find it quickly by tapping the search icon at the top-right and typing "Music."
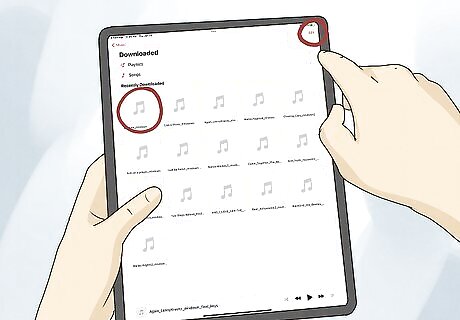
Tap EDIT. It's right above your list of downloaded music. You can select an individual song, album, artist, or playlist to delete.
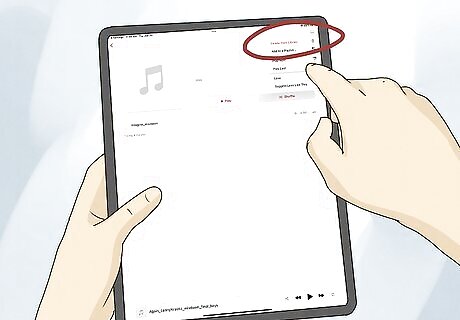
Tap the minus sign to delete music you no longer want. A confirmation will appear.
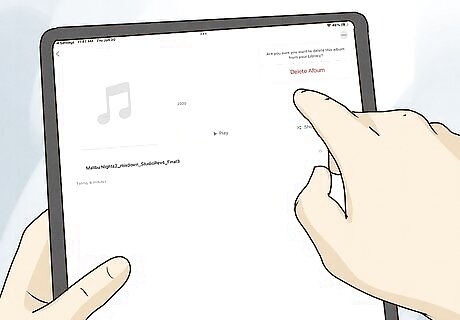
Tap {{MacButton|Delete}| to confirm. This removes the selected music from your iPad.
Tap the back button and select Apple TV. Do this if you want to delete movies and shows you've downloaded from Apple TV downloads.
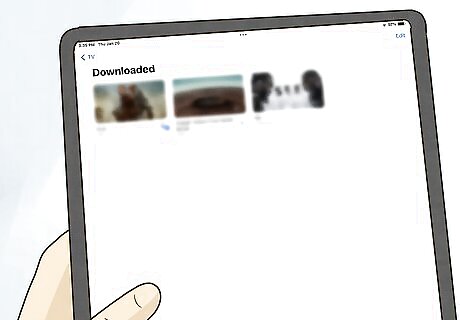
Tap Review Apple TV Downloads. This option only appears if you have downloaded content.
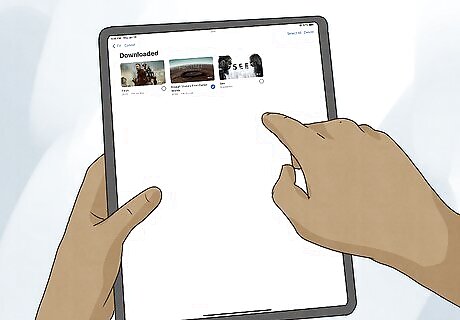
Swipe left on the show or movie you want to delete. A Delete button Will appear.
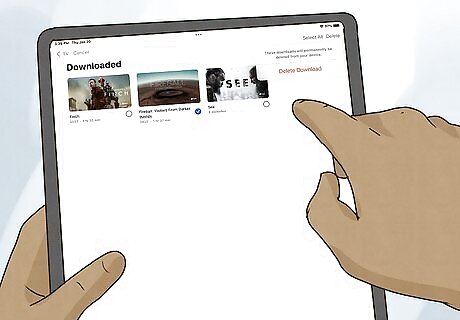
Tap Delete. This removes the video from your iPad and frees up space. You can repeat these steps for Apple Podcasts and Apple Books as well.
Clearing Out Old Text Messages
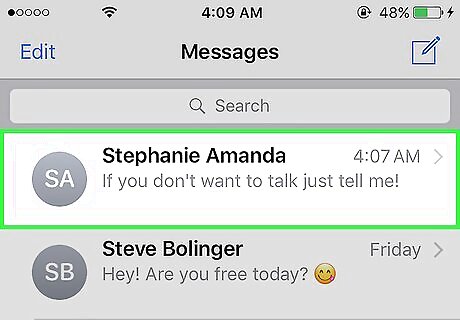
Open the Messages app. If you use your iPad to send messages through iMessage, saved messages could be taking up a large amount of space. This is especially true if you send and receive a lot of images and video through the Messages app.

Delete large attachments (optional). If you don't want to delete an entire conversation, you can delete the photos and videos you've shared with the other person. It's pretty easy to do: Tap the message containing the attachments (such as images and videos) you want to delete. Tap the person's name at the top of the message and select Info. Tap Sell All next to "Photos." Tap Select and tap each photo or video you want to delete. Tap Delete at the bottom to remove the selected attachments.
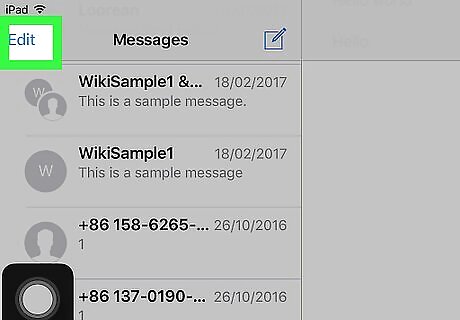
Tap the Edit button. It's at the top of the screen. This makes it so you can delete multiple text messages at once.
Tap Select Messages on the menu. Now you'll be able to select multiple messages.
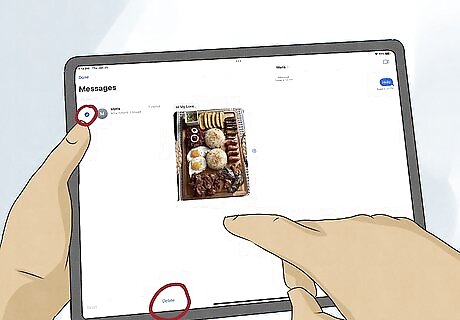
Tap the messages you want to delete. When you mark a conversation for deletion, a blue-and-white checkmark will appear on it. When you delete a conversation, all of the messages and images in it will be erased. Be sure to copy down any important information and save pictures you want to keep to your Camera Roll.
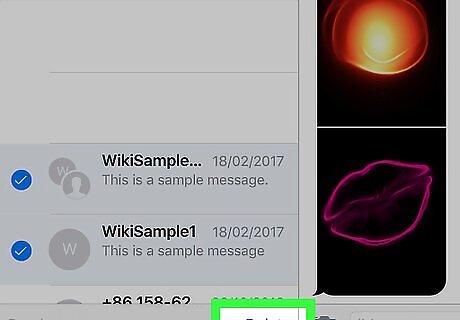
Tap Delete at the bottom of the conversation list. All of the selected conversations will be deleted.


Comments
0 comment