
Painting Stepping Stones
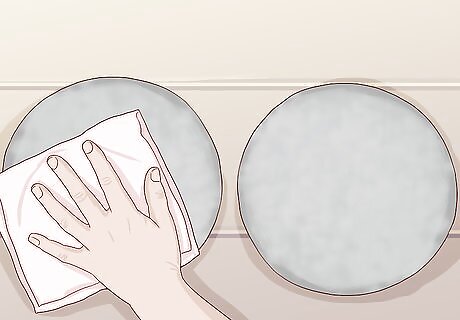
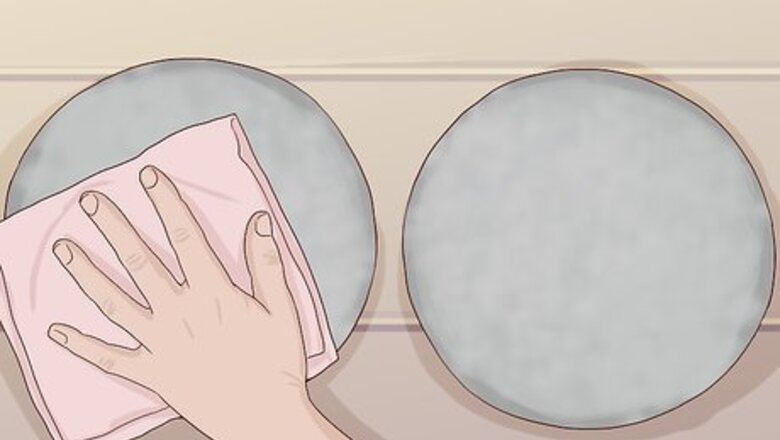
Clean the stones. If you are applying paint, you need a clean surface to start with. Dust and dirt under the paint will cause problems with adhesion and you will end up with flaky paint. Wipe each stone down with soap and water. Then, wipe each stone down with a rag dipped either in water, acetone, or isopropyl alcohol. Let the stones dry before applying paint.
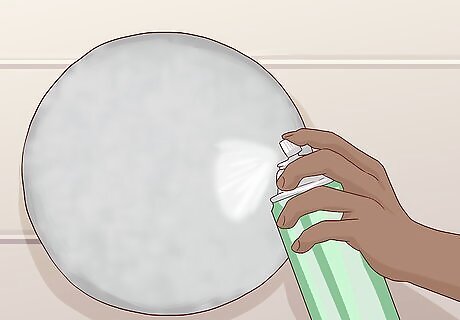
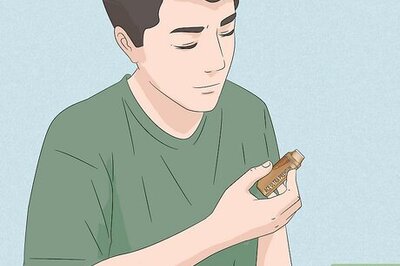
Apply the paint. You can apply glow-in-the-dark paint in 2 common ways. You can buy spray paint and spray the stones, or you can brush the paint on. If you use spray paint, follow the directions on the can regarding time between coats and the distance the nozzle should be from the stone. If you use a brush on paint, make sure that you follow instructions regarding the drying time between coats.

Allow the paint to dry. Once the paint has been applied, it will need to dry. The final dry (known as curing) will take longer than the dry times between your coats. This is because all of the solvent (the chemicals that keep the paint in liquid form) must evaporate. Avoid smudging the paint or getting it dirty before the curing process is over. Depending on the type of paint used, curing can take anywhere from several minutes to hours. Consult the instructions on the can.
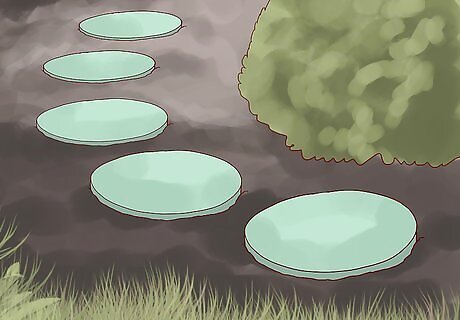
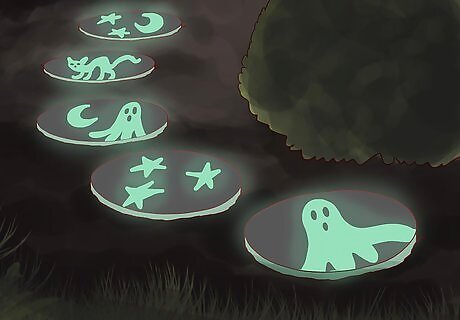
Place your stones. Find a good location to place your glow in the dark stones. Keep in mind that any night time lights (e.g. a porch light) will make the glow less prominent. For the most impressive glow, put the stones in a dark, open path (e.g. through a garden).
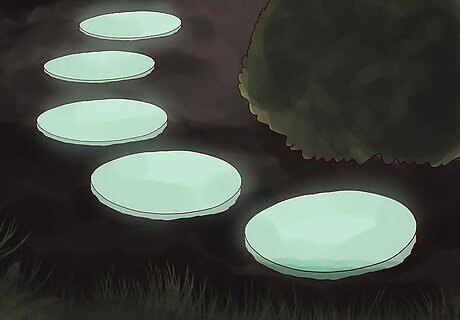
Observe the stones at night. Once your paint has cured, let the stone sit in the sun all day. The paint should absorb energy from the sun. It will slowly release this energy as light (much less intense than the original sunlight), which you will be able to see in the dark. Street lights and yard lights may make the stones seem less impressive.
Making Your Own Stepping Stones

Open a bag of concrete. You can place the whole bag of concrete into a wheelbarrow. Use a spade to break the bottom of the bag open, and lift the bag up. The concrete should spill out into the wheelbarrow. You may have to shake the bag a bit to get it all out.
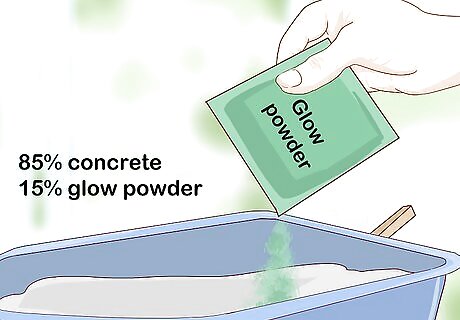
Mix glow powder into the concrete. Glow powder is a special chemical that is designed to absorb energy from the sun through the day. You can find powders that are made to be compatible with concrete at your local hardware store. While the ratios vary, most manufacturers recommend that you create a dry mix of 85% concrete and 15% glow powder. For example, if you had a total of 10 gallons (38 L) of mix, 8.5 gallons (32 L) would be concrete and 1.5 gallons (5.7 L) would be glow powder. Choose a powder with earth aluminate versus one with a zinc base for the best illumination.
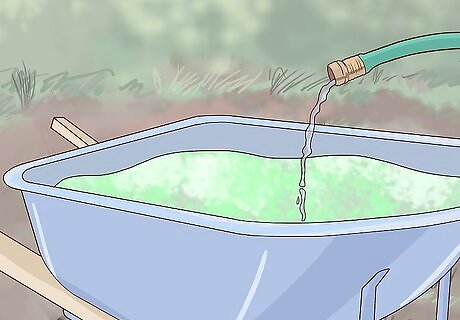
Add water. Consult the concrete bag to know how much water is needed. Pour the water in slowly, mixing as you go. When you are finished, your concrete should be a wet sludge-like consistency.
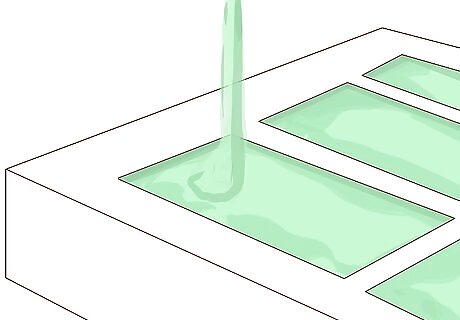
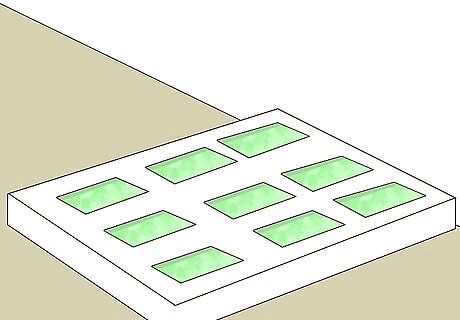
Pour concrete into molds. Find or make a mold that is the size and shape that you want your stepping stones. Lightly coat the inside of each mold with petroleum jelly to make removing the stones easier. Mark the fill point on each mold so every stepping stone is the same thickness. Pour the concrete into each mold, then tap the edges of the molds to remove air bubbles and help the concrete settle. Make sure you have as many molds as you wish to have stepping stones—the concrete in the wheelbarrow will dry up before you get to pour a second round.
Allow the concrete to dry. For the fastest dry times, leave the molds in a dry, relatively warm place. It can still take 24 hours or longer for the concrete to completely dry. If you disturb the concrete before it is dry, you can cause cracks and other imperfections in your stones.

Break open the molds. If you used a reusable mold, use a knife or other prying tool to loosen the concrete. If your mold was disposable, you can just break the mold away from the concrete. Now, your stones are ready to set wherever you want them.
Customizing Stones
Use stencils for painted stones. One of the easiest ways to customize paint is by using a stencil. Lay the stencil down on the stone you wish to paint, and then paint over it. Any area uncovered by the stencil will be painted, and any area covered will not. The contrast between the painted and not painted areas will give your stone a clear, visible design.
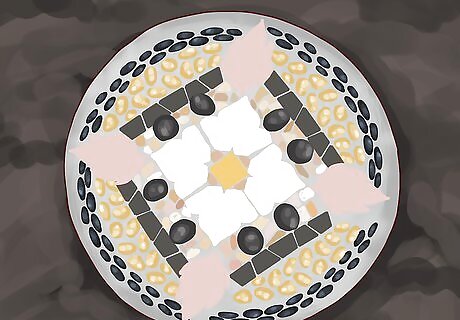
Set trinkets or small objects into concrete stones. If you are making concrete stones, you can place things in the concrete. As the concrete dries, it will harden around these objects. Once the concrete has fully hardened, the objects you added will be held in place. You can place things like small pebbles, trinkets, small yard decorations, or personal items in the concrete. Clean the items with a mild soap solution and a small brush so you can clearly see the details.

Make a cast with concrete stones. While the concrete is still soft, you can use an object to indent the surface of the stone. This will leave an impression in the concrete and create a cast. Most commonly, this is done by placing your hand in the wet mix and creating a stone that has a cast of your handprints.


Comments
0 comment