
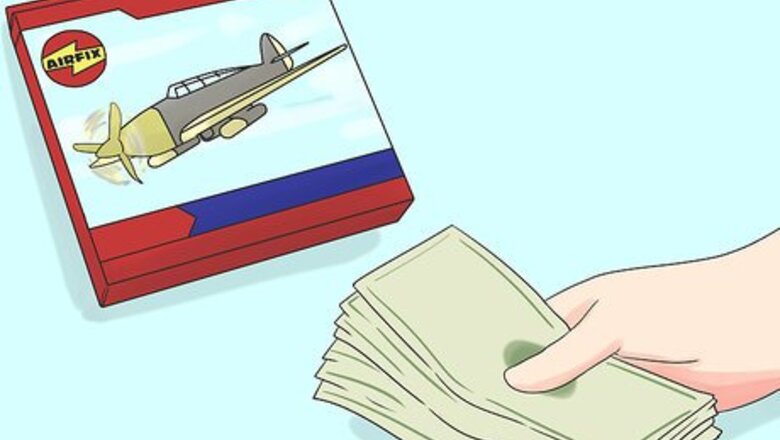
Buy the actual model. This varies largely due to preference, but things to bear in mind include the size and scale of the model aircraft, the difficulty stage on the box, and the paints one needs to buy in order to paint the plane.
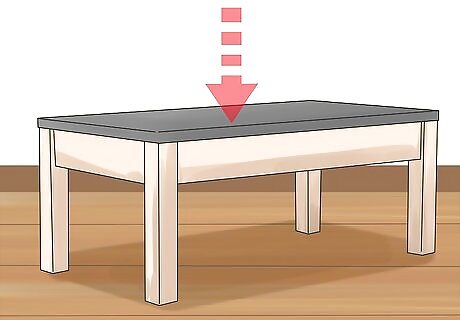
Find a place to work; preferably somewhere you won’t be disturbed. Clear a table or work surface and cover it with newspaper. Tape the newspaper onto the table so there is no chance of it lifting in a draft while you are working. Buying a cutting mat will also help, as it prevents damage being done to the table, and it also is where all the action happens, like painting, gluing and constructing.
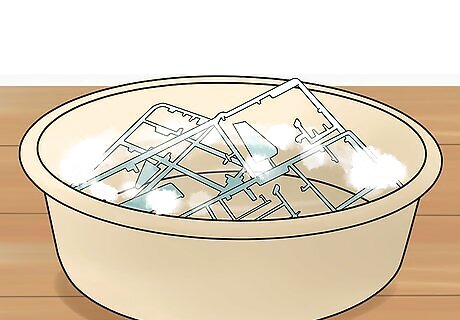
Wash all the items in soapy water with a dash of vinegar before you start construction. This should be done to remove the oily film on the model from manufacturing, and this will make it much easier to paint.
Read the instructions carefully. These will show you all the different stages of the model and you will be able to work out where and when you should paint details such as interiors and pilots. You should also use the instruction sheet to buy which paints you will need during painting.
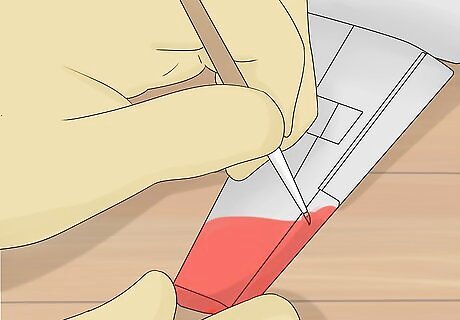
Paint pieces roughly smaller than 1cm while they are still on the sprues. They will be too small and fiddly to paint when cut out of the sprue.
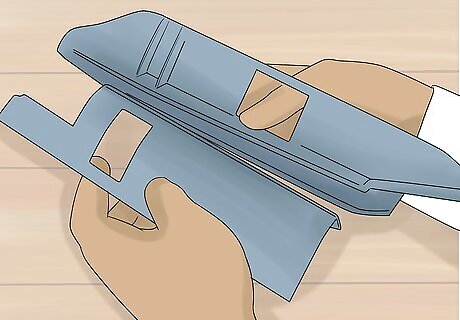
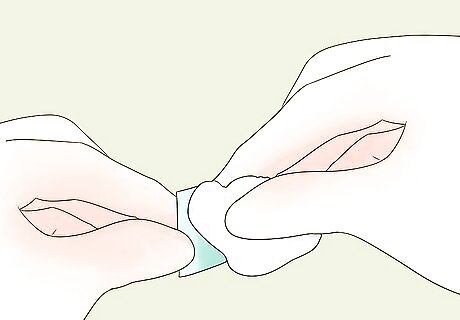
Test all your fits. Before applying the glue or cement, test fit the two pieces which need to be glued without glue first, to make sure that they fit.
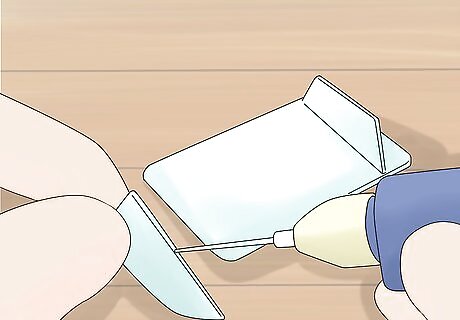
Apply the glue. Be sure to look at the instructions when applying the glue. Make sure to apply the glue sparingly, as you don't want excess glue seeping out of the joints of your model.
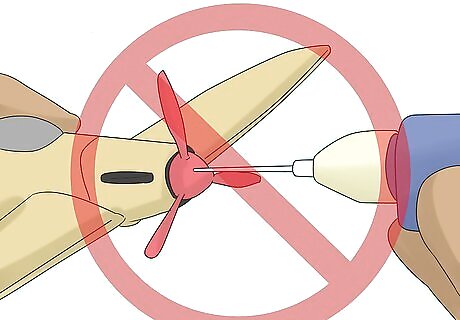
Be sure not to glue pieces like turrets and propellers to the model as they will have to move around. Each decal (stickers for the model) should be individually cut apart from the other decals and placed in a bowl of warm water until they move on the backing paper with a paintbrush.
Put the decal out of the water and onto some tissue to dry off excess water. It is recommended you also add a layer of decal solution to the area where the decal goes, as it will help your decals conform to your model to give that painted on finish.

Hold the backing paper and the decal with tweezers up to where it should be on the plane. Then use a paintbrush to slide off the decal into its correct place. Use the paintbrush to make adjustments to the location and orientation of the decal as well.
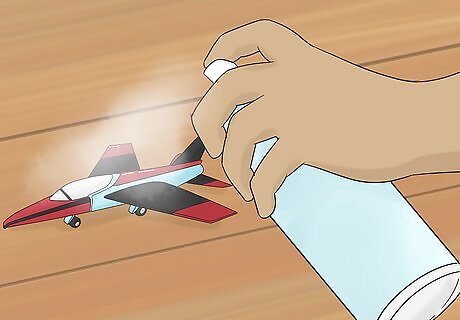
Use weathering effects or gloss to finish off your model. It is recommended you apply a coat of gloss onto the decals to prevent them from cracking off later on. If you want to, spray a layer of varnish onto the model to give it that extra shiny sheen.
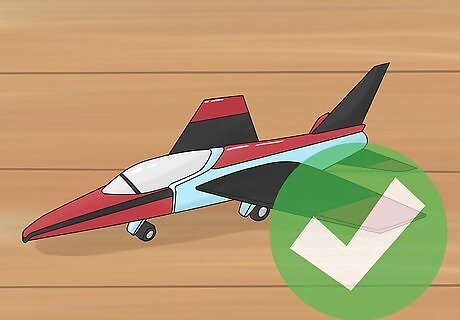
Well done! You have now completed a model plane! Enjoy your work, and remember, your first model is probably going to be your worst, and for most, it only goes onwards and upwards!


Comments
0 comment