views
Making the Sash
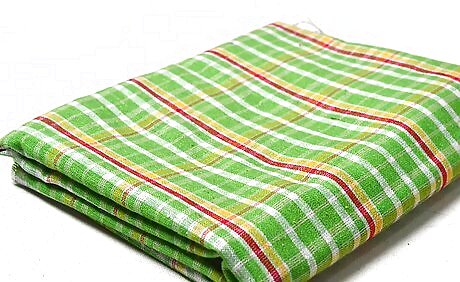
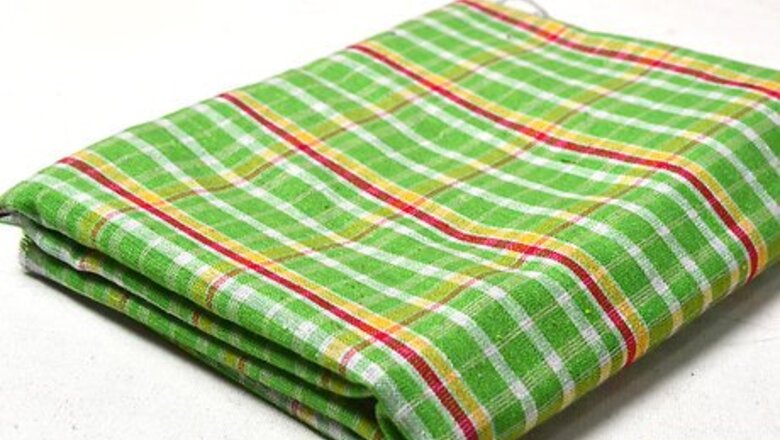
Choose your fabric. You can use the tartan fabric of your choice to make your sash. Select the color and style of the fabric you want to use. You will need one yard of the fabric. Plaid is a traditional fabric for a Scottish sash, but you can also use a solid color if you prefer.
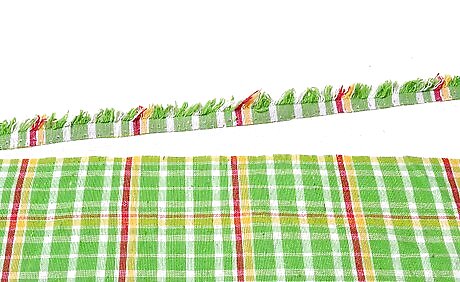
Cut the fabric to the desired width. You can make your sash as wide or as narrow as you like. A narrow sash will look more delicate and this may be optimal for warmer weather, and a wide sash will look heavier and bulkier so it might be best for cold weather. If you are not sure how wide to make your sash, then make it wider than you expect to want it to be, and then try it on. You can always cut off more fabric to make it narrower.
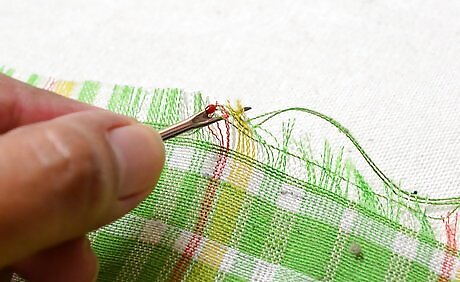
Fray the edges, if desired. You can leave your edges as is or you can pull at the threads to fray them slightly. Find a loose thread and pull until the thread unfurls the edge threads and creates a frayed effect. If you do not want the edges of your sash to be frayed, then don’t pull on any of the threads. If you want to ensure that it does not fray at all, then you can also add a hem to the edge of your sash. To add a hem to the edges, fold over about 1/2” (1.3 cm) of fabric and sew along the edges to secure it.
Creating the Rosette
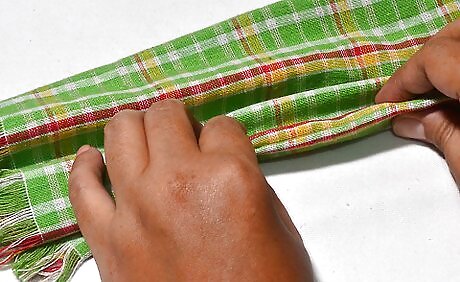
Fold the edges on one end like an accordion. Making a rosette on the edge of your sash is an easy way to add some decorative flair. Start by folding over one of the short edges of the sash by about ½” to 1” (1.3 cm to 1 cm). Then, fold the fabric in the opposite direction. Keep folding the fabric in an accordion fashion to gather the fabric until you have made 10 folds.
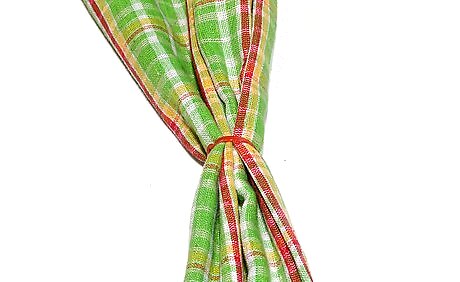
Secure the folds at the center using a rubber band. When you have finished folding the fabric, use a rubber band to secure it in the center. Wrap the rubber band around the center of the folded fabric a few times to ensure that it will hold the gathered fabric in place. Make sure that you use a strong rubber band to secure the fabric.
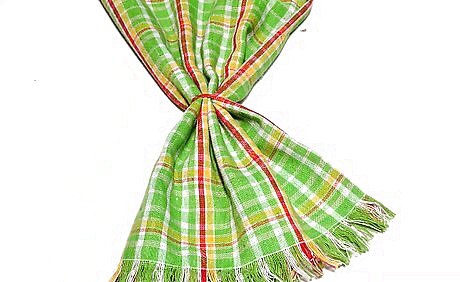
Fan out the fabric. When the fabric is secured, begin to fan out the outer folds to form the rosette design. Keep fanning out the fabric until you are happy with the shape of your rosette. If needed, you can also slide the rubber band over to one side or the other to even out the two portions of gathered fabric.
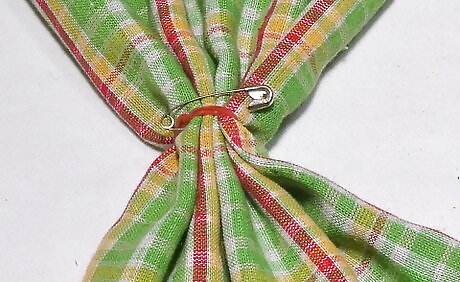
Pin the rosette to secure it. Decide which side of the rosette will be the back side and then turn to that side. Place a pin between each of the sides of gathered fabric and near the center of the rosette. Make sure that you do not pierce the rubber band or it may snap.
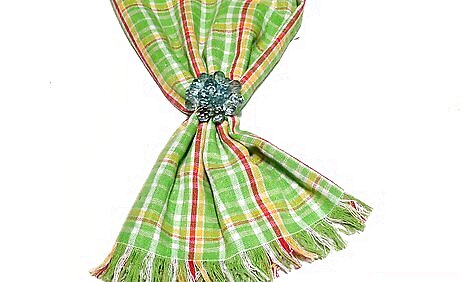
Attach a brooch or badge. After you have secured the rosette, attach a brooch or badge to the center of the rosette. This will cover up the rubber band and make the rosette even more secure. Although you want to insert the pin through the center of the rosette, you also want to make sure to avoid putting the pin of your brooch or badge through the rubber band because it may break.
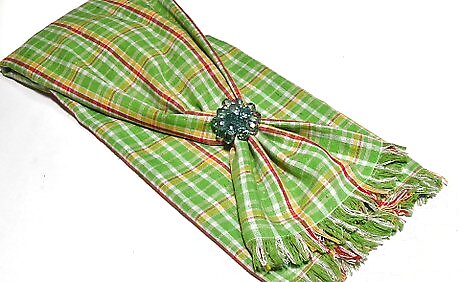
Wear your sash. The best option for wearing a Scottish sash with a rosette is to pin the rosette to the front of your shirt or dress near your shoulder. Attach the rosette for that the sash fabric will fall over your shoulder and hang down behind you. If desired, you can attach the hanging fabric to the back of your shirt or dress using pins or secure it with a belt.


Comments
0 comment