
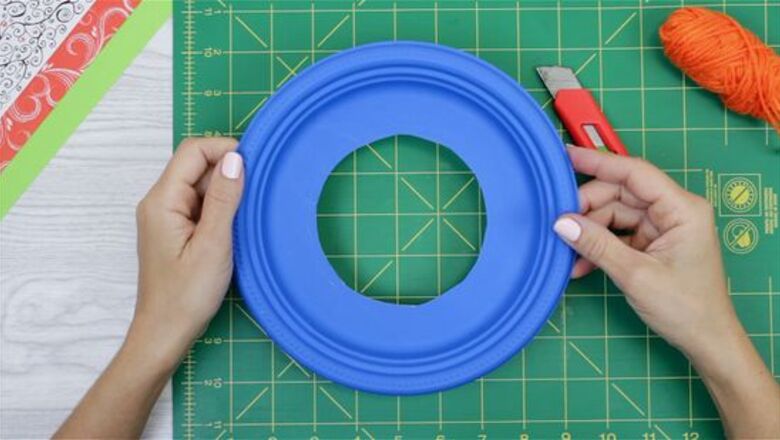
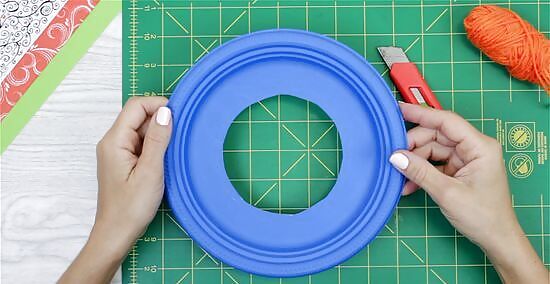
Cut out the center of a paper plate. Use a plain white one or a coloured or patterned paper plate.
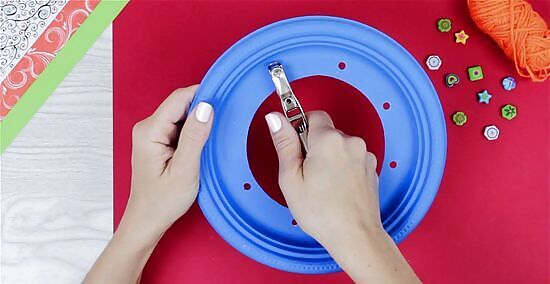
Using a hole punch and make holes all around the edge of the plate, in the rim. Make them evenly spaced or punch holes at random.

Cut about a 4 foot (1.2 m) length of yarn or string for a mini paper plate or cut a 6 feet (1.8 m) length of yarn or string for a standard sized plate. Use wool, string, rafia, anything at all.
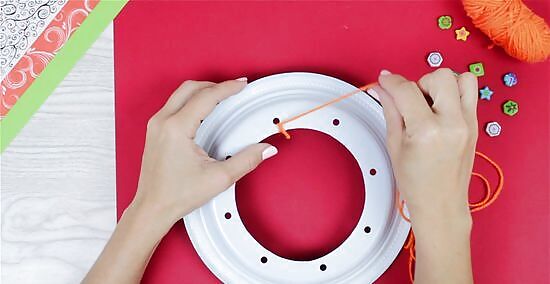
Thread one end of your yarn through one of the holes in your paper plate and tie it in a knot so it stays in place.
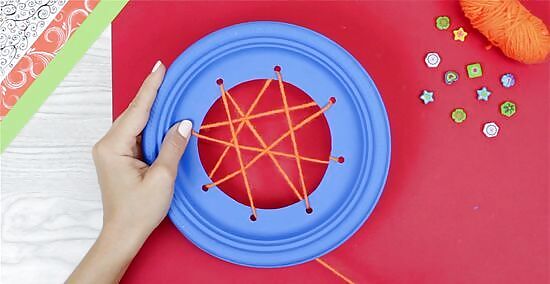
Thread this yarn or string through each hole. If you're struggling to thread six feet of yarn through a tiny hole time after time, cut the yarn into manageable lengths. You can start threading your lengths of yarn at any point around the rim of the plate. Don't put too much tension on the yarn, the paper plate won't stay a neat circle if your threads are too tight.
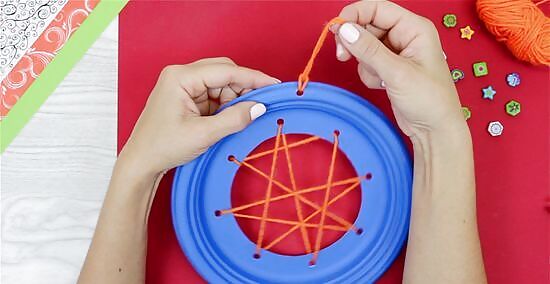
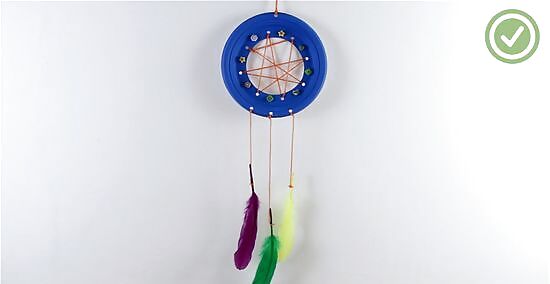
Make a hole on the top of the dream catcher and tie on some string/yarn to suspend your dreams catcher.
Decorate your dream catcher with feathers. Every dreamcatcher has to have feathers! Three is a good amount but you can use more or less. The feathers will hang off your dream catcher on more yarn of thread. If you are using a large plate cut two, four-inch pieces of yarn or thread and one six-inch length. If you are using a mini plate cut two, two-inch pieces and one four-inch piece.
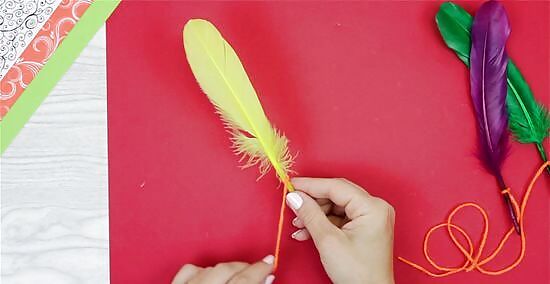
Tie each feather onto the string.
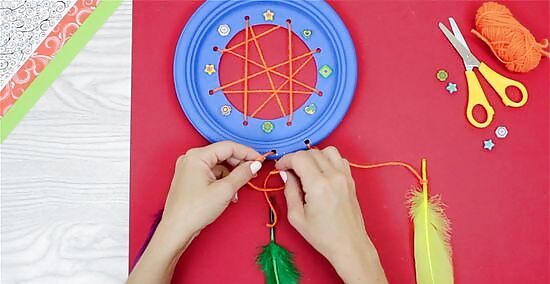
Tie the string with feathers on the bottom of the dream catcher.
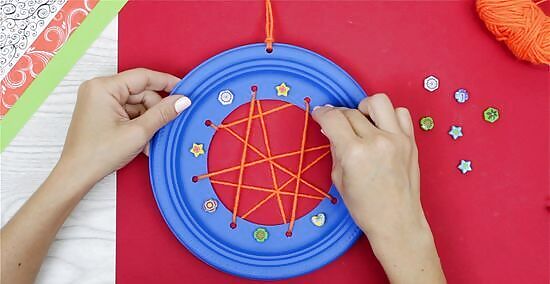
Add additional decorations, if desired. You can go around the circle punching holes on the outer edge and then tie colorful yarn or beads on it.


Comments
0 comment