
Creating a Gravel Vacuum
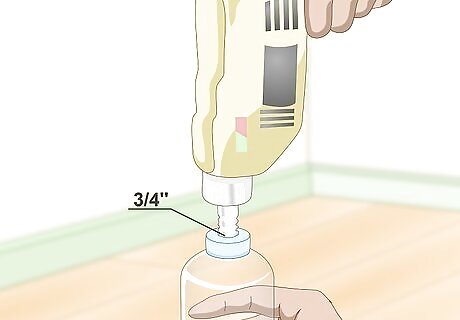
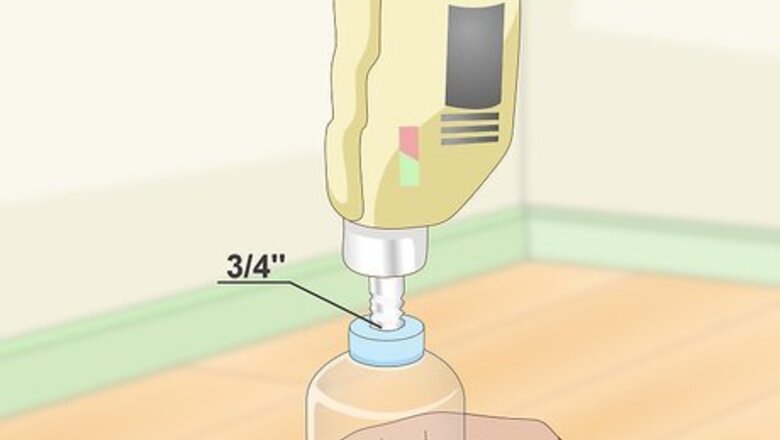
Drill a ⁄4 inch (1.9 cm) hole into the center of your bottle's cap. Start by removing all of the labels from your 17 ounce (502 mL) plastic bottle. Now, with the cap attached to the bottle, use an electric drill and ⁄4 inch (1.9 cm) bit to drill a hole into the center. Be sure the cap is tightly attached to the bottle prior to drilling the hole.
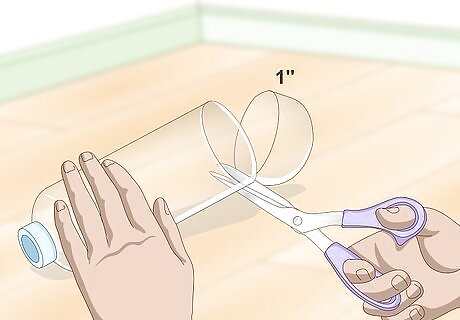
Remove the bottom 1 inch (2.5 cm) of the bottle. Hold the bottle horizontally with your non-dominant hand and grip it firmly. Now, use a pair of scissors to remove the bottom portion, which is typically about 1 inch (2.5 cm) long. Turn the bottle as you cut to make removal easier.
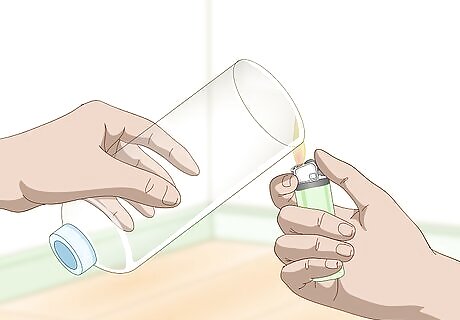
Heat the edge of the cut portion of the bottle. Hold the bottle horizontally in front of you with your non-dominant hand. Afterward, turn on your lighter and run the flame around the circumference of the bottle's cut edge to strengthen the plastic. Take care not to burn the bottle, which will cause the release of toxic fumes.
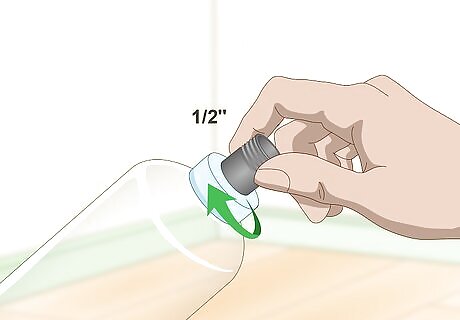
Screw a ⁄2 inch (1.3 cm) male riser into the cap's hole. Press the tip of the riser into the cap's hole and turn it clockwise while applying light pressure. Continue doing this until the smooth part is flush with the cap—the riser should be a perfect fit. Tighten the cap as much as possible after screwing in the riser.
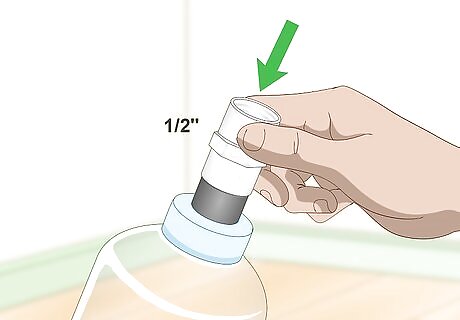
Attach a ⁄2 inch (1.3 cm) PVC female adapter to the male riser. Press the tip of the female adapter to the remaining ridged end of the male riser. Now, turn the adapter clockwise until it fits tightly against the smooth portion of the riser. Make sure you screw on the threaded side of the female adapter.
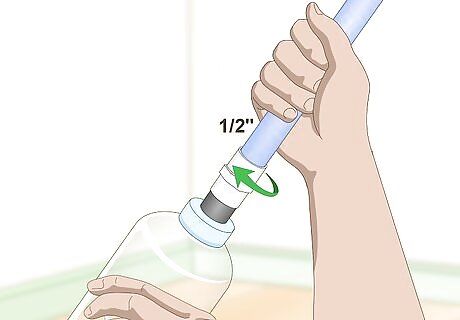
Connect the ⁄2 in (1.3 cm) inch diameter PVC pipe to the female adapter. The PVC pipe acts as the wand for your gravel vacuum. Make sure the pipe is about 2 feet (0.61 m) long for every 55 gallons (210 L). Insert an open end of the PVC pipe into the remaining non-threaded hole in the female adapter. Press it firmly into place until it can't go in any further. Gently turn the pipe left and right as you press it into the female adapter.
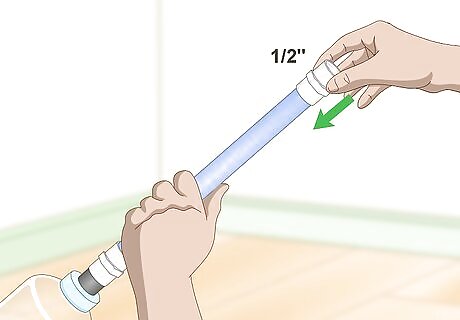
Attach a ⁄2 inch (1.3 cm) PVC female adapter to the PVC pipe. Locate the smooth end of the remaining female adapter. Now, press it firmly onto the remaining end of the PVC pipe until it fits snugly. Make sure the free end of the female adapter is the ridged end.

Attach the remaining male riser to the female adapter. Cover each ridged end of the ⁄2 inch (1.3 cm) male riser with plumber's tape for waterproofing. Afterward, place it against the free ridged end of the ⁄2 inch (1.3 cm) female adapter and turn it clockwise until it's screwed tightly in place. Cut off any excess pieces of plumber's tape that extend past the ridged ends of the male riser.
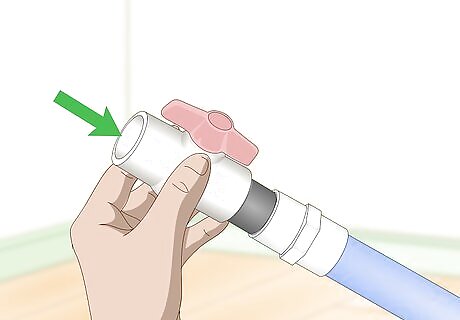
Connect the ball valve to the male riser. Place the ball valve against the free end of the male riser. Now, turn it clockwise until it screws into place. Use the slight groove created by this connection to hold the vacuum.
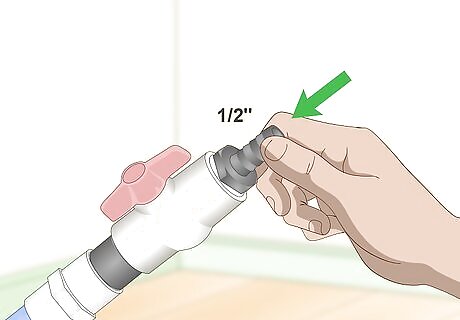
Wrap and connect a ⁄2 inch (1.3 cm) male hose adapter to the valve. Start by wrapping plumber's tape around the tip of a ⁄2 inch (1.3 cm) male hose adapter. Now, screw the connector into the free end of the ball valve. Check that your wand is made of the following (in order): plastic bottle, ⁄2 inch (1.3 cm) male riser, ⁄2 inch (1.3 cm) PVC female adapter, ⁄2 inch (1.3 cm) inch thick PVC pipe, ⁄2 inch (1.3 cm) PVC female adapter, ⁄2 inch (1.3 cm) male riser, ball valve, and a ⁄2 inch (1.3 cm) male hose connector.
Setting up the Vacuum's Power Head
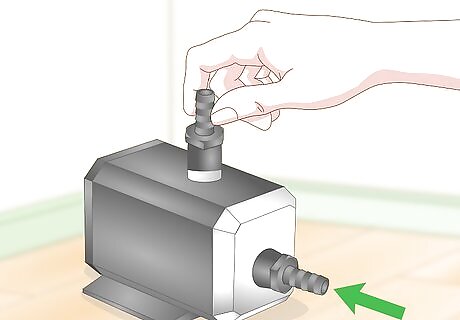
Screw two ⁄2 inch (1.3 cm) hose adapters to the power head. The 400 gallon (1,500 L) power head has 2 threaded input and output holes. Start by wrapping the threaded end of each hose adapter with plumber's tape. Now, screw them clockwise into each of the holes. Cut off any excess plumber's tape after wrapping the adapters.
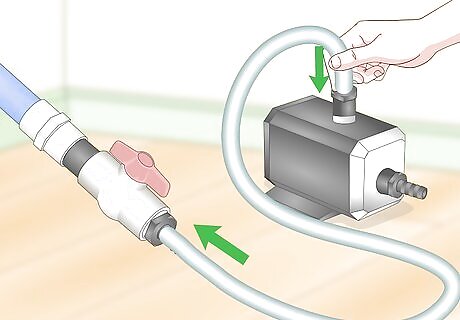
Connect the wand and power head with the longer piece of vinyl tubing. Attach one end of the ⁄8 by ⁄8 inch (2.2 cm × 1.6 cm) vinyl tubing to the free end of the ⁄2 inch (1.3 cm) male hose adapter on your wand. Now, attach the remaining end of the tubing to the male hole connector in the power head's input hole. Press each end of the tubing firmly over the adapters until they're flush with the ridged edges of the connectors.

Attach the short vinyl tubing to the male hole adapter's output. Press one end of the shorter vinyl tubing onto the free end of the male hole adapter attached to the power head's output hold. Continue pressing it in until it's tightly in place. Turn the vinyl tubing left and right as you apply pressure to attach it firmly.
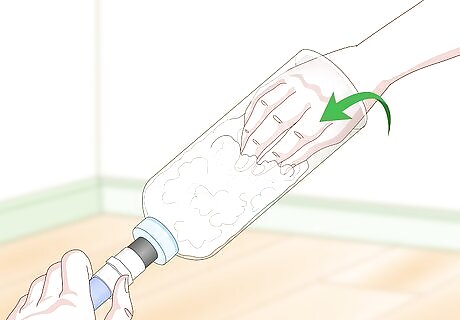
Stuff 100 percent polyester filling into 1/2 of the plastic bottle. Grab a handful of polyester filling and push it into the pop can all the way down to the opening—it should fill about ½ of the bottle total—to separate incoming debris. You can purchase polyester filling from crafts stores for very cheap. Swap out polyester filling with filter padding for a more effective—but more expensive—option.
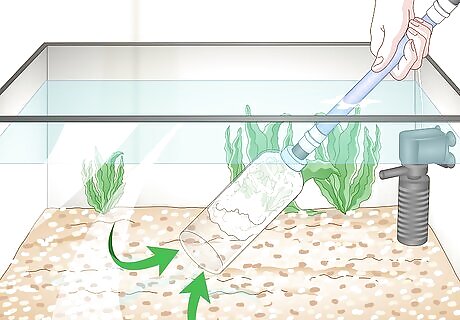
Vacuum your aquarium. Suspend the end of the gravel vacuum in the aquarium. Place the power head's output tubing into the aquarium horizontally until it fills completely and then quickly close the ball valve by turning it clockwise to hold the siphoned water. Position the powerhead against the glass and clamp the output tubing to the edge of the aquarium with a tube clip. Now, reopen the ball valve, plug in the power, and start cleaning your tank. Focus your efforts on the bottom of the tank as opposed to the top surface of the water. Move the vacuum head in a grid-like pattern every 3 to 4 seconds. Unplug the power head and drain the remaining tubing when you're finished.
Creating a Siphon
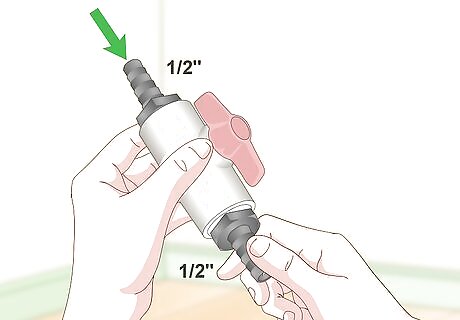
Attach two ⁄2 inch (1.3 cm) male hose adapters to the ball valve. Press each connector to an open end of the valve and turn them clockwise until they're flush against the valve. Afterward, use a wrench to grip each one and tighten them as much as possible. Grip each connector perpendicular to the valve as you tighten them. It's important to note that the smaller the diameter of the hose, the gentler the flow. If you need a gentler siphon, use a smaller hose.
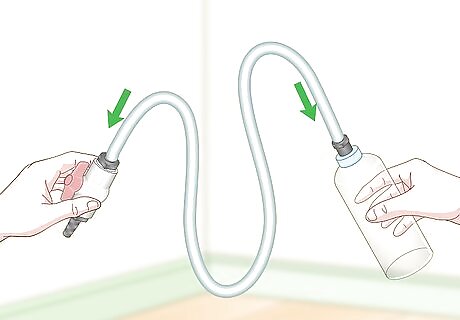
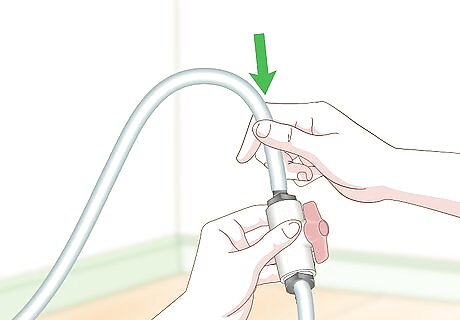
Connect the ball valve and plastic bottle with 3 to 4 ft (0.91 to 1.22 m) tubing. Start by connecting one end of the tubing to the male adapter extending from the plastic bottle. Now, connect the remaining end to one of the connectors on the ball valve. Turn the hose to the left and right while applying pressure toward the male adapter.
Attach the remaining tubing to the ball valve. You should now have about 7 feet (2.1 m) of tubing left—connect it to the male adapter remaining on the ball valve. The remaining tubing can be as long as you want.
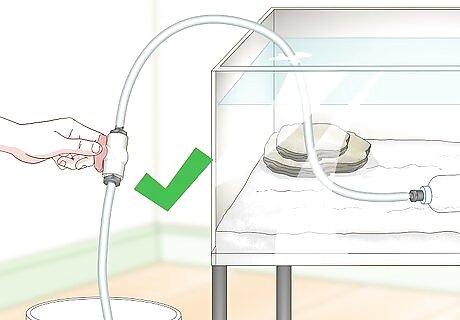
Siphon water from your aquarium. Start by putting the tube into the aquarium horizontally so that it fills completely. Now, turn the valve clockwise to hold the water in place, place the hose into a drainage bucket, and turn the valve counterclockwise to loosen it and start the flow of water. Turn the valve clockwise to stop the flow of siphon water and turn it counterclockwise to resume it. You can also use your mouth to pull back on the tube after filling it and hold the water in place. However, this isn't recommended for sanitary reasons.


Comments
0 comment