views
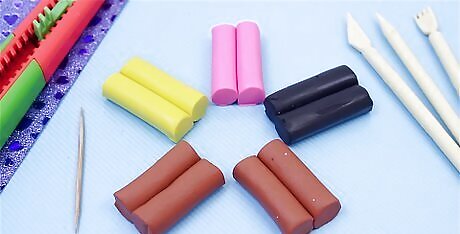
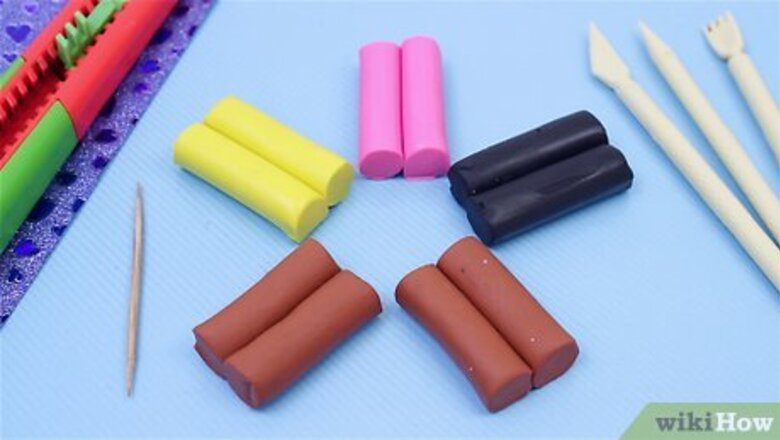
Gather clay, tools, and some big black beads. Get the clay colors that speak to you when you envision the cat. Good choices might be brown, black, pink, red, and yellow clay. You will add interest by creating details with tools such as forks, plastic knives, garlic pressers, whatever your imagination brings forward. The varied textures and colors will make your creature eye-catching.
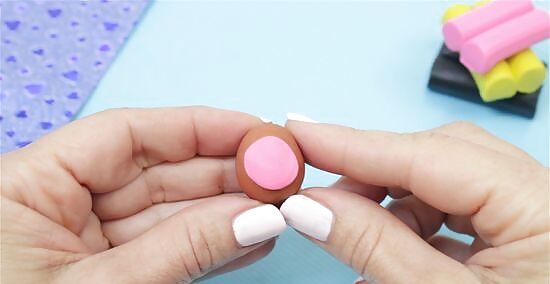
Start by rolling out a big piece of brown clay and forming it. This will be the body. Roll the brown clay in a big ball. Then squeeze the top sides a little to create an egg-shaped body. To add more detail to the belly, flatten a piece of pink clay into an egg shape, a bit smaller than the body. Then stick it on body for the stomach.
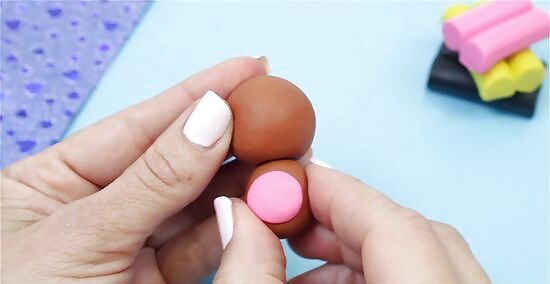
Roll a ball of brown clay for the head. Use something to keep it in place, such as a toothpick, when you stick it on top of the body.
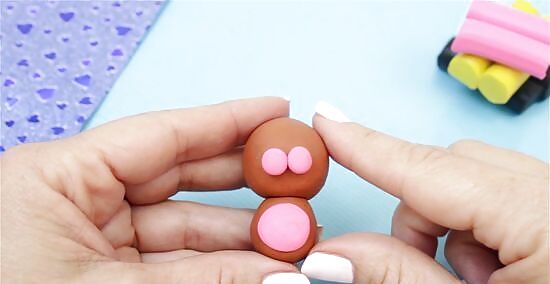
Make cheeks by flattening two small balls. Put them next to each other on the bottom of the head (not all the way at the bottom). Add a very small ball under the cheeks in the middle.
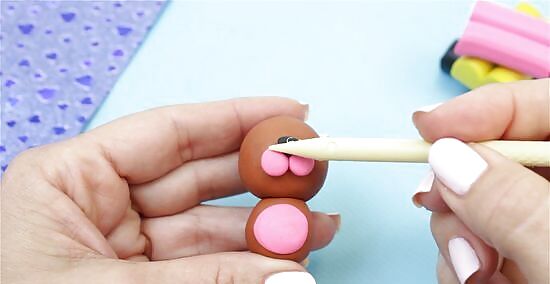
Add the nose on top of the cheeks in the middle.
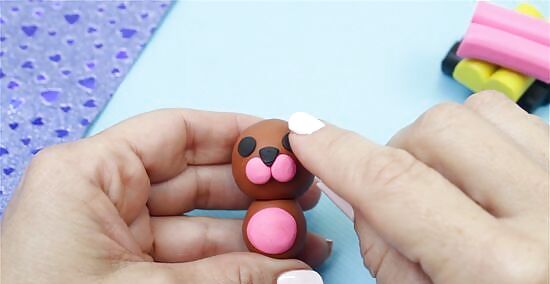
Add eyes using the black beads. You don't really need to make a mouth though because the snout forms the mouth.
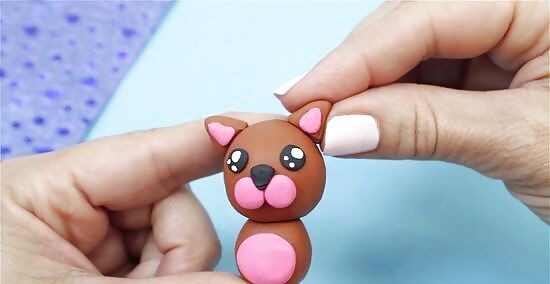
Make small triangular-shaped ears and poke a small hole in them (not all the way through). Put some pink clay inside the holes and stick the ears on top of the head.
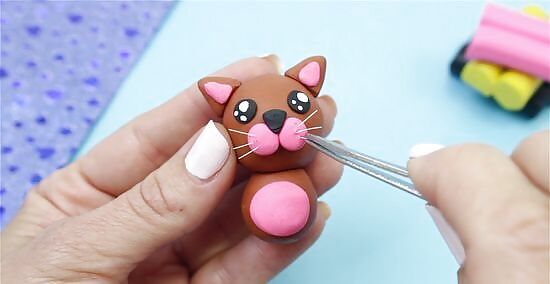
Drag a toothpick on the sides of the snout to make whiskers. You can also stick in string to make whiskers.
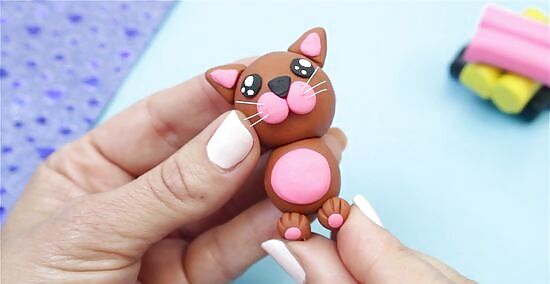
Make front legs. Bend a little at the front to make paws. Add claws by pushing a line down on each paw with a toothpick three times. Stick them on the front of the clay cat. Do the same method with the legs, but stick them in the back. Add pads on the arms and legs to add more detail, but you don't have to if you don't want to.
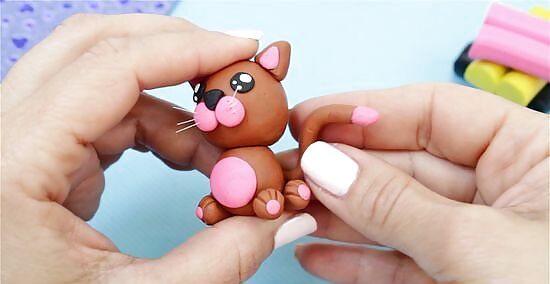
Add a tail on the back at the bottom.
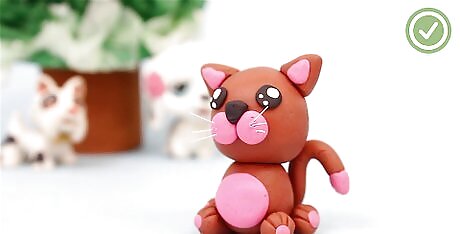
Finished.








Comments
0 comment