views
- To take advantage of face labels in Google Photos, be sure to enable "Group similar faces" within your settings.
- Label faces on the Photos mobile app by opening the "Search" tab and tapping "Add name" underneath one of the faces listed atop your screen.
- Click on the search bar atop the Google Photos webpage and select a face along the bottom of the expanded search window. Then, click "Add a name" and type your desired label.
Labeling Faces (Mobile App)
Open Google Photos on your Android, iPhone, or iPad. It's the multicolored pinwheel icon on your home screen or in the app drawer.
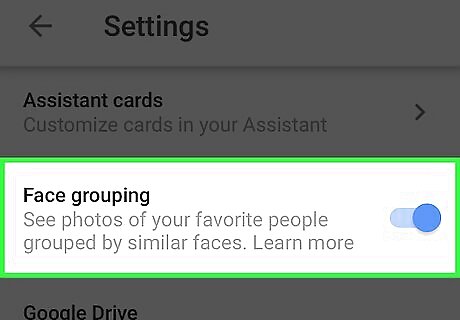
Make sure Face Grouping is on. Otherwise, you won’t be able to group by face. Tap profile photo or initials and select Google Photos settings or Photos settings. Tap Preferences. Tap Group similar faces. Make sure the "Face groups" switch is in the On position. (You can turn this off at any time) To label pets as well as people, toggle on the "Show pets with people" option. Tap the back arrow to return to Photos.
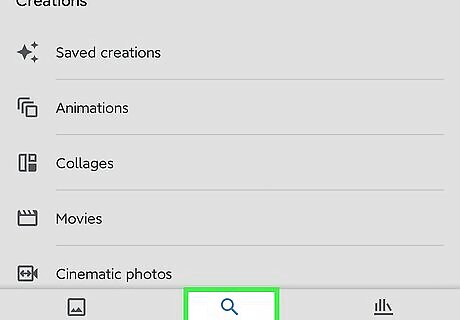
Tap Search. It's at the bottom of the screen. You will see a row of faces atop your screen, with the header People & pets. If you don’t see any faces, this feature is unavailable in your country.
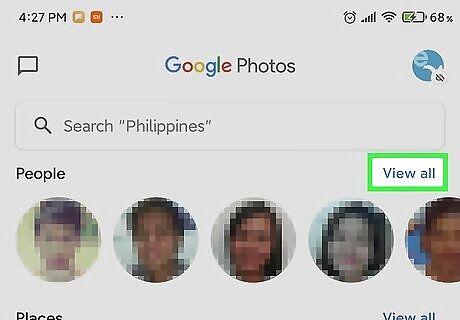
Tap View All next to the row of faces. Now you’ll see all the faces identified by Google in your photos. Don’t panic if you see two photos of the same person in this list—you’ll be able to group them later.
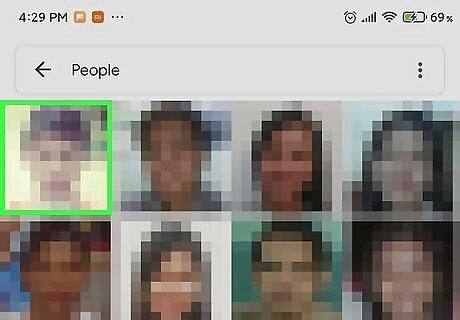
Tap a face to label. A new screen will appear, with that person’s face at the top and the words "Add a name" at the top. You can also tap on Add name instead of their photo to label that face without opening the full page of photos.
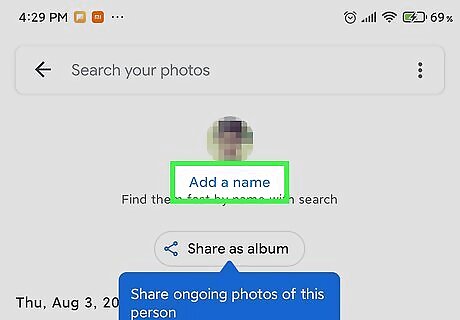
Enter a name for this face. Tap Add a name, and then type a name for this person. Because labels are just to help you search your photos, nobody will see this name except you.
Tap Done or the checkmark to save the label. Now you can label additional faces the same way. If you have multiple groupings of the same face, you can merge them by giving them the same name.
Labeling Faces (Computer)

Navigate to https://photos.google.com. You can use Google’s Face Grouping feature to label similar faces, making it possible to find photos by searching by a person’s name. If you’re not already signed in to Google Photos, do so now.
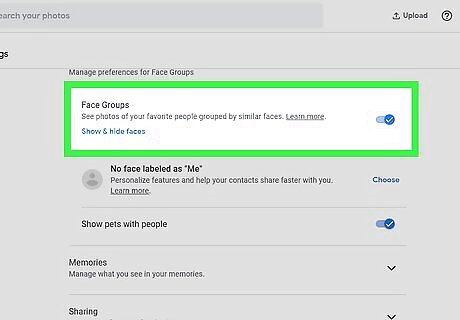
Make sure Face Grouping is turned on. Before you can assign labels to and group similar faces, you must make sure the feature is enabled (and available in your area). Click the gear at the top-right corner. Click the arrow next to Group similar faces. Toggle on the "Face Groups" option. To label pets as well as people, toggle on the "Show pets with people" option. Click your browser’s back button to return to your photos.

Click in the search box. A list of face icons will appear near the bottom of the expanded search menu. If you don’t see a photo of the face you want to label, click the right arrow labeled See all people to view more faces.
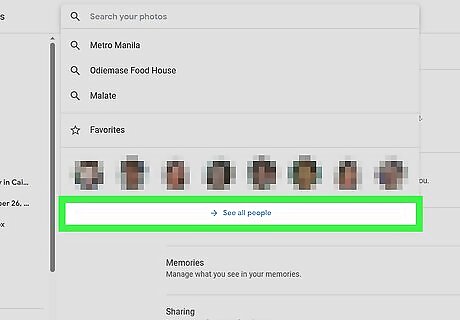
Click See all people. It's at the bottom of the menu below the existing faces.
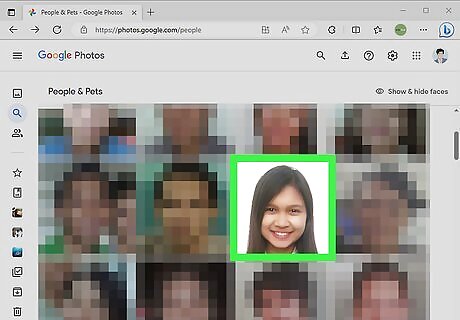
Click a face photo to label. Don’t worry if you see the same person in multiple face photos. You’ll be able to group them later.
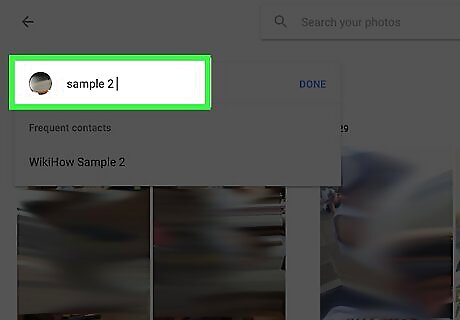
Enter a name for this face. Click "Add a name," and then type a name for this person. Because labels are just to help you search your photos, nobody will see this name except you.
Press ↵ Enter or ⏎ Return. Now when you search for that name in the search field, photos of that person will appear in the results. If you have multiple groupings of the same face, you can merge them by giving them the same name. You'll be asked to verify whether the faces are the same—if you confirm, the faces will be merged.
Removing Photos from a Label
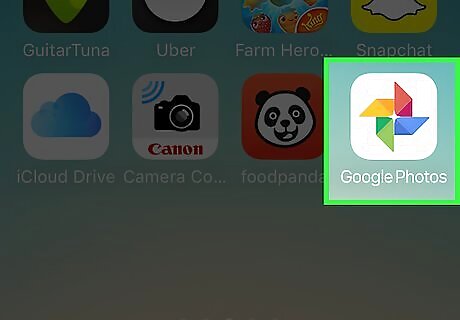
Open Google Photos on your device. Start by opening Google Photos on your mobile device or by pointing your web browser to https://photos.google.com.
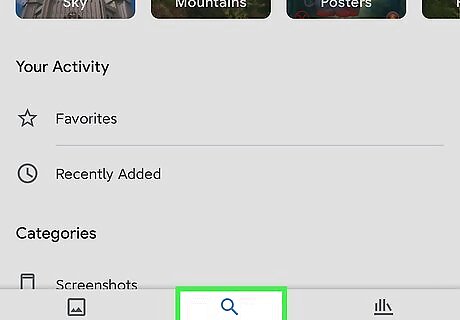
Click or tap the search field. The search menu will appear, and you’ll see the list of faces near the top.
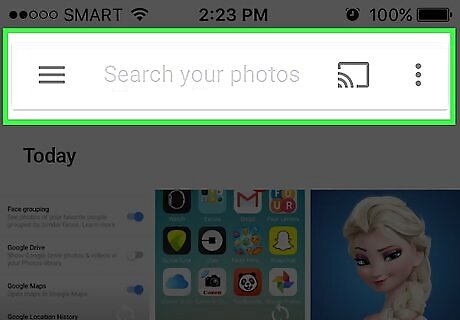
Type the label into the search field. You should see the label appear at the top of the search results.
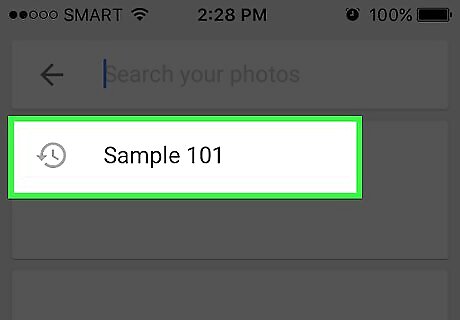
Select the label from the search results. Now you’ll see that label’s page, containing all photos associated with that face label—including the one(s) that don’t belong there.
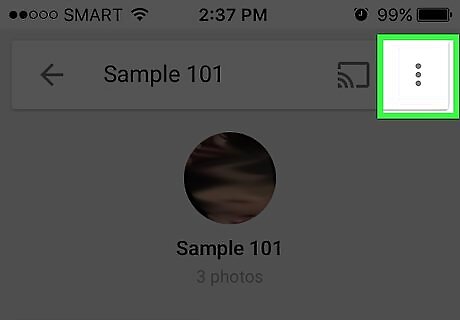
Click the ⁝ menu at the top right corner of the page. A brief menu will appear.
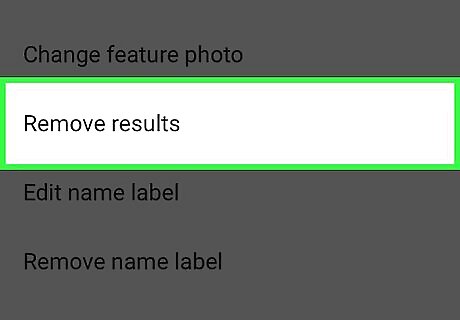
Select Remove photos.... A circle will appear at the top left corner of each photo. This is so you can select multiple photos at once if you wish.
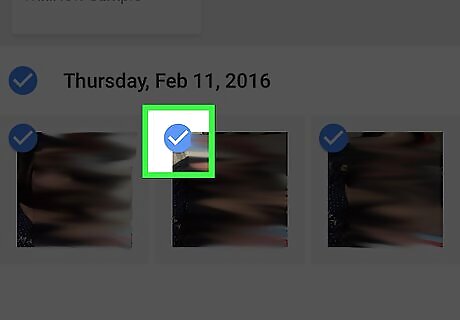
Click or tap the circle to select a photo to remove. You can click or tap multiple photos to select more than one.
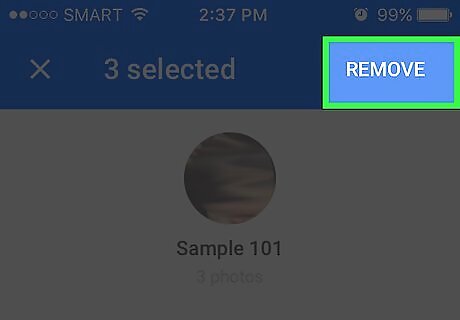
Click or tap Remove. This link is at the top right corner of the page. Once clicked, the face label will be removed from the photo.
Renaming or Removing a Label
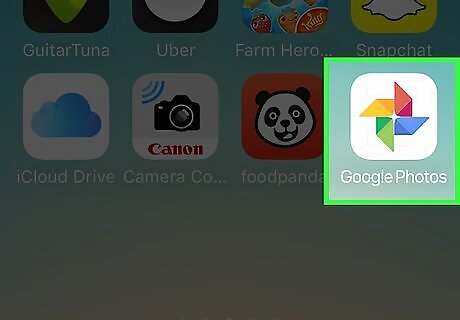
Open Google Photos. Start by opening Google Photos on your mobile device or by pointing your web browser to https://photos.google.com].
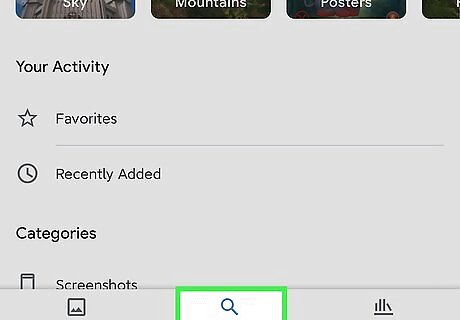
Click or tap the search field. If you're using the mobile app, tap the Search icon at the bottom instead. The search menu will appear, and you’ll see the list of faces near the top.
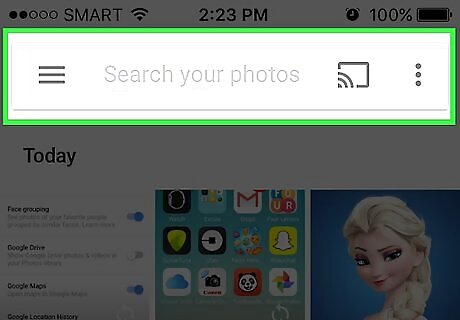
Type the label into the search field. The label you want to change should appear first in the search results.
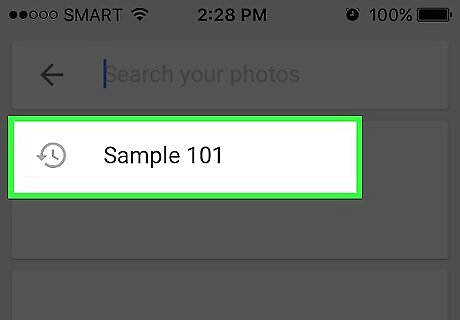
Select the label from the search results. Now you’ll see that face label’s page, containing all photos associated with that face label.
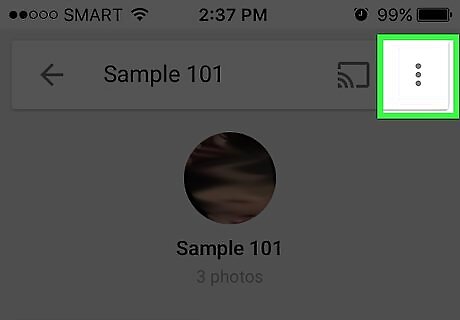
Click the three-dot menu at the top right corner. A menu will appear.
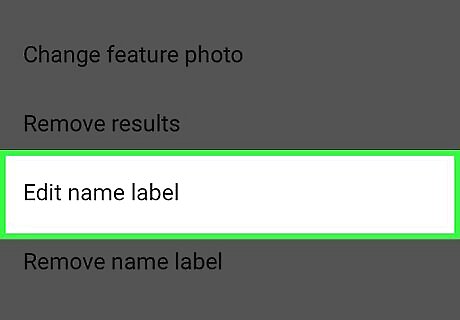
Select Edit name label to rename the label. To change the current label name to something else: Backspace over the current label name. Type a new name for the label. Tap the back arrow to save your changes.
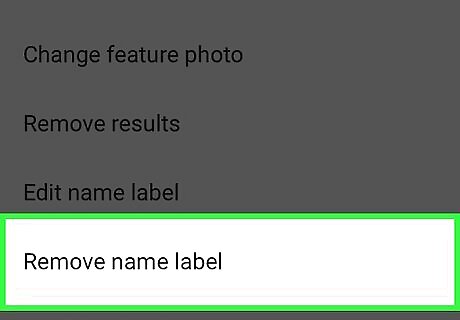
Select Remove name label to delete the label. The photos will not be deleted, just the label will be removed. The next time you search for something in Google Photos, you’ll notice that the face formerly associated with this label will now appear in the list of label-less faces. You can add a new label at any time.
Hiding Faces from the Search Results
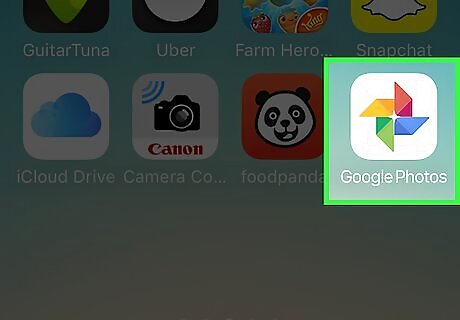
Open Google Photos. You can choose to hide all photos that match a certain face whether or not you’ve given it a label. Use this method if there’s a person who appears in your photos that you don’t want to see in your search results.
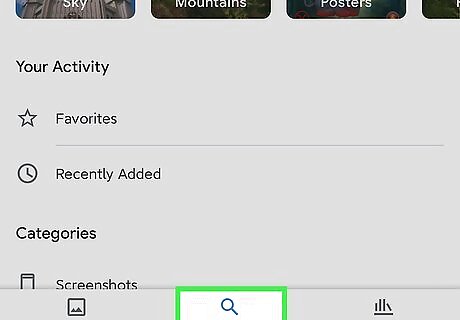
Click in the search field. If you're using the mobile app, tap the Search icon at the bottom instead. The search menu will appear, and you’ll see the list of faces near the top.
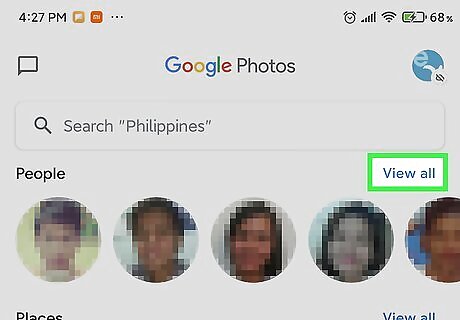
Click or tap View All or the right arrow to view all faces. In addition to showing all faces, you’ll also see three dots at the top-right corner of the screen.
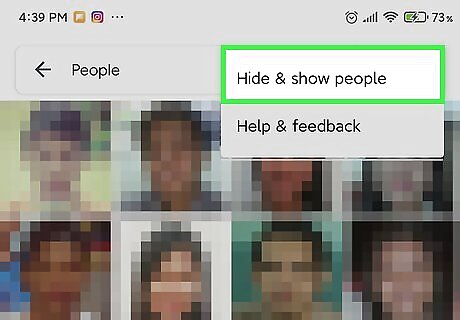
Click the three-dot menu and select Hide & show people. If you’re using the website and not the mobile app, this link is called Show & hide faces.

Click a face you want to hide. This can be anyone you don’t want to look at right now. To hide more than one face, click or tap more faces in the list. You’ll be able to unhide this person by returning to this page and clicking their face.

Click Done to save. This is at the top right corner of the screen. Now when you search for photos, you won’t see this person’s face in your search results.





Comments
0 comment