
Downloading and Configuring the Homebrew Browser
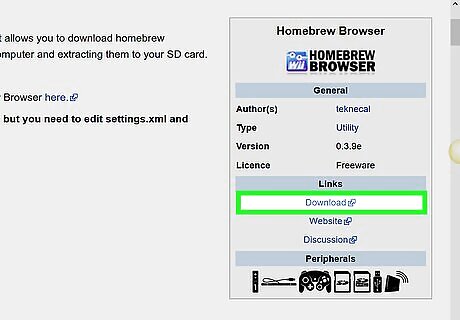
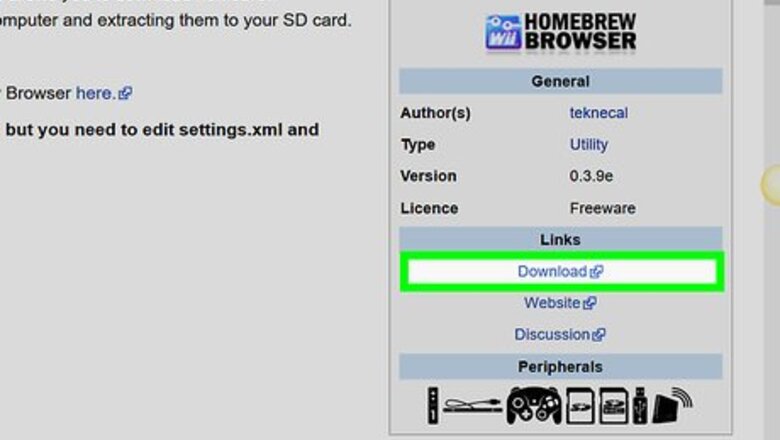
Download the Homebrew Browser installation folder. Go to http://wiibrew.org/wiki/Homebrew_Browser in your computer's web browser, then click the Download link under the "Links" heading on the right side of the page. The Homebrew Browser ZIP folder will download. Depending on your browser's settings, you may be prompted to select a save location before the file will download.

Extract the downloaded folder. This process will differ depending on whether you're using a Windows computer or a Mac: Windows — Double-click the ZIP folder, click the Extract tab at the top of the window, click Extract all, and click Extract all in the pop-up window. Mac — Double-click the ZIP folder, then wait for the extracted folder to open.
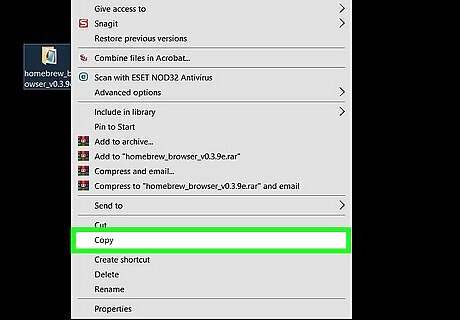
Copy the "homebrew_browser" folder. Click once the "homebrew_browser" folder in the extracted folder to select it, then press either Ctrl+C (Windows) or ⌘ Command+C (Mac) to copy the folder.
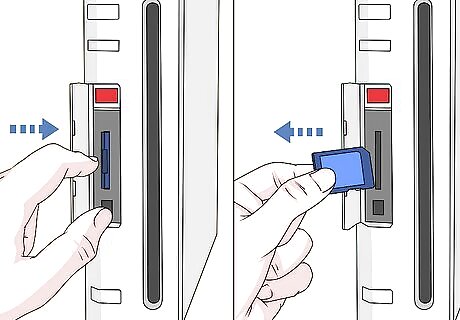
Remove your SD card from the Wii. You'll find the SD card in the port behind the panel that folds down, below the disc slot; press once the SD card to prompt it to pop out. Make sure that your Wii is powered down when you do this. The Wii supports SD cards up to 2 gigabytes in size and SDHC cards up to 32 gigabytes in size.
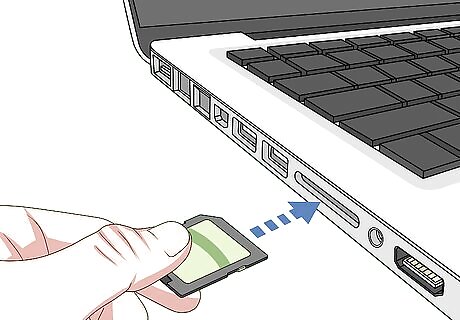
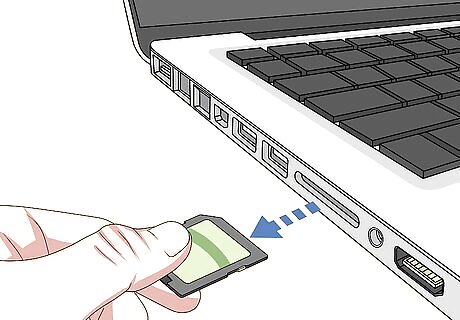
Insert the SD card into your computer. The SD card should fit gold connector side-down into your computer's SD card slot. If your computer doesn't have an SD card slot, you'll need to buy an SD to USB adapter that fits your computer. If you have a Mac, you may need an SD to USB-C adapter.

Open the SD card. If the SD card's window doesn't automatically open, do the following: Windows — Open File Explorer Windows File Explorer, click This PC, and double-click your SD card's name below the "Devices and drives" heading. Mac — Open Mac Finder Finder, then click your SD card's name in the lower-left side of the window.
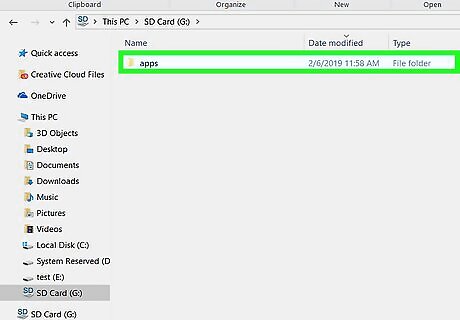
Open the "apps" folder. Double-click the "apps" folder in the SD card to do so. If you don't see an "apps" folder there, you can create one by doing the following: Windows — Right-click an empty space in the SD card, select New, click Folder, type in apps, and press ↵ Enter. Mac — Click File, click New Folder, type in apps, and press ⏎ Return.
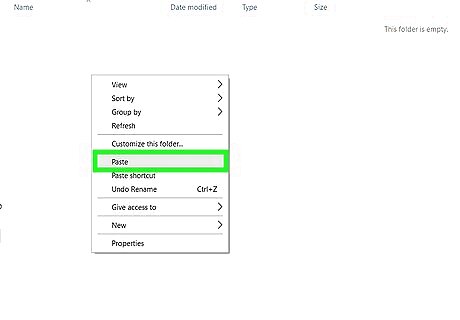
Paste in the "homebrew_browser" folder. Press Ctrl+V or ⌘ Command+V to paste the "homebrew_browser" folder into the "apps" folder.
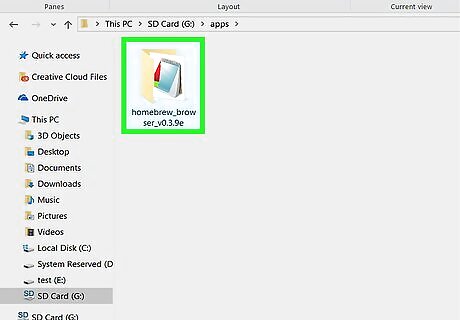
Open the "homebrew_browser" folder. Double-click the "homebrew_browser" folder to do so.
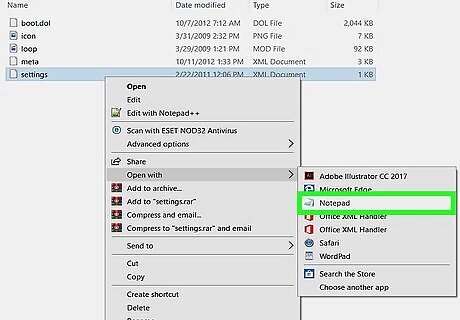
Open the "settings" file. You'll use your computer's default text editor to do this: Windows — Right-click the "settings" file, select Open with in the drop-down menu, and click Notepad. You can also right-click the "settings" file and click Edit. Mac — Click once the "settings" file, click File, select Open With, and click TextEdit.
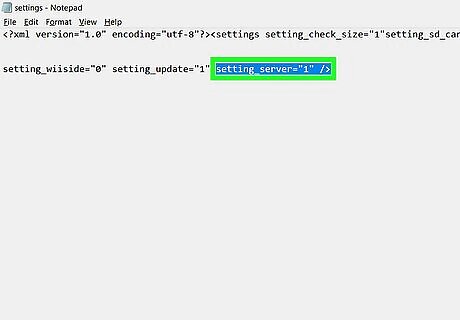
Change the "settings" file's server value. Due to updates to the Wii's software, you'll need to change the server value from "0" to "1" by doing the following: Find the setting_server="0" line of text. Replace the 0 with a 1. Make sure the line now says setting_server="1". Press Ctrl+S (Windows) or ⌘ Command+S (Mac) to save the file. Close Notepad or TextEdit.
Eject and remove the SD card from your computer. Do the following: Windows — Click Android 7 Expand Less in the bottom-right corner of the screen, then right-click the flash drive-shaped icon in the pop-up menu and click the Eject option. You can then pull the SD card out of your computer. Mac — Go back to the Finder window and click the "Eject" Mac Eject icon to the right of the SD card's name. You can then pull the SD card out of your computer.
Installing the Homebrew Browser
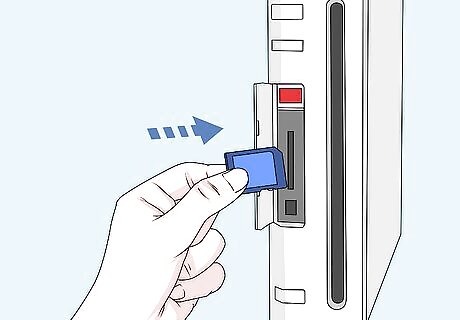
Insert the SD card back into your Wii. Push the SD card back in its port below the disc slot.
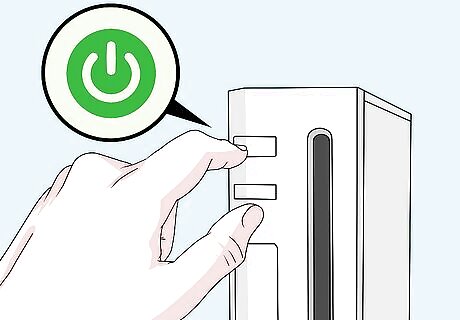
Power on your Wii. Press the "Power" button on the front of the Wii to do so.
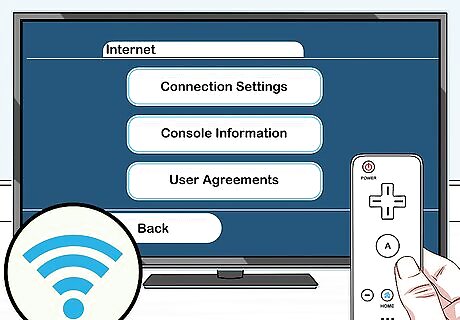
Make sure your Wii is connected to the Internet. In order to use the Homebrew Browser, your Wii must be connected to the Internet.
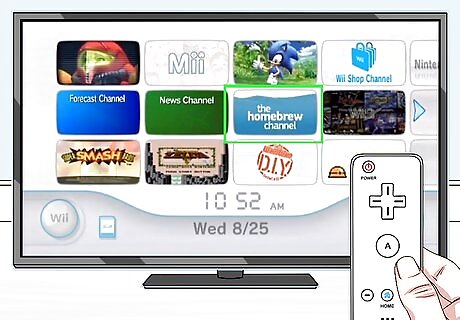
Select the homebrew channel. You should see this icon on the home page of the Wii. Doing so brings up the Homebrew Channel pop-up window.
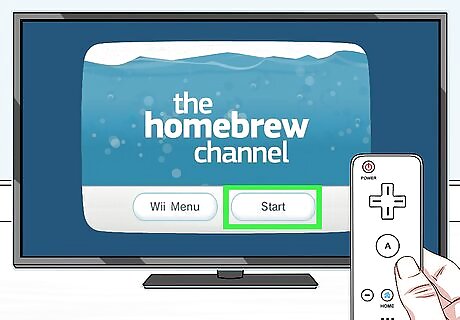
Select Start. It's at the bottom of the window.
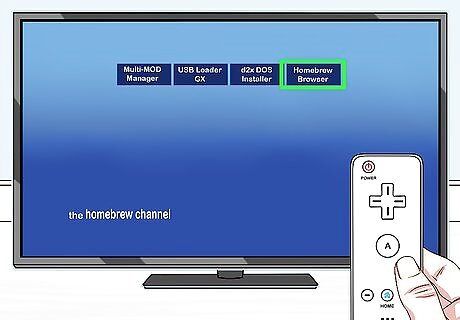
Select HOMEBREW BROWSER. This option is in the top-right corner of the screen. Your Wii's new Homebrew Browser will launch; from this point, you can search for and download things like games and apps as you please. The Homebrew Browser will display several lines of code upon startup. This is normal.


Comments
0 comment