
Backup your hard drive. Before formatting the drive, it's a good idea to back up the drive and save any files you want to keep. You can save them to another hard drive like an external hard drive or USB drive. You can also use cloud-based storage like iCloud or Google Drive which have a limited amount of free storage. Read Copy Files to an External Hard Drive to learn how to back up the files you want to keep.
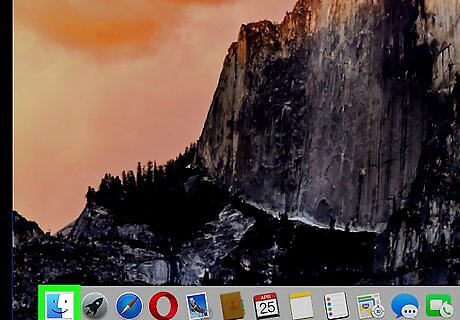
Open Finder Mac Finder. It's the blue and white smiley-face icon on the bottom-left corner of your Mac's dock. This opens a new window for you to explore the files and folders on your Mac.
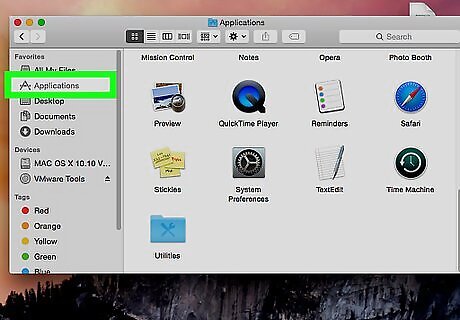
Click Applications. It's in the left-side column of the Finder window.
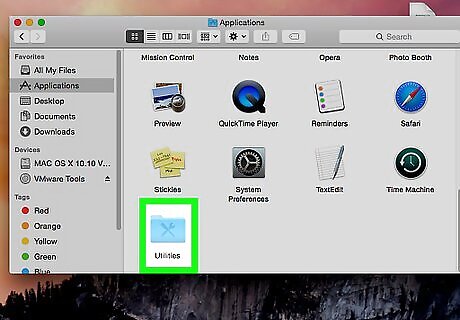
Double-click Utilities. It's the blue folder with the image of a screwdriver and a wrench on it at the bottom of the Applications folder.
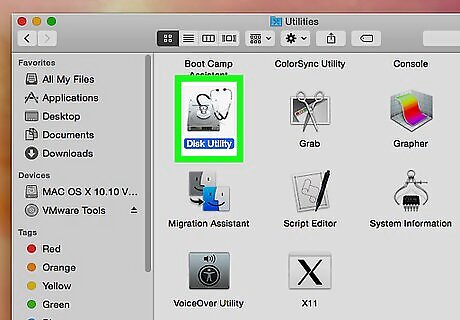
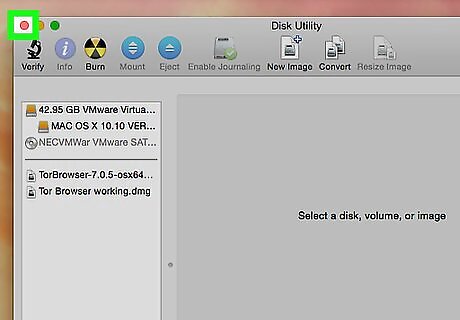
Double-click Disk Utility. It's the app with the icon of a hard drive and a stethoscope and is located in the center of the Utilities folder. This opens the Disk Utility app on your Mac.

Select the Seagate Drive. In the left-hand column of the Disk Utility app, click the "Seagate" drive to select it. If you don't see two entries for the hard drive itself and the volume (or partition), click "View" in the upper-right corner and select Show All devices.
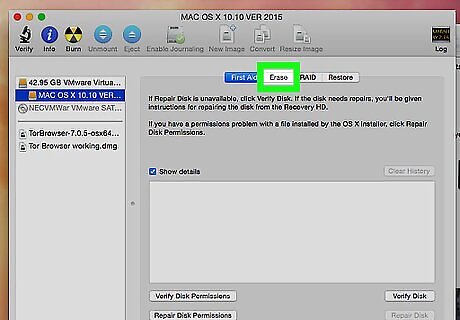
Click Erase. It's the middle button at the top of the Disk Utility. This will prompt a pop-up window allowing you to choose how you want to format your hard drive.
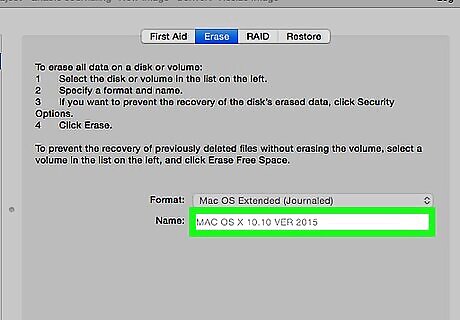
Rename the drive. Click the text box next to "Name" to enter a new name for your hard drive, if you choose.
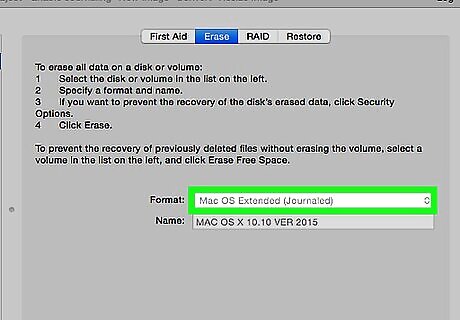
Select OS X Extended (Journaled) as the drive format. Click the "Format" drop-down box and select OS X Extended (Journaled) in the menu. This is the most common format used for drives used with Time Machine for backups.
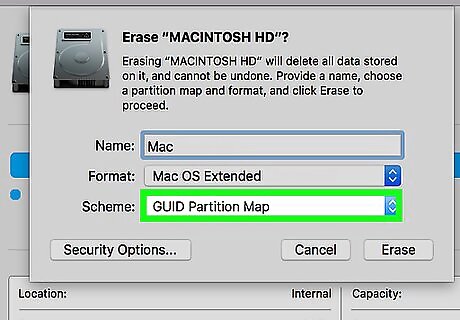
Select GUID Partition Map for the drive scheme. Click the drop-down box next to "Scheme" and select GUID Partition Map. This is the default partition scheme for drives formatted in the OS X Extended format.
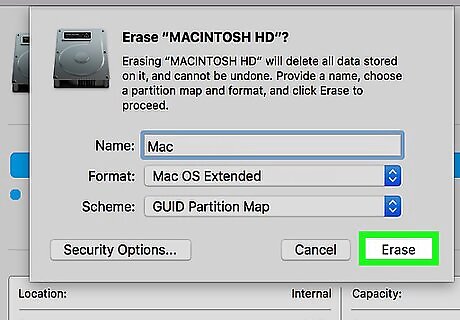
Click Erase. It's in the lower-right corner of the pop-up window. Disk Utility will start formatting the drive. A progress bar will appear at the top of the window to track the format process. Depending on the size of the hard drive and the speed of your Mac, allow several minutes for the process to complete.
Click Done. It's the blue button in the bottom-right corner of the progress window that appears once the hard drive has finished formatting. This will close the Disk Utility app. Your newly formatted hard drive should now be visible on the left-side column of the Finder window.


Comments
0 comment