
Choosing Thread and Positioning Your Applique

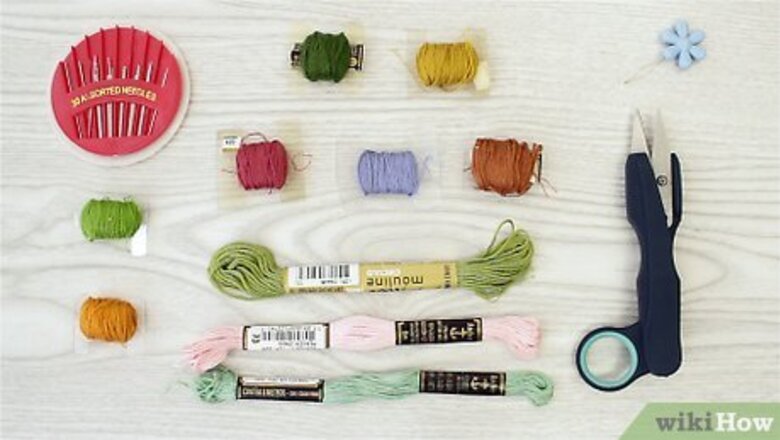
Select a multi-strand embroidery floss that you can pull apart. A multi-strand embroidery floss is ideal for blanket stitching an applique onto a piece of fabric or a finished garment. You can find this type of thread in the embroidery section of a craft supply store. Choose embroidery floss in a color that will complement your applique. For example, if you are sewing a red applique onto a piece of white fabric, then you might want to go with black embroidery floss to add contrast, or you could use red embroidery floss to match your applique. A heavyweight size 12 cotton thread will also work well for blanket stitching an applique. You do not have to separate out the strands if you choose this type of thread.
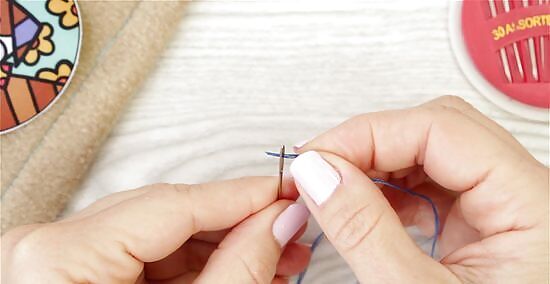
Thread a size 24 needle with 3 strands of embroidery floss. Pull out 3 strands from the bundle of embroidery floss and cut them to about 18 in (46 cm). Hold the size 24 embroidery needle in your non-dominant hand so that the eye is facing up. Hold the freshly cut end of the thread in your dominant hand. Insert the ends into the eye and pull the thread until about 1/3 of it is through the eye. Then, tie a knot in the end of the longer side of the thread. If you are having trouble threading the needle, wet the ends of the thread with a bit of water or saliva. This will stiffen them and make it easier to push the ends through.

Pin your applique onto the garment or fabric. Identify where you want the applique to go and pin it onto the front side of the fabric with the front side of the applique facing out. Insert the pins through the applique about 1 in (2.5 cm) from the edges so that they will not get in the way of your stitches. You may only need 1 pin to hold a small applique in place while you sew, or you might need several to keep a large applique in place. You can buy an applique in a craft supply store, or make your own! Looking for ideas of what to applique onto your garment? Try adding a few flower appliques to a pair of jeans or a jacket. Get a band patch and add it onto your purse. Add applique letters onto a blanket or towel to personalize it.
Starting the Stitch
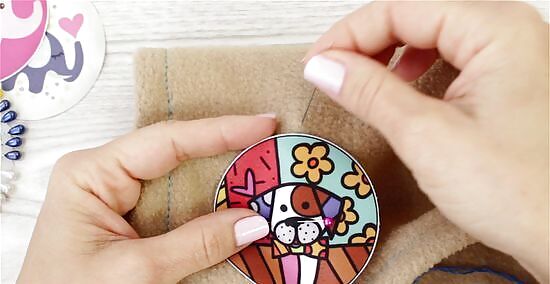
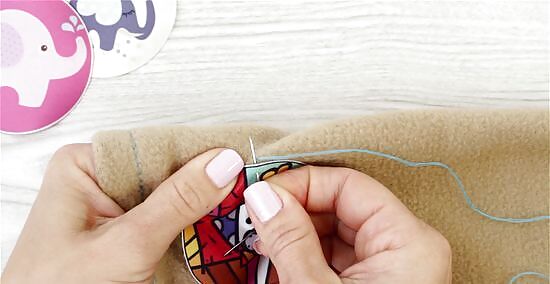
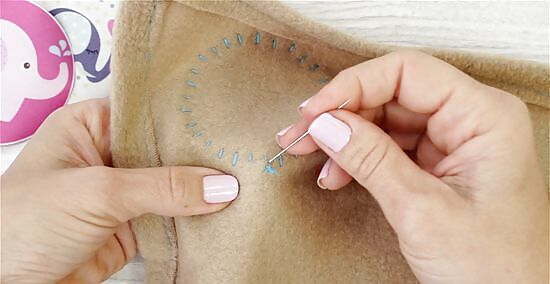
Push the needle through the fabric near the outer edge of the applique. To start the stitch, push the needle into the back of the fabric. Position the tip of the needle so that it will come out right beside the edge of your applique on the front side of the fabric. Once the needle is through the fabric, keep pulling it until the thread is taut. Make sure that the thread only goes through the fabric and not the applique!Tip: Iron your fabric and applique before you sew on the applique to ensure that your finished product will be neat.
Insert the needle back down through the applique 0.15 in (0.38 cm) from the edge. Next, push the needle back down through the applique and the fabric behind it. Insert the needle about 0.15 in (0.38 cm) from the edge of the applique. This stitch works the same whether you are stitching along a straight or curved edge. Focus on the distance from the edge of the applique to get even stitches.
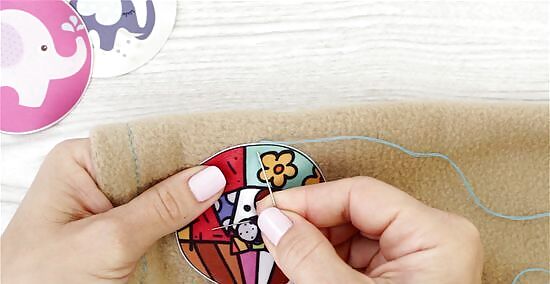
Bring the needle back out on the edge of the applique again. Instead of pulling the thread taut, bring the needle right back out of the fabric on the front side. Bring it out beside the applique rather than going through it, just as you did before. The needle should come out at a point parallel to where you inserted it whether the edge is straight or curved.
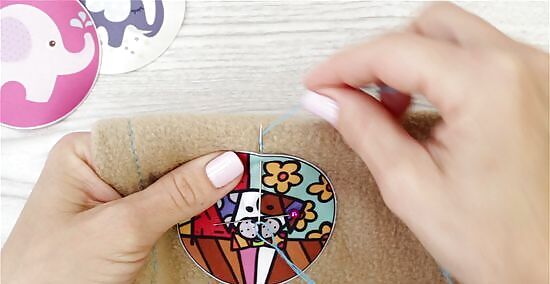
Wrap the thread around the needle and push it through the loop. Before you pull the thread taut, bring the loop of thread around the needle. Then, pull the needle through the loop until the thread is taut. This will secure the first stitch.
Continuing and Securing the Stitch
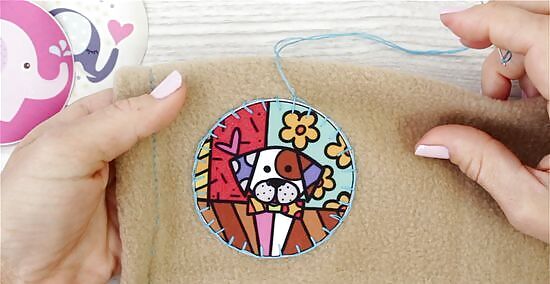
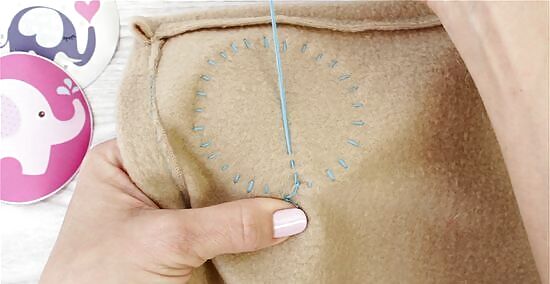
Repeat the stitch about 0.15 in (0.38 cm) to the left of the first stitch. Continue to make new stitches using the same technique. Push the needle through the applique 0.15 in (0.38 cm) from the first stitch, bring it back out on the same side on the edge of the applique, loop the thread around the end of the needle, and then pull the thread taut to secure the stitch. Make sure to space out the stitches evenly and keep them all at the same distance from the edge of your applique.
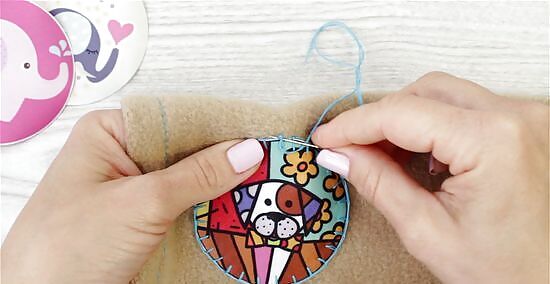
Insert the needle under the thread of your first stitch 3 times. After you make the last blanket stitch on the edge of your applique, push the needle under the thread in the first stitch you made. Then, pull until the thread is taut. Repeat this 2 more times to secure the end.
Push the needle through to the back of the fabric. Next, push the needle into the fabric right on the edge of the applique, but do not insert the needle through the applique. Pull the needle through the back of the fabric until the thread is taut.
Sew through 1 of the back stitches 3 times. The stitches on the back of the fabric will look like the ones on the front and it will be easy to insert your needle through them. Push the tip of the needle under the nearest stitch, wrap the loop of thread around the needle, and pull until the thread is taut. Do not go through the fabric or applique, but only under the stitch. Repeat this 2 more times through the same stitch to secure the end of the thread.
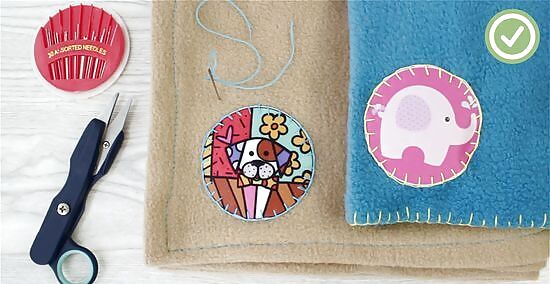
Cut the thread close to the fabric. After your last stitch, pull the thread taut, and then use a sharp pair of scissors to cut the thread about 0.25 in (0.64 cm) from the fabric. Be careful not to cut any of the stitches or the fabric as you do this. Do not tie a knot at the end of the thread. The stitches you worked in the front and back of the applique will be enough to secure it.Looking for a way to customize an item with applique? Try sewing applique letters onto a blanket, garment, or another item. Add a monogram, spell out a name, or write a message with your applique letters!


Comments
0 comment