views
Setting Up Your RC Helicopter
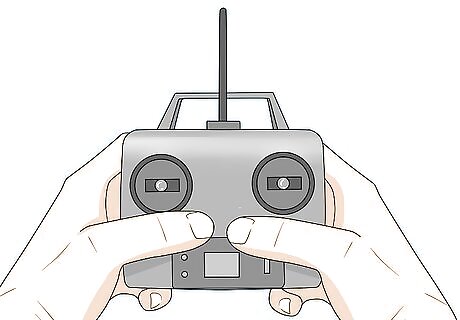
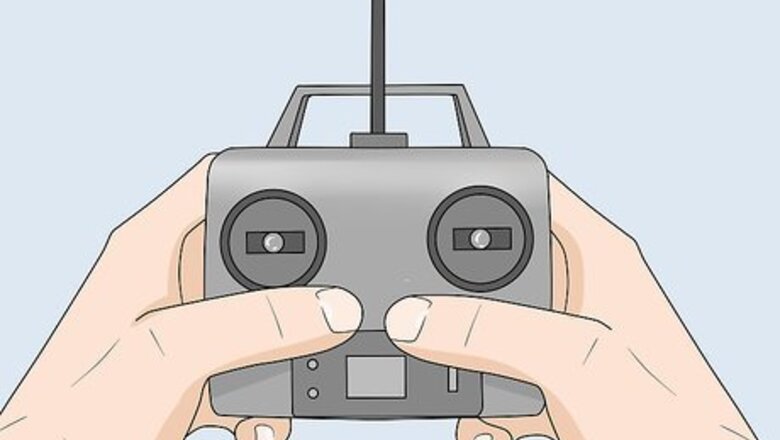
Play around with your radio transmitter. This is just as important as your helicopter itself, as this is what you will control the copter with. Ensure all of the sticks move the control surfaces in the correct direction. For example, if you give a forward cyclic command, make sure your swashplate tilts forwards, not sideways or backwards. Tilt your sticks left and right, and see if the swashplate responds respectively to the commands. Increase the throttle stick. This should show an increase in both the engine speed and collective pitch on your swashplate. Give a right tail rotor command and see how your helicopter responds. The pitch of the tail rotor blades should change so that they are blowing air out the right, which in turn thrusts the tail boom to the left. Similarly, a left tail rotor command should blow air out the left side, thrusting the tail boom to the right.
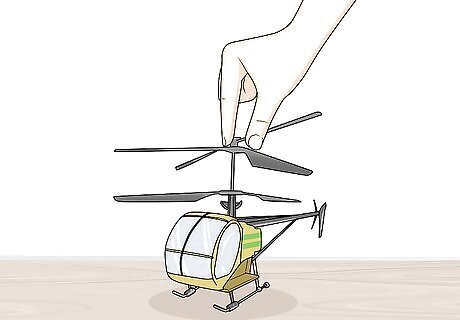
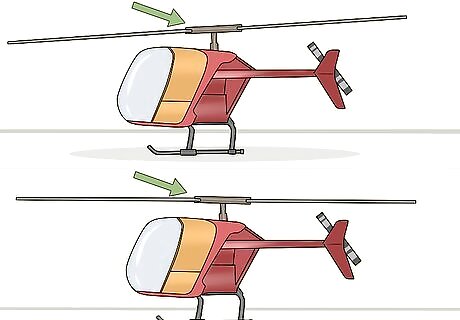
Check the center of gravity (CG). Hold the helicopter by the middle of the rotor blades. Tile the blades so that one is pointing straight down, while the other is pointing straight up. If the CG is top heavy, the tail boom will rotate upwards. If the CG is bottom heavy, the nose will rotate upwards. A perfect CG is when the body of the helicopter sits perfectly perpendicular to that of the rotor blades. Another method to use is to hold your helicopter by the fly bar (if equipped with one). The helicopter will begin to pivot back and forth. If it begins to tilt backwards or forwards permanently, the CG is off. If your CG is off, you will need to remove and position the battery pack in a more equidistant position. This could mean removing it with a screwdriver, or a pair of pliers, depending on how your battery pack is attached. If you are using a gas powered helicopter, it is even more important to consistently check the CG. Small changes in the amount of fuel can drastically change the center of gravity.
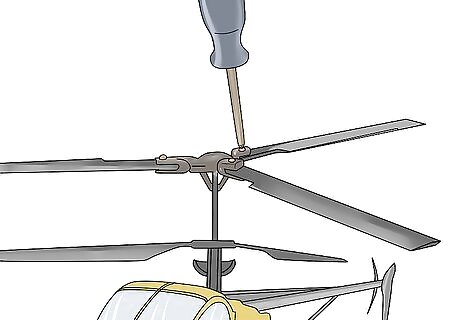
Tighten your rotor blades. The single bolt and lock nut hold together the main and tail rotor blades. If you over or under tighten these blades, it could cause your helicopter to not function properly. A simple way to check the tightness is to hold your helicopter outright, perpendicular to the ground. The bolts should be tight enough that the blades don't pivot downwards by the pull of gravity, but loose enough so that they will move when you give the helicopter a minor shake. The larger your helicopter is, the more secure you will want to make the rotor blades. This is especially true when the blade size reaches over 750mm. Smaller helicopters will need looser blades. Use your wrench to tighten or loosen the secure bolt, depending on the size of your helicopter.
Beginning Exercises
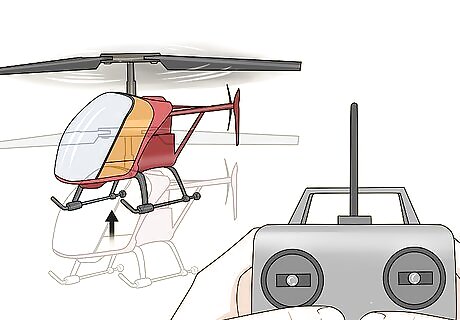
Apply power to your helicopter. You will want to do this very slowly, as applying too much throttle right away can cause your copter to tilt, and fall over, which will cause damage. This initial surge of power is called a spool. When you spool properly, the blades will turn, and you should start to feel some vibrations. Immediately stop spooling when the copter gets lift and wants to come off the ground. This is done by simply lowering the torque slowly. With your helicopter on, this is the perfect time to use your eyes. See if your helicopter is shifting left or right when it spools. Listen with your ears to the engine. It should be making a consistent running sound, not a sporadic pumping sound. When your helicopter is on the ground, do not add any cyclic trim. This will cause your swashplate to tilt in the direction of your command, and send your copter off against the ground.
Adjust the tracking of your blades. Each of your rotor blades sits at an angle. Most helicopters will hover between 4.5 and 5.5 degrees of positive pitch. If the angles of each blade are off from another, one blade will lift higher and cause your helicopter to crash. In order to adjust this so that the blades have even angles, you should first mark each rotor blade's tip with a different colored piece of tape. Next, turn your helicopter on, just so that it gets an inch or two of lift. Put on your safety goggles, and make sure your partner (if you have one) is wearing goggles as well. Bend down so that you are level with the running copter. You will want to be at least 10-20 feet away from the copter when you do this. If the blade tracking is set correctly, both colors of tape will overlap with one another. However, if the tracking is off, you will be able to distinguish which color is higher and which is lower. If the blades are off kilter, stop the helicopter and turn it off. You will want to reduce the height of the higher blade, while also increasing the height of the lower blade. Adjust the ball link that shifts the pitch per helicopter instructions (ball links vary widely among types and brands of RC helicopters). Once this is done, turn your helicopter back on, get back on the ground, and see if the colors overlap. This may take two or three rounds before you get the height of the blades even.
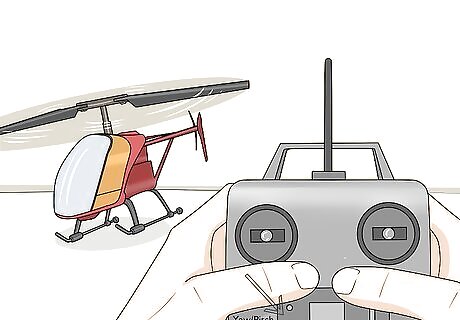
Adjust your cyclic trim. Place your helicopter in the middle of the field over which you will fly it. If there is any wind, make sure that the front of the copter is facing towards it. Start your helicopter as you are standing about 10 feet behind it (always wear your goggles). Turn on your throttle until your helicopter is light on its skids. If it begins to drift, simply lower the throttle back down. With a fly bared machine, depending on the way your helicopter begins to drift. For example, if you have clockwise spinning rotor blades, the helicopter will almost necessarily lean left. Apply some right cyclic trim with your fly bared machine. To access controls to your fly barred machine, you should either retrieve your independent controller, or the channel accessed through the swashplate.
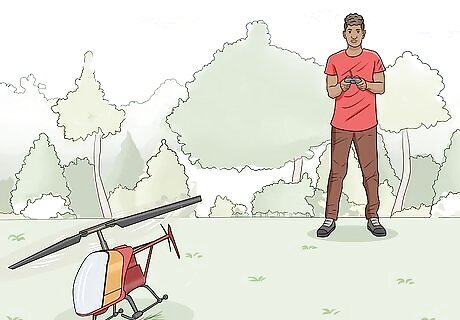
Get used to the helicopter's controls. Start your helicopter up again, and allow it to hover/skid on the starting position (reference point). Once the helicopter is stabilized at the reference point, you can slowly increase the throttle forward. Your helicopter should move forwards about 10 feet, before you slowly decrease the forward command. Stabilize the helicopter at this position, as the helicopter skids gently against the ground. Then turn your throttle to the backwards position. Bring your helicopter back to the initial reference point. Do the same thing as before, except move your throttle to the left and/or right, thereby moving your helicopter to the left and/or right of the reference point. Each time, move your helicopter 10 feet, stabilize, then turn your throttle back in the opposite direction to bring the copter back to the initial reference point. As you move your helicopter, it should stay fairly close to the ground. The nose of your copter should always be facing forwards and towards the wind.
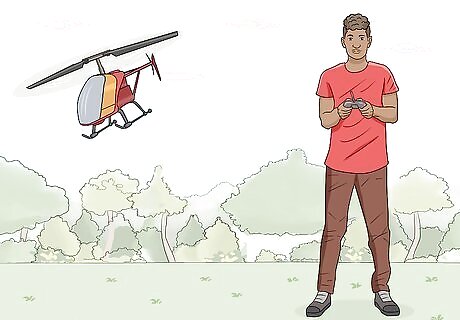
Move your helicopter in the air. Turn your helicopter on, and stabilize it over the initial reference point. Your copter should be bouncing on its skids as you increase the throttle (collective) power slowly. First, increase the collective until your helicopter is about 3 inches above the ground. After you get it to this point, begin lowering the copter back down to the ground slowly by decreasing the collective. Repeat this step through a series of increments. Start by going 3 inches in the air. Once you feel comfortable with this, go 6 inches or so, stabilize, and bring back down slowly to the reference point. Then go 9 inches, 12 inches, 15 inches, etc. Once you have mastered hovering at higher altitudes over the reference point, you can begin adding directional controls. Move your throttle forward as your helicopter hovers higher in the air. Do this slowly, and stabilize the copter after you have moved it forward 10 feet away from the reference point. Then slowly move the throttle back, thereby moving your helicopter backwards until it reaches the reference point again. You can do this with left, right, and diagonal controls as well. If at any time you feel uncomfortable, remember to first stabilize your helicopter in midair. Then bring the copter down slowly until it rests on its skids.
Learning More Challenging Helicopter Moves
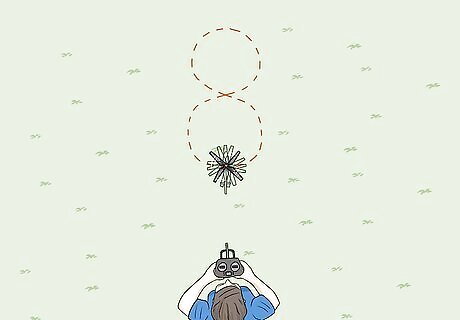
Perform a figure eight hover routine. For this move, you will want to move to an open area, but with a softer surface, such as a grassy farm. Once more, turn your helicopter on, hover it gently, and get a feel for the basic controls. The first part of the move is to turn the collective power on so that your helicopter rises slowly in the air up three feet. Once your copter is stabilized in the air at the three feet position, you can continue on. Start moving your helicopter at a diagonal angle forward and to the right. Do so by directional control with your throttle. Once the helicopter is about 6 feet away from the reference point start moving it only to the right and then on a backwards right diagonal, then backwards, then backwards left diagonal, then left, and then finally forward left diagonal. While these directions may seem complicated, they basically mean that you will start hovering at the reference point, then move your copter in a circle clockwise, and finally finishing back at the initial reference point. Inverse the previous directions when you move to the left side of your reference point. In essence, start hovering at your reference point, move in a leftward bound circle counterclockwise, and finish back at the initial reference point. Once you get a feel for both the left and the right circles separately, you can combine the move into one continuous motion, thereby making a figure eight.
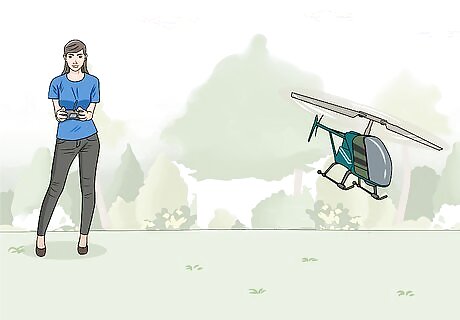
Change the nose direction of your helicopter. So far, all of the precautionary steps, and basic maneuvers have assumed that your helicopter is facing directionally forward in relation to your reference point. This however needs to change, particularly when you will have to fly around tight spots, corners, and/or obstacles. Like normal, turn your helicopter on, lift your helicopter up three feet, and stabilize the the thrust power. Begin from your reference point, making a clockwise rightward bound circle, ending back at the initial reference point. However, instead of constantly keeping your helicopter facing forwards, you will use your directional controls on your thruster to change the position of the nose of your helicopter. As your helicopter moves right, change the directional control of your thruster so that the nose is facing right. Allow your helicopter to hover rightward for 15-20 feet before you slow down the power and stabilize the copter. Then turn the direction of your thruster leftward bound so that the nose is facing leftward. Bring the helicopter back to the initial reference point and stabilize it in midair. You can now start out from the reference point going leftward, and making your way back rightward. As you become better with changing the nose direction, you will not have to stabilize each time you turn, and it will instead begin to flow naturally.
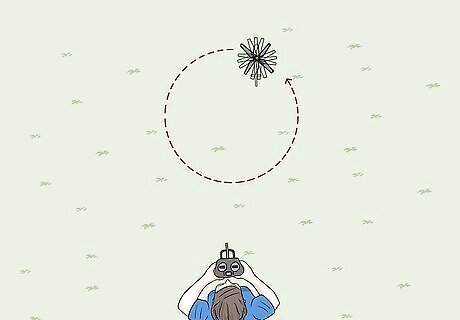
Move your helicopter in the counterclockwise circle. This involves both helicopter and physical movement. First, start your helicopter up, raise it at least 3 feet off of the ground, and stabilize it in the air. The helicopter should always start by facing the wind (nose pointed towards it) and you should be standing 10-15 feet away with the transmitter facing the copter. To perform the counterclockwise circle, begin by moving your helicopter to the left, with the nose of the helicopter also pointing left. Continue leftward, with the helicopter's nose facing in the direction it is headed. The goal is to make a counterclockwise circle around your body with the helicopter. This means that not only will you have to maintain the helicopter's leftward diagonal motion, but also keep it the same distance from your body the entire distance around (10-15 feet). As you move your helicopter in a counterclockwise circle, you should also move your body in a counterclockwise circle, always keeping the transmitter facing the helicopter. After you have completed the circle all the way around your body position, and gotten the helicopter back to the initial reference point, you can then move on to a clockwise circle. It is basically the same theory, keeping your body positioned away from the helicopter, yet always facing it with your transmitter. The only difference is the direction (rightward diagonal rather than leftward) that you will maintain to complete the circle.
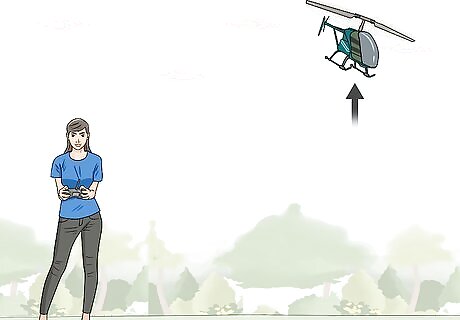
Increase your abilities with translational lift. This is a product of basic physics. The extra lift produced by moving air is introduced to the rotor disk. This phenomenon can take a relatively pedestrian powered helicopter and transform it into a higher powered one. For example, if your rotor speed is going 20 mph, and your helicopter is facing a wind speed of 20 mph, the effective lift of your helicopter will be as high as if your helicopter's rotor blades themselves were spinning at 40 mph. To maximize translational lift, you will first have to do some research as to what direction and speed the wind is blowing at. Speeds between 15-35 mph can be translated into higher lifts, while speeds about 40 mph might actually cause you to lose control of your helicopter. Begin your normal steps of turning your copter on in an open field, raising it up, and stabilizing it. This time however, you are going to raise it even higher to about 10 feet off of the ground before you stabilize your copter. As you begin to perform your normal turns and directional shifts with your thruster, do so ever so slowly. For example, as you move your copter to the left, so so slowly without increasing the collective power, and allow the wind to carry your copter. Your copter will not only make a directional shift at your control, but will be driven to heights as high as 25-50 feet. When you bring your helicopter down from these types of high altitudes, proceed with caution. You want to go very slowly. The best way to bring your helicopter down the first time is to bring your helicopter down in a series of circles (as practiced before). Eventually you will be able to bring down the helicopter in a more straight line.
Ensuring the Best Flight of Your RC Helicopter
Find a flying site. You need a wide open space, preferably a field, with no buildings or trees around. The number or people in the area should also be limited, as the functioning of an RC helicopter can be extremely dangerous. The size of the space you'll need will differ depending on the size of your helicopter. You can either go out by yourself, or go with one other person. Distractions such as pranks, games, or laughs can dampen your ability to focus on flying your copter. Dogs and other pets should also be left at home. There are many horror stories where pets are killed by falling aircraft. Do not let this happen to one of your pets. the area size should be at least 60X60 feet. The best ground material is clean, smooth pavement, or tightly packed snow.
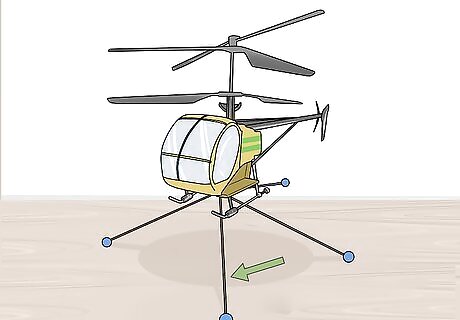
Purchase or make helicopter training equipment. If you are someone who is new to flying, you will need to attach this equipment onto the bottom of your helicopter. The training equipment is typically two wooden or carbon fiber sticks, crossed in a "T" shape, with little rubber balls on the ends. These can be purchased at helicopter specialty stores, both online and on site, for around 40-60 dollars. For a good video on how to make your own training gear, visit: https://www.youtube.com/watch?v=CJtNIzZ9U_0.
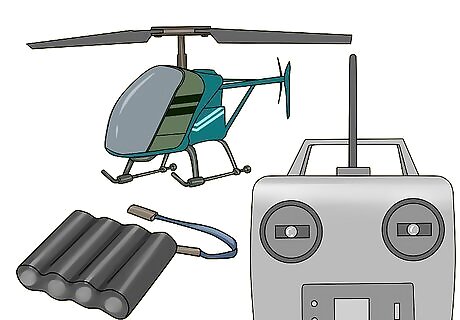
Check for last minute precautions. You will need to make sure that your receiver batteries, helicopter, and radio are all charged up before you go out to fly your RC helicopter. You will also need to check the weather before you go out. If the weather is anything above 15 mph wind, and/or light rain, you should avoid flying your copter. You should also bring safety goggles with you when you go out to fly. If you are going to be out in an open field, especially in the fall or winter months, make sure you are wearing warm clothes.




Comments
0 comment