views
Repairing Frayed Gear Wires
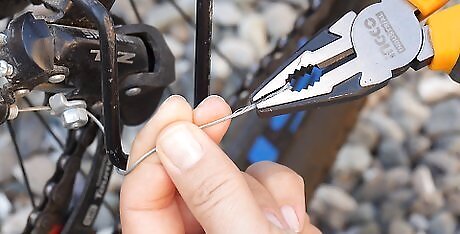
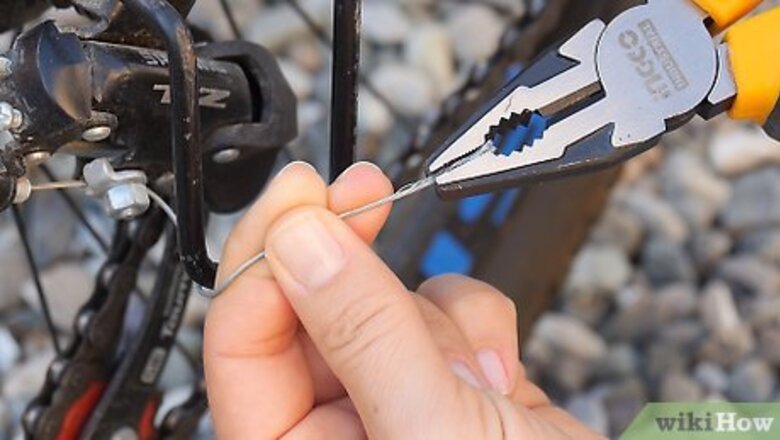
Squeeze the frayed cable where it comes out of the derailleur with pliers. Open up a pair of pliers and put the jaws around the frayed cable right next to the derailleur’s pinch bolt. Squeeze the pliers gently closed around the wires.Tip: If you notice that any of your gear cables are starting to fray at the ends, fix them as soon as possible to prevent the problem getting worse. Frayed gear wires can poke you when you’re riding or working on your bike and cause injury. The derailleur is the gear mechanism on the side of each wheel next to the gears. It is the only mechanism there, so you can’t miss it. The derailleur’s pinch bolt is the bolt that holds the end of the gear cable in place on the mechanism.
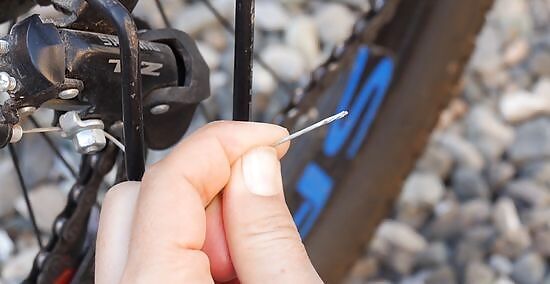
Twist the pliers clockwise while pulling them towards the tip of the cable. Keep applying constant, gentle pressure on the wire with the pliers as you twist them clockwise to braid the frayed wires together. Simultaneously slide the pliers slowly along the frayed cable towards the tip until you twist the wires all the way back together. If the cable is just barely frayed, you can probably do this with your fingers instead of pliers. Just be careful not to get poked by the sharp tips of the wires.
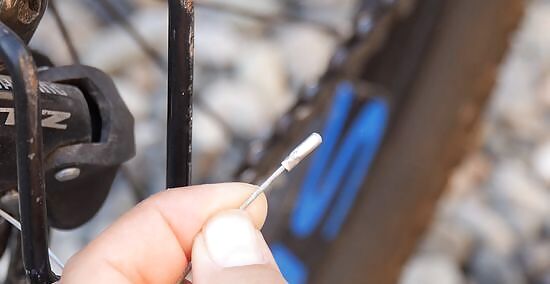
Slide a bike cable end cap onto the tip of the cable. A bike cable end cap is a small metal cap that covers the tips of the wires to hold them together and prevent them from fraying again. Just slip the cap over the end of the cable after you finish braiding the frayed wires back together. If the cap doesn't fit on the end of the cable, try twisting the wires together more tightly until you can easily slide it over them. You can get bike gear cable end caps at a bike supply shop or online. They only come in 1 standard size.
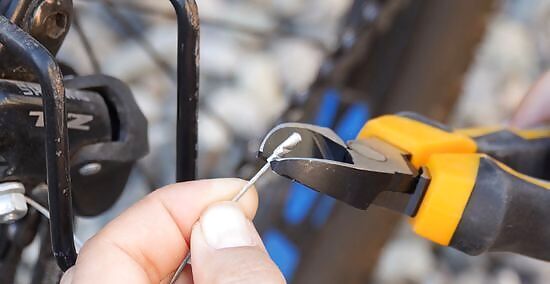
Crimp the cable end cap in at least 2 places using wire cutters. Squeeze the metal cap tightly between the jaws of a pair of wire cutters to crimp it and secure it in place. Crimp the end cap once in the middle of the cap and once next to the base of the cap to ensure that it stays on tightly. Tug on the cable end after you crimp it to make sure it doesn’t slide at all. If it does, crimp it again more tightly by squeezing the wire cutters harder.
Replacing a Shifter Cable
Shift to the smallest gear at the front or back to remove tension from the cable. Lift your bike’s back wheel up off the ground and move the pedals forward with 1 hand to spin the wheel. Use your other hand to change the gears until the chain is on the smallest gear in either the front or the back.Tip: A bike repair stand can be very useful for projects like removing and replacing the gear cables on your bike. You can buy one online starting at around $40 USD. If you notice that your shifter cables are bent, frayed in the middle, rusted, or otherwise damaged and worn out, the best way to fix them is to remove and replace them. Your bike has 2 shifter cables. One runs to the back derailleur and the other runs to the front derailleur.
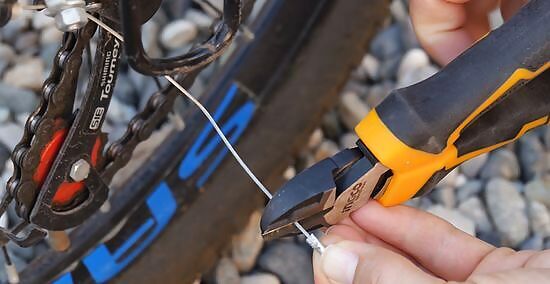
Cut any metal end caps off the cable using cable cutters. Open up a pair of cable cutters and place the jaws around the gear cable just below the metal end cap. Squeeze them tightly to snip the cable and remove the end cap. If the ends of your cables are frayed or missing an end cap, you can skip this step.
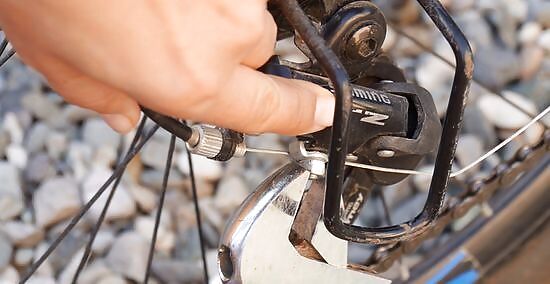
Loosen the derailleur pinch bolt using an allen wrench. Insert an allen wrench into the pinch bolt that holds the gear cable in place on the derailleur. Turn it counterclockwise to loosen the bolt until you can pull the end of the cable out. If the end of a cable is particularly frayed, you might have to cut the frayed wires off using cable cutters in order to pull the cable out of the derailleur.
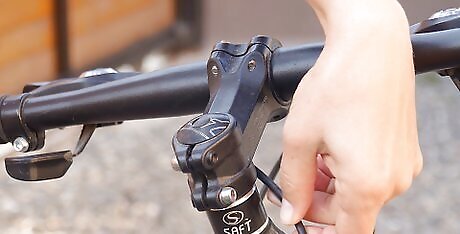
Unwrap any handlebar tape covering the cable near the shifter. Check to see if the gear cable runs underneath the handlebar tape. Unravel the handlebar tape until the wires are completely exposed, if necessary. Some models of bikes might have the shifter cables exposed by the sides of the shifters. If this is the case for your bike, there’s no need to unwrap the handlebar tape. There might also be some tape holding the cable to the handlebars. Check for this and unwrap it or cut it off if you see any.
Take the cable out of the derailleur and the shifter. Slide the cable all the way out from the derailleur and pull it away from the mechanism. Pull off the outer cable housing that covers the inner gear wires. Push the cable out through the shifter to finish removing it from the bike. Don’t get rid of the old cables yet. You can use them to quickly cut your new cables.
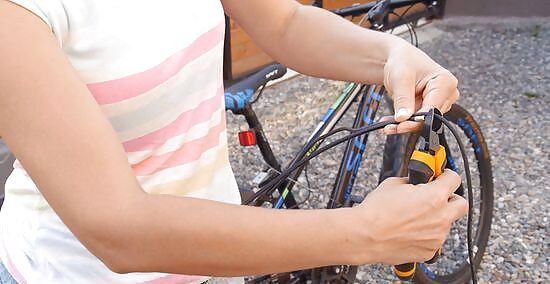
Use your old cables to measure and cut new cables to the correct size. Hold up each piece of the old outer cable housing parallel to a length of new outer casing, then cut the new housing to the right length using cable cutters. Do the same for a new length of inner cable wire using the old inner cable that you removed from your bike. It’s best to always replace both the inner and outer cables to ensure that your new gear wires operate smoothly. You can get new bike gear cables, both the inner and outer parts, at a bike supply shop or online. They come in 1 standard size and you can buy a coil that is 2 m (6.6 ft) long, which gives you plenty of cable to cut down to size.
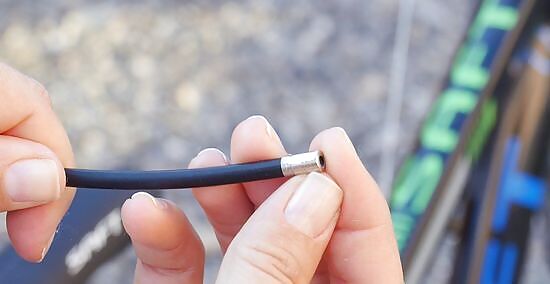
Poke a pick into the ends of the new outer casings to widen the openings. Stick the tip of a pick into the end of 1 of your new pieces of outer housings and wiggle it around to widen the opening, so your inner cables slide in easily. Do this for each end of each new outer cable housing. If you don’t have a pick, you can use any pointy metal instrument that will fit in the outer cable housing.
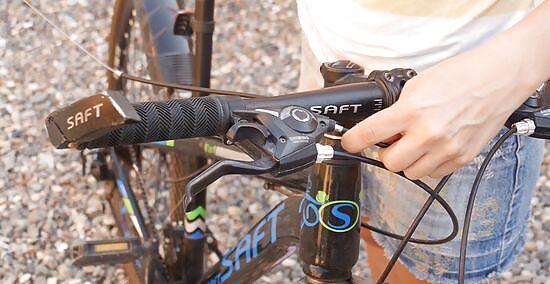
Reattach the new inner cable and outer housing as it was originally attached. Slide the new inner wire up through the shifter, then slide the outer cable housing onto the inner wire. Put the end of the cable through the derailleur mechanism and tighten the pinch bolt using an allen wrench. If there are more than 2 in (5.1 cm) of excess wire hanging out from the pinch bolt, trim off the excess using cable cutters.
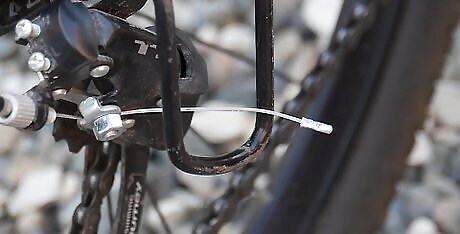
Crimp a cable end cap onto the end of the cable. Slide a metal end cap onto the end of the cable to cover the wires. Squeeze it in at least 2 places with pliers or wire cutters to crimp it onto the end of the cable and keep the wires from fraying.



Comments
0 comment