views
Positioning the Lights
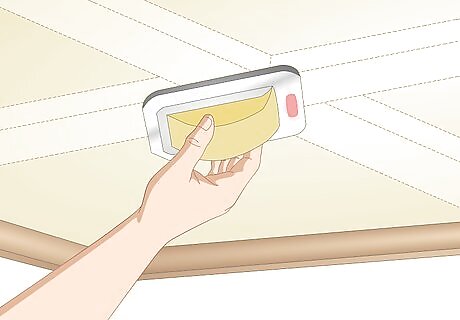
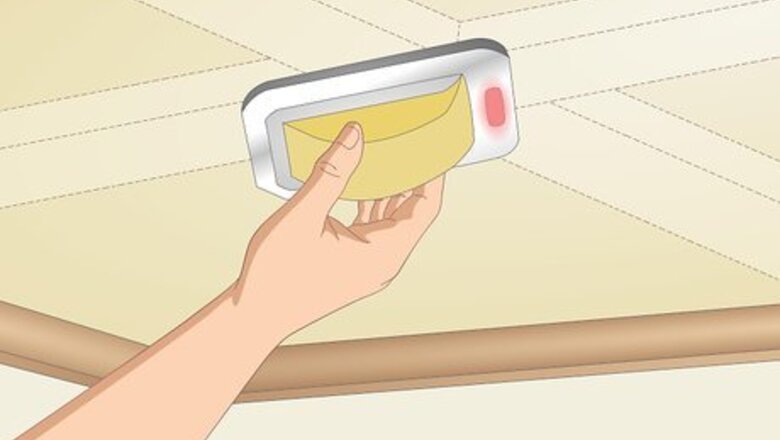
Use a stud finder to locate the joists in your ceiling. Turn on the stud finder and hold it flat against your ceiling. Slowly move the stud finder across your ceiling until it beeps or lights up. Mark the location where it beeps with a pencil to mark the edge of the joist. Continue working across your ceiling in the area you want to install your downlight so you know the areas to avoid putting the lights. You can also try knocking on the ceiling to see if you hear a hollow noise. If you hear a hollow, echoing sound, then there isn’t a joist behind it. If you hear a solid thumping sound, then there may be a joist there.Tip: If you have a textured ceiling, put a thin piece of cardboard between the ceiling and stud finder so you can easily slide it around.
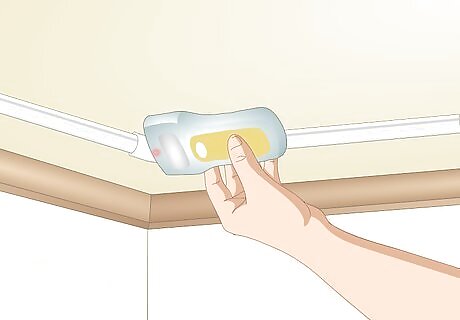
Check behind the ceiling with a pipe and wire detector to make sure it’s clear. Hold the detector flat against your ceiling in the spot where you want to place the downlight. Move the detector slowly back and forth over the area, and check the machine if it beeps or lights up. Mark the location with a pencil to show that there’s a pipe or wire in the way of your light. If the detector doesn’t find anything, then you can easily install the light in that area. You can buy pipe and wire detectors from your local hardware store. If you aren’t sure where pipes or wires are located, contact a home inspector, plumber, or electrician to help locate them for you. You can also try to access the ceiling from the floor above if you want, but you may need to remove floorboards or finish.
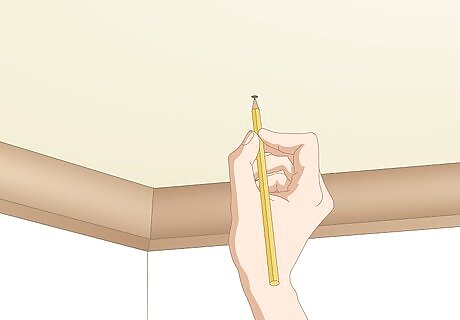
Mark the location where you want your downlight with a pencil. Choose a spot that’s between the joists in your ceiling, and draw a dot to mark the center of the light. Make sure the area doesn’t contain any pipes or wires, or else you could damage them when you install the downlight. Leave about 3–4 inches (7.6–10.2 cm) on either side of the dot so you can fit the downlight in your ceiling.
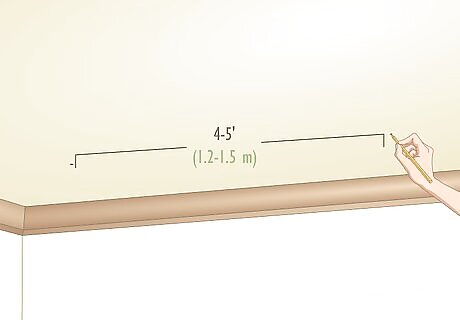
Space additional lights so they’re 4–5 ft (1.2–1.5 m) apart. If you want multiple downlights in your room, mark out the spots on your ceiling where you want to install them. Keep them about 4–5 feet (1.2–1.5 m) away from one another so you get even lighting in your room without it getting too bright. You can put the lights further or closer apart if you need to.
Cutting the Holes
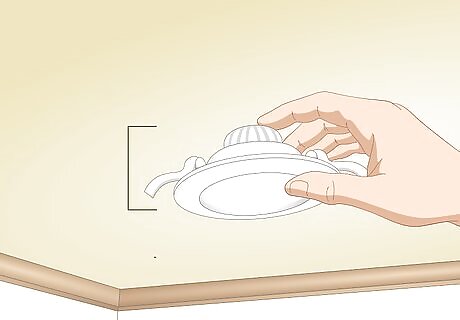
Choose a downlight that’s short enough to fit in your ceiling. Downlights usually have a tall cylindrical shape so the bulb recesses into your ceiling. Usually, your ceiling will have 6 inches (15 cm) of space behind it, but it may vary depending on the age of your home. Get a bulb that has LEDs and emits about 35 watts so it’s bright enough for your room. You can buy downlights from your local home improvement or hardware store.Variation: If you don’t have enough space behind your ceiling for a light, you can also get a surface-mounted light that screws onto a mounting plate.
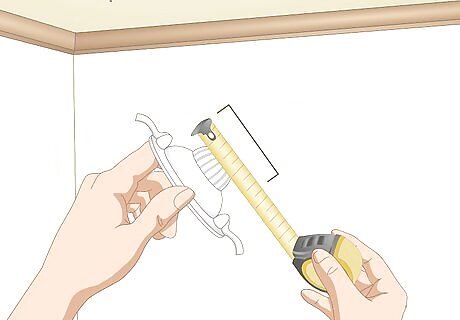
Measure the rear diameter of the light to know the size of the cut out. Set the light down so the bulb is on the bottom and the part that would be inside your ceiling points up. Use a tape measure to find the diameter of the light so you know how large the hole needs to be. Don’t measure the side of the light that has trim around it, or else you’ll cut the hole too large. You can usually find the cut out size listed somewhere on the downlight’s packaging.
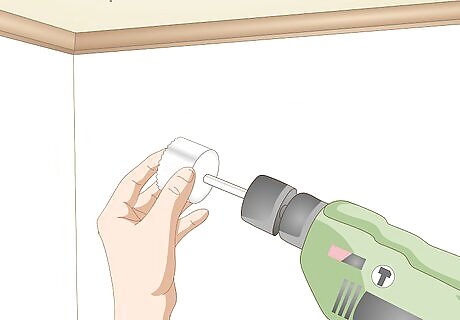
Put a hole saw on your drill that’s the same size as the cut out. A hole saw has a ring-shaped blade that connects to the end of your drill. Opt for a blade that has carbide or diamond grits to cut the cleanest hole. Rotate the chuck, which is the front part where you attach the bit, counterclockwise to loosen it. Slide the center bit of the hole saw into the chuck so the blades face out. Turn the chuck clockwise to tighten the saw in place. You can buy hole saw attachments from your local hardware store.
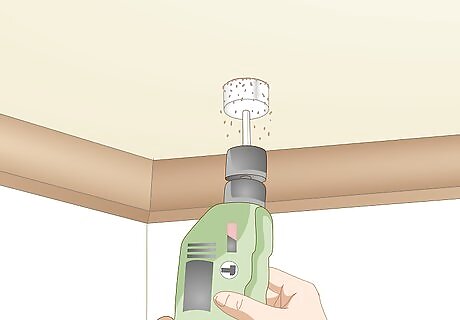
Use a hole saw to cut through your ceiling. Hold the blade of the saw so it’s perpendicular to the ceiling and the middle bit sits on the mark you made. Pull the trigger on the drill to start the hole saw and apply light pressure so the middle bit goes into the ceiling. Make sure the saw blade stays flat so you don’t cut your hole crooked. Pull the trigger in short bursts to work through your ceiling until you feel the saw pop out from the other side. Wear safety glasses and a dust mask so drywall or plaster doesn’t fall on you.
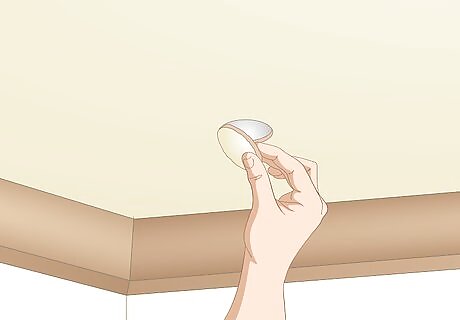
Remove the piece of ceiling you cut from the hole saw. Pull the saw straight out through the hole again once you break through the other side. Turn off your drill completely so it doesn’t accidentally start. Place the end of a screwdriver in between the side of the saw and the piece of your ceiling that’s stuck inside of it. Pry the piece of ceiling out of the hole saw and throw it away when you’re finished. Some hole saws have an adjustable blade that you can loosen and move so it’s easier to remove the piece of ceiling.
Installing the Downlights
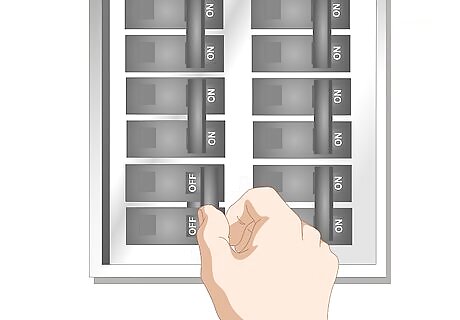
Turn off the power to the area at your circuit breaker. Find the electrical control box in your home, usually located in the basement, utility room, or hallway. Locate the breaker that controls the area of your home where you plan on installing your downlights. Flip the breaker switch to the off position to cut power to that part of your home. Test the wires and outlets with a wire tester to make sure they don’t have voltage running through them. If you don’t know which circuits control the room where you’re working, either contact an electrician to check your wiring or shut off the main power switch in your electrical box.Warning: Never work on wires while they’re still live since you could seriously hurt or electrocute yourself.
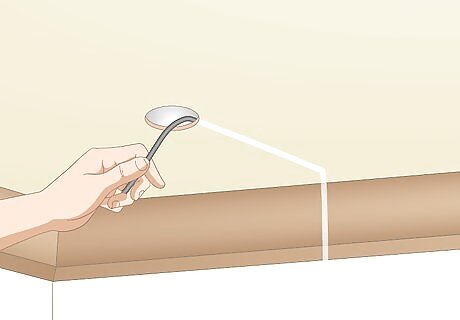
Run wires through your walls to the spot you’re installing the light. You can either attach the lights to an existing switch or you can add a new switch on your circuit. Feed a 14/2 cable through the wall using a wire tape so it lines up with the area where you’re placing the light. The 14/2 cable contains 1 hot wire, 1 neutral, and 1 ground. You can buy 14/2 wire from your local hardware store. If you don’t feel comfortable wiring your home, call an electrician to do it for you. You can also install a downlight at an existing junction box if you have one. Just remove the existing lighting feature first.
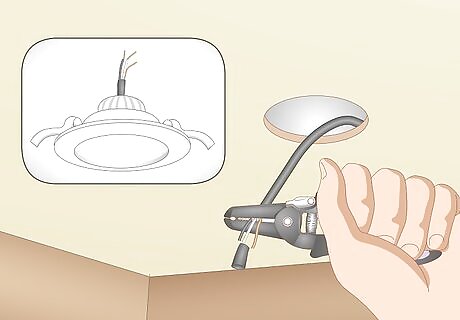
Strip the ends of the wires in your wall and on the downlight. Open the wire stripper and clamp the last ⁄2 inch (1.3 cm) of the 14/2 cable between the jaws. Pull the strippers toward the end wire to remove the insulation. Repeat the process with the wire attached to the downlight. There will be 1 black wire, 1 white wire, and an uninsulated wire coming out of the 14/2 cable. The downlight will have 1 black or red wire, 1 white wire, and 1 uninsulated wire.
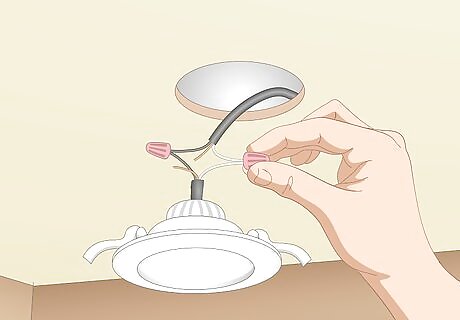
Splice the matching wires with wire caps. Hold the 2 ends of the black wires together so they point straight up. Use a pair of pliers to twist the ends together so they form a good connection. Twist a wire cap clockwise onto the connection to cover the exposed ends. Repeat the process with the white and uninsulated wires. Some downlights will have connection boxes attached to them. If your downlight has a junction (or connection) box, line up the wires from the 14/2 cable so they’re directly across from the matching wires inside the box. Tighten the screws over the wires to secure them in place. If the light is "in contact" (IC) with insulation the light should be rated as such on the box. Also when dealing with insulation, all wires should be connected inside of a junction box (that these lights typically come with). This will prevent any fire from starting from a short or spark coming in contact with the flammable insulation.
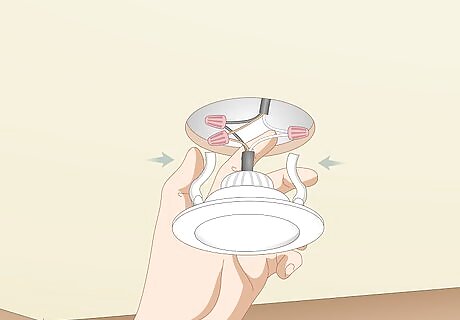
Hold the spring clips against the sides of the light. The base of your downlight will have spring-loaded metal clips that snap open when they’re released. Grab the spring clips from underneath and push them up so they lie flush with the base of the light. Keep holding them down so they don’t snap open while you’re trying to install the light. A surface-mounted downlight won’t have spring clips. Instead, it will just push and snap into the mounting plate you attached earlier.
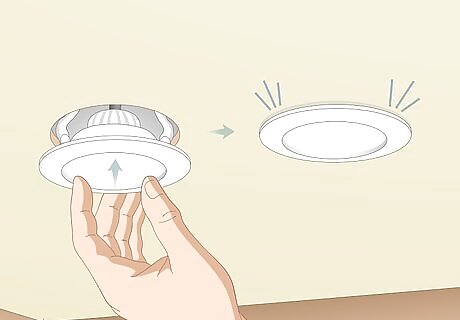
Push the light into the hole until you hear the clips snap into place. Make sure all the wires go into the hole before your light does. Continue pushing the light straight into your ceiling so the clips go into the hole. Gently push the bottom of the light and listen for a clicking or snapping sound. Slowly lower the light back down to make sure the spring clips support it. Don’t instantly let go of the downlight, or else it could fall out if the clips didn’t engage correctly.


Comments
0 comment