
Downloading and Setting Up HLAE
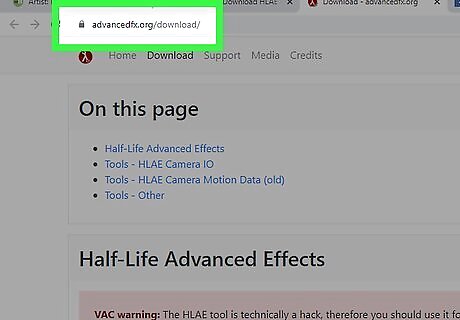
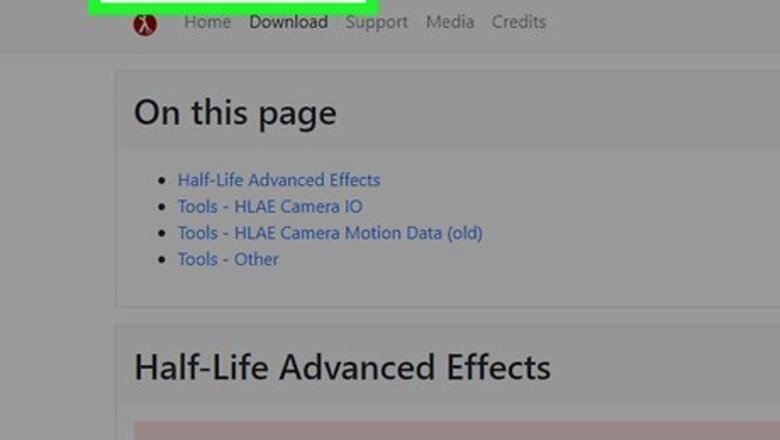
Go to https://www.advancedfx.org/download/ in a web browser. You can use any desktop web browser to download HLAE.
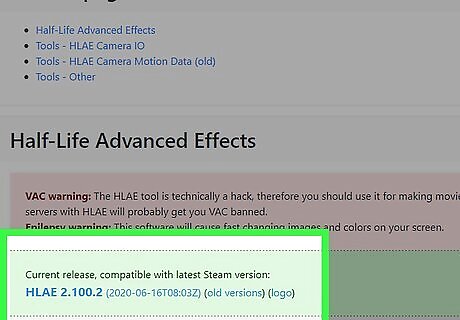
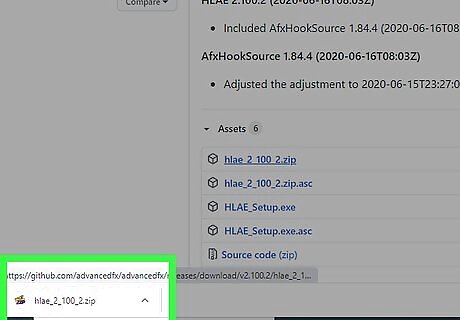
Click Current release, compatible with latest Steam version. You'll see this in a green grid under a red grid. You'll be redirected to a where the download is hosted, most likely GitHub.
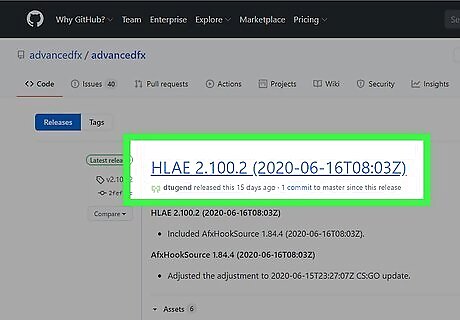
Click to download hlae(version).zip. The numbers after the program name will change based on which version is current.
Double-click to open the installed ZIP. You should get a pop-up in your browser when the file finishes installing that you can double-click to open.
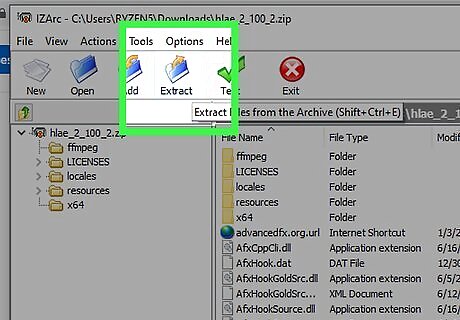
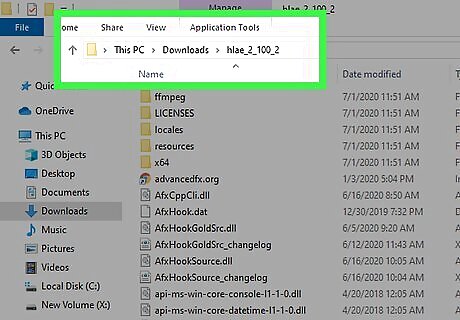
Extract the files from the folder. You should be able to click Extract All along the top of your file explorer browser to be able to extract the files without installing third-party software.
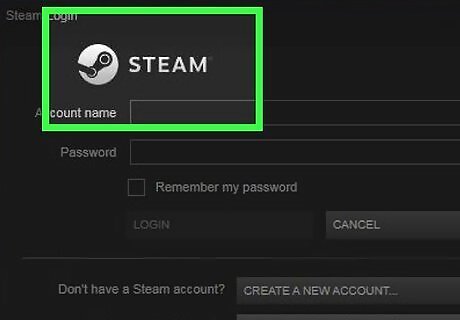
Launch Steam (to launch your game later). You can use Steam in offline mode during your movie production so you aren't bothered by alerts or notifications.
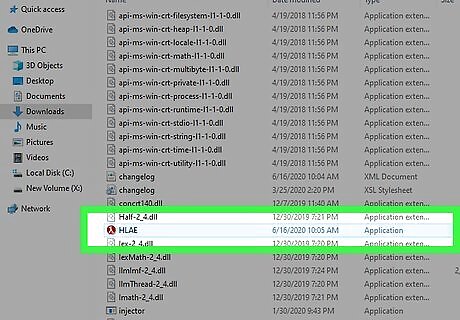
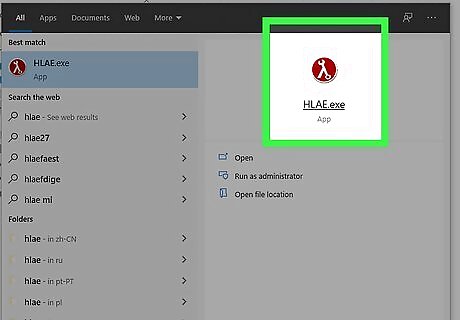
Launch HLAE. You'll find hlae.exe in your file explorer or HLAE in your Start Menu.
Click Browse. You'll see this to the right of "hl.exe file."
Navigate to your hl.exe file. HLAE will remember this so you don't have to go through this process again next time you launch HLAE. If you need to, select the game modification (like if you're playing Counter Strike). Change the game's resolution as well as the render settings if you want to. The defaults are usually ok.
Add -demoedit to "Custom command line options." This will enable the DemoEdit feature, which is helpful if you're a HLAE beginner. You can skip this step if you're familiar with the HLAE commands.
Click Launch. You'll see this at the bottom of the dialog box. Your game should launch as soon as you click this button.
Using HLAE
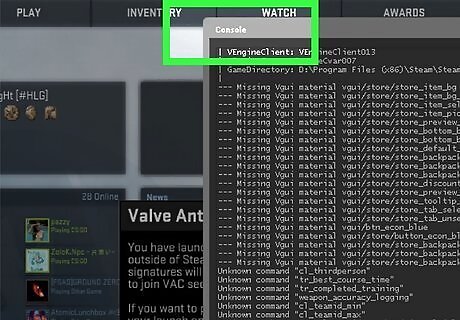
Press the Steam console key (key above TAB). You should see a dialog box that confirms you have the Demo tool enabled. If not, try repeating the previous method for downloading, extracting, and setting up HLAE.
Enter viewdemo DEMO-NAME and press ↵ Enter. This will start a demo for you. You should see a bunch of text appear in a box in the middle of your screen.
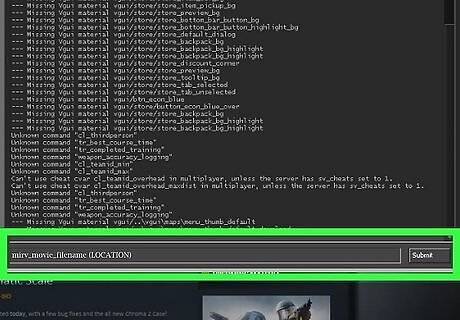
Type mirv_movie_filename (LOCATION) and click Submit. This will set the location where the file saves, so make sure you enter the correct file path. For example, if you want to save the file in your documents, make sure you type the entire file path correctly, which would normally be "C:\Users\(USERNAME)\OneDrive\Documents\".

Type mirv_movie_export_sound 1 and click Submit. This enables your game sound export. If you set the 1 to 0, then you won't have any sound.
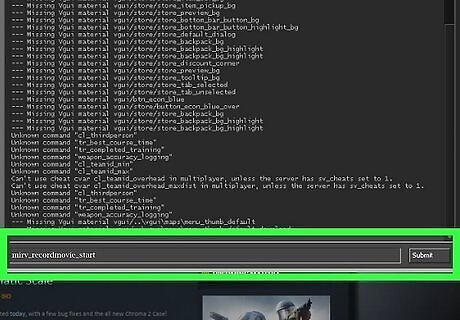
Type mirv_recordmovie_start and click Submit. When you're done recording, enter mirv_recordmovie_stop. You can find your recording in your file path location that you set before.


Comments
0 comment