views
X
Research source
You begin to lose natural pigmentation in blotches, causing light or white patches of skin throughout the body.[2]
X
Expert Source
Mohiba Tareen, MDFAAD Board Certified Dermatologist
Expert Interview. 26 March 2020.
It may also affect your hair. Often the patches begin on areas of skin that are exposed to the sun. It is more noticeable in people with dark skin. While not life-threatening, vitiligo can be embarrassing. You can use specialized make-up products to treat discoloration of the skin. You can use regular make-up to treat the whitening of your eyebrows. There are also surgical options if make-up fails to produce the desired results.
Trying Cosmetics Products for Vitiligo
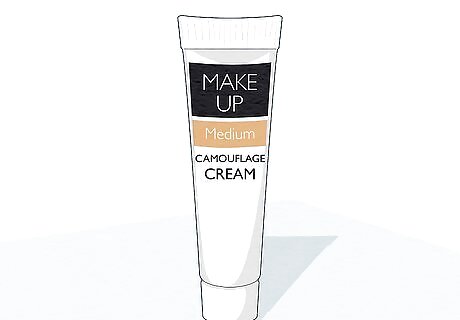
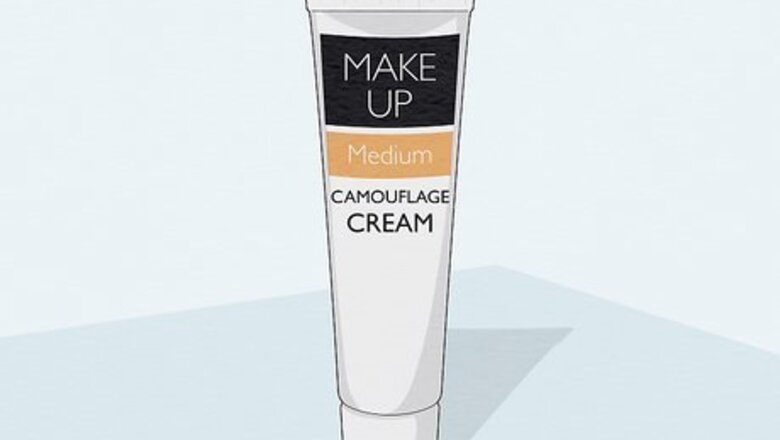
Choose a cover make-up or camouflage make-up. If you want to cover vitiligo patches, regular department store make-up won't cut it. You'll need to buy specialized make-up designed to cover discolorations caused by vitiligo, referred to as camouflage or cover make-up. Skin camouflage is typically used by both men and women. It does not look like you're wearing make-up. It just smooths out discolored patches of skin. Skin camouflage usually must be ordered online. You may be able to purchase it from your dermatologist's office. It does not require a prescription. You should select a shade that matches your regular skin tone. You may have to do some trial and error when purchasing camouflage products. It may take awhile to find a tone that best suits your skin. Skin camouflage is safe for adults and children. You can wear it safely all day as it tends to stay on very well.
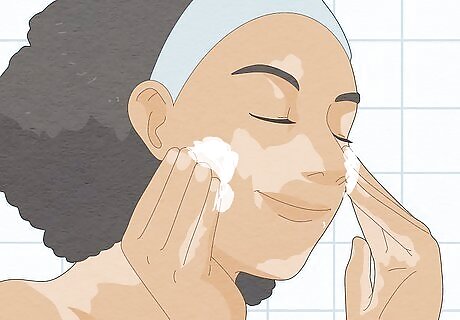
Cleanse the skin. Once you've obtained your product, you should cleanse the skin in the areas where you plan on applying camouflage make-up. This simply means to wash your skin thoroughly, using an antibacterial soap. Pat dry with a clean rag when you're finished. Keep in mind you should check your product's instructions before starting. While most products suggest you cleanse your skin first, some products may have special instructions for use. Always read instructions before using a new skin camouflage product.
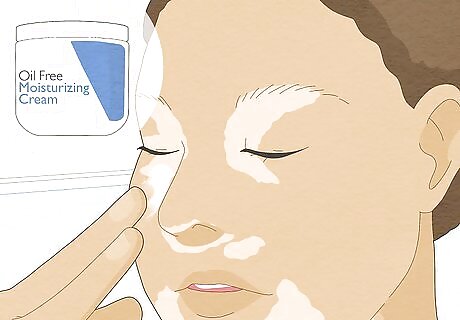
Moisturize, if necessary. Once you've cleansed your skin, it may be necessary to moisturize. You'll be coating your skin in quite a few layers of skin camouflage, so if your skin is already dry or sensitive a moisturizer may help. However, some types of skin camouflage recommend you not moisturize, so check your product's label first. Most people do well with a water-based moisturizer with a light feel. Greasy or oily moisturizers may irritate skin. However, if your skin is dry, oily, or otherwise sensitive, you may need a special moisturizer. If you have dry skin, go for an oil-based moisturizer as this will help rehydrate. If your skin is very dry or cracked, look for a petroleum-based product. If your skin is very sensitive, go for a moisturizer that contains soothing ingredients like chamomile or aloe vera. As oily skin is more prone to acne, look for a moisturizer that is labeled noncomedogenic if your skin is oily. This means it is less likely to clog pores.
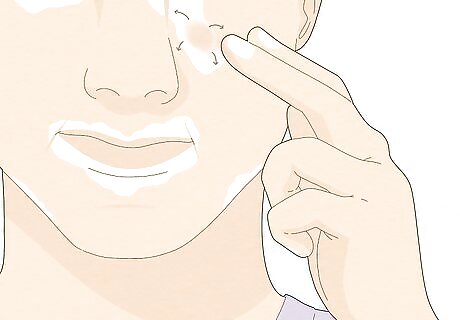
Apply foundation in several thin coats. You usually apply skin camouflage products in several thin coats. The aim is to make the make-up look as natural as possible to cover up discolorations. Start from the middle of the discolored patch of skin. Work outwards as you apply each coat. You can use your fingers if you wash your hands first. However, if you prefer you can also use make-up brushes or sponges. You should always spread the make-up a few millimeters beyond the white patch. Allow one coat to dry for about 5 minutes before applying a second coat. Add as many layers as needed to cover up to your liking. If you're unsure of anything, there's usually a number you can call on the bottle to ask questions. Many companies have video tutorials online you can watch to understand how to apply the product correctly.
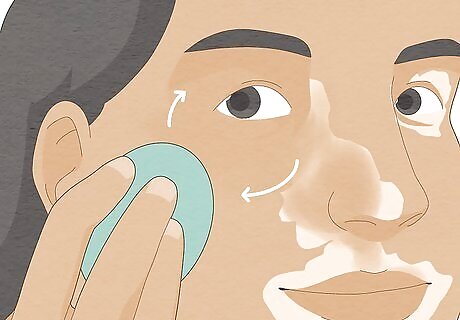
Blend make-up as needed. As you start from the middle of a vitiligo patch, the make-up will deplete as you work outward. Blend your make-up into the surrounding skin as it depletes so it fades naturally into your normal skin tone. If you are wearing other make-up, apply it afterward. Apply your make-up as you normally would, placing it over the camouflage make-up. Blending will be more effective if you choose a brand of make-up that closely matches your skin tone. Remember, it can take quite a few tries before you find a brand of camouflage make-up that works for you. Prepare for some trial and error along the way.
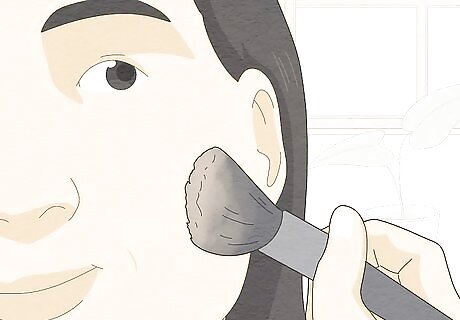
Add powder. Once you finish applying the initial layers of make-up, there should be a thin powder that came with your package. This is usually dusted over your skin, much like regular powder foundation, to give your skin a smooth, natural look. When you're done applying layers of skin camouflage, add the powder. You can use a make-up brush to apply.
Using Makeup for Depigmented Eyebrows

Comb your eyebrows and pluck if needed. Some people with vitiligo end up with whitening of the hair around the eyebrows. If this is the case with you, you can use make-up to enhance the shape of your eyebrows. To start, you'll comb your brows. If your normally pluck your eyebrows to reshape them, do that as well. You can purchase an eyebrow comb at your local beauty store, which you can use to gently comb out your eyebrows. You can also wash a fine-toothed comb and use that instead. You can then use a pair of tweezers to pluck your eyebrows into your desired shape and size. Not everyone plucks their eyebrows. If it's not something you normally do, skip this step. If your eyebrows are losing color, only pluck the portions of hair you can easily see.
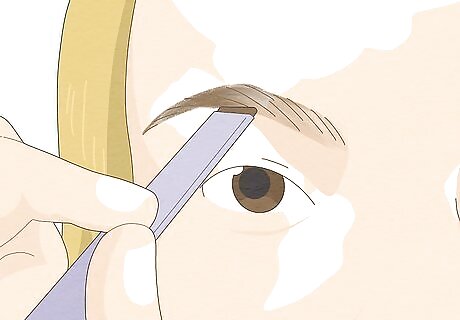
Trace your eyebrows. From there, you will trace the bottom of your eyebrows with a light shade of eyeshadow. Choose a shade that matches your regular hair. You can apply the eyeshadow with an angled eyebrow brush, which you should be able to purchase at a local cosmetics store or supermarket. While cosmetic products are typically marketed toward women, the main goal here is to fill in your eyebrows in a natural color. This method can work for men as well. Gently trace the bottom of your eyebrows, moving in the natural direction of your eyebrows. Apply in swift, gentle strokes. You may need to apply several layers before you begin to bring out the natural color of your eyebrows. Once you've traced the bottom of your eyebrows, trace the tops. Repeat the same gentle motions, following the natural angle of your eyebrow.
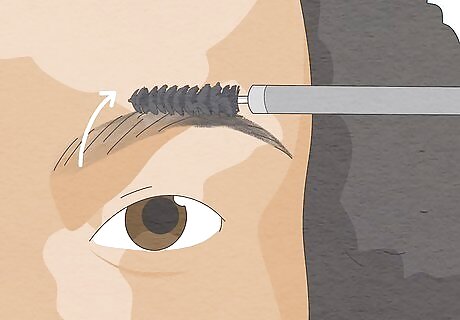
Brush out your eyebrows. In order to remove any clumps, you should brush out your eyebrows to smooth out the color. You can use a brow brush. If you don't have one, you can wash out a mascara brush. Run the brow brush or mascara brush over your eyebrows, following the direction of your hair. Do as many strokes as you need to get your eyebrows to look smooth and natural.
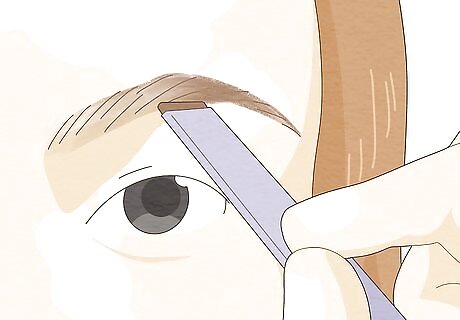
Use a brow pencil or eye shadow. Once you've smoothed out your brows, use a brow pencil or eye shadow to darken the center of your brows slightly. Choose a shade that matches the natural color of your hair. This makes them look more defined. Draw a line through the middle of your eyebrow. Avoid drawing around the edges, as this can make the brow look unnatural. Do not press too hard on the brush. You want the line to look soft, blending into the rest of your eyebrow. Pressing too hard can cause an unnatural appearance.
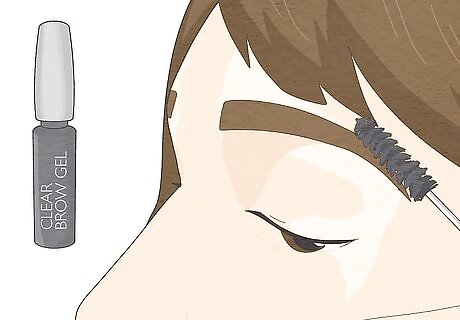
Set your brows. You can purchase a clear brow gel at a local department store or make-up store. This works something like hairspray. It sets in the product, preventing it from smearing or fading throughout the course of the day. Once you've finished applying brow make-up, apply a single layer of brow gel over both eyebrows.
Considering Micropigmentation
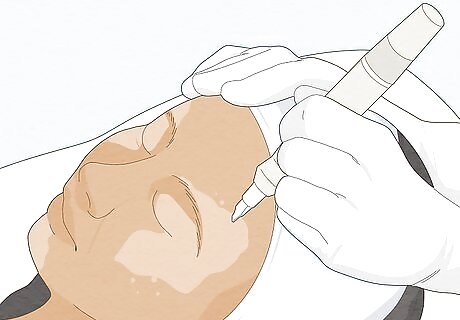
Learn about the benefits and risks. Micropigmentation is a form of permanent cosmetics. It's similar to getting a tattoo. An instrument is used to implant pigment directly into your skin. It's usually most effective on people with dark skin and on patches of discolorations around the lips. The main upside of micropigmentation is that it's a form of permanent make-up. You will not need to worry about applying make-up products in the future. If you have discoloration that's spreading and not easy to cover by make-up, micropigmentation might be a good option for you. Micropigmentation can cause drawbacks as well. Skin color can be difficult to match, it may fade over time, and in rare casing scarring during the process can cause further outbreaks of vitiligo.

Figure out if you can afford treatment. Treatment is usually several hundred dollars. As micropigmentation is considered a cosmetic surgery, it's usually not covered by insurance. Therefore, you will need to pay for the surgery upfront. See if you can get a cost estimate from a dermatologist. Determine whether micropigmentation is within your budget.

Prepare for the procedure. If you do decide to get micropigmentation done, there are several things you need to do to prepare for the procedure. You will need to meet with a dermatologist ahead of time. You will give him or her a detailed medical history to make sure the procedure is safe for you. The doctor will also inform you of any potential risks. If you and your dermatologist still feel micropigmentation is the best option for you, you can schedule the procedure from there.
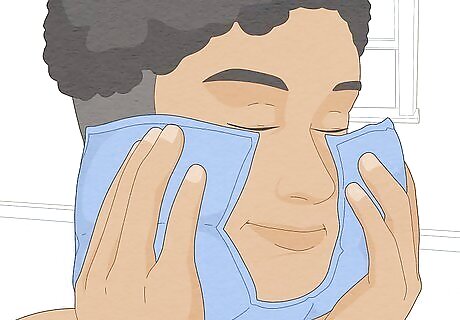
Recover afterwards. Full healing will generally take 4 to 6 weeks. You will meet with your dermatologist during this time to assess whether follow up treatment is necessary. During recovery, you may have to ice skin to prevent swelling. Your dermatologist may prescribe a cream or ointment to aid with the healing process.


Comments
0 comment