
Harvesting Your Beeswax and Draining the Honey
Collect your beeswax if you haven’t already. If you haven’t already received or collected your beeswax, you’ll have to get it yourself. Put on your beekeeping suit and go to your bee hive. Look for sections of honeycomb with no bees on them and remove them from the hive. Use a knife or uncapping tool to shave the wax off of honeycombs and put them in a large bucket. Caps, which are freshly laid wax on the outer layers of a honeycomb, tend to be the easiest to melt and clean. Take the beeswax between 9:00 am and 4:00 pm to avoid running into any angry bees. If there are bees there, you can use a smoker to safely get rid of the bees temporarily.

Drain the honey out of your beeswax overnight in a large container. To clean your wax, you have to remove any remaining honey. To do this, take your wax indoors and put a colander over a pot or large glass. Place your beeswax in the colander and let it sit overnight. Gravity will gradually remove the honey from the wax and it will pool at the bottom of your container.Tip: If you’re in a rush, you can use a potato ricer to squeeze the honey out of chunks of beeswax. Put a chunk of wax inside the ricer and squeeze the handles together over a large bucket to press the honey out. Let your honey sit for more than 1 night if you have particularly thick chunks of beeswax.
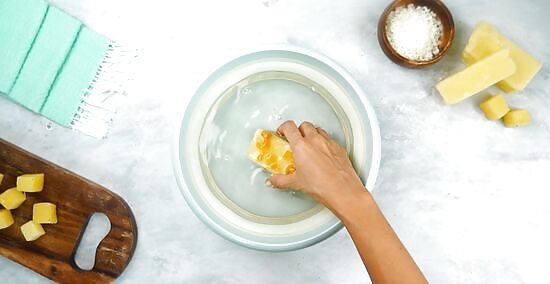
Rinse your beeswax outside in clean, cool water. After you’ve extracted your honey, take your beeswax into an open area outside. Fill a bucket or use a hose on the lowest power setting to rinse your beeswax in clean, cold water. This will wipe any residual honey or dirt off of your beeswax and make the cleaning process easier. Do not rinse your honeycomb in a sink. Pieces of wax can get into the drain and clog it, causing severe plumbing issues. Don’t take too long to rinse your beeswax. If bees have time to find your wax, it can confuse your bees and cause destructive robbing behaviors at your nearby hive. If you’re worried about bees finding your wax outside, you can hand wash the wax in a large bucket indoors.
Melting on the Stovetop
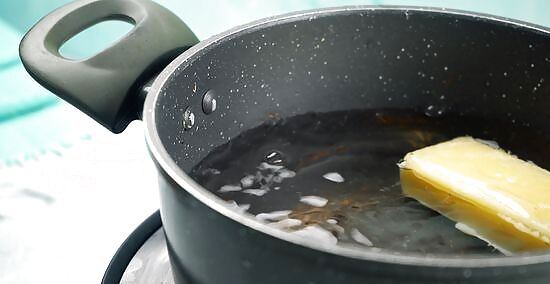
Place your wax in a large pot with 2–3 inches (5.1–7.6 cm) of water. Any large pot that fits your beeswax will work. Put your wax in the pot and pour 2–3 inches (5.1–7.6 cm) of clean water into the pot. Grab a slotted spoon and set it aside. If you own your own hives, you may want to consider buying a solar melter. This is a specialized tool that beekeepers use for melting beeswax by using the sun to heat a large box and melt the wax without water.
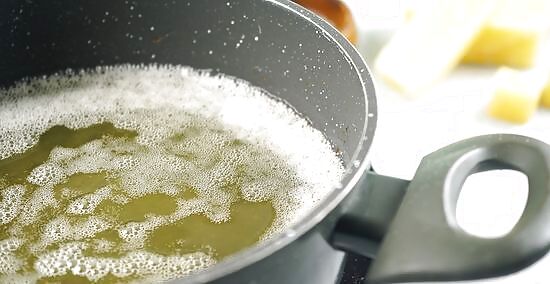
Turn the heat to low and let it melt for 15-30 minutes. Beeswax will ignite and burn at 490 °F (254 °C). To prevent any fires from starting, keep the heat low. It will take between 15-30 minutes for your beeswax to melt. Overheating will also dilute the quality of your beeswax, so turn the heat down if the wax starts boiling or smoking.
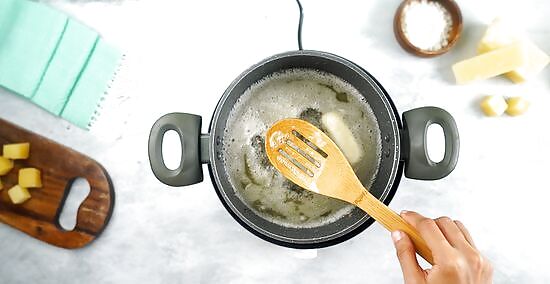
Scoop debris and old cocoons out of your wax with a slotted spoon. A slotted spoon will make it easy to remove dirt, pebbles, dead bees, or old cocoons without taking the wax with it. As your wax melts, scoop the spoon under any foreign objects in your pot and raise it 2–3 inches (5.1–7.6 cm) above the pot. Wait 5-15 seconds to let the wax drain back into the pot and place the object that you want to remove in a ceramic bowl or metal pan.Warning: Any debris that you will remove will be hot. Do not place it directly in the trash, as you’ll risk starting a fire. If the wax dries on your slotted spoon, scrape it with a dull knife or peel it off by hand after it cools.
Turn the heat off and let your beeswax cool in the pot. Once you’ve finished removing debris with your spoon, turn the heat all the way off. Wait 30-60 minutes to give your wax time to fully cool off. The water and beeswax will naturally separate in the pot, and the beeswax will float to the top as it dries. If you aren’t sure whether the wax has cooled or not, poke it with the teeth of a fork or a toothpick. if the wax resists being punctured, it’s cool. If it immediately gives, wait another 30 minutes before checking again.
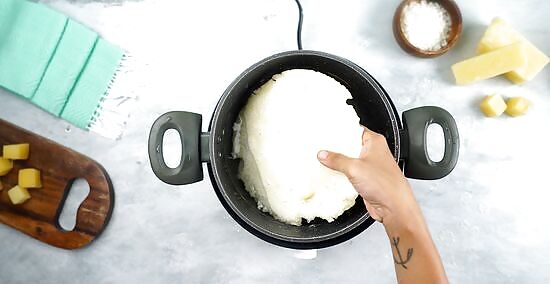
Remove your wax and discard the water. You will be left with a single disc of wax floating on top of your water. If the disc is sticking to the side of the pot, use a small knife to carve the wax out of your pot. Otherwise, pour your pot out over a colander to drain the water out of your pot.

Inspect the wax for additional debris and dirt. Once your wax has fully cooled and been removed from the pot, hold it 6–12 inches (15–30 cm) from your face and turn it in your hand. If your wax is still visibly dirty, grab a double boiler to prepare for a second melting.
Removing Debris with a Second Melting
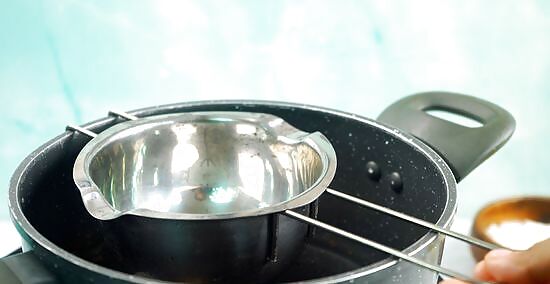
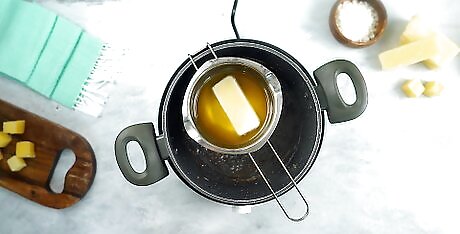
Fill a double boiler with water to perform a second melting. If you don’t own a double boiler, you can put a glass bowl over a small pot so that it isn’t directly touching the floor of the pot. Put 2–3 inches (5.1–7.6 cm) of water in the bottom pot and put your second pot, bowl, or tin on top of the first one. A second melting with a double boiler is typically performed to remove smaller pieces of dirt, grime, and debris from wax after the bigger objects have been removed. You can use a tin can instead of a glass bowl as long as your wax will fit inside. The water should not touch the bottom of the second bowl, pot, or tin can.
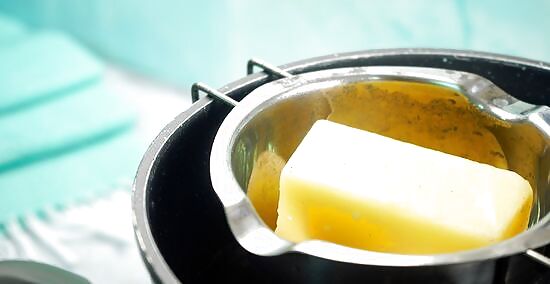
Add your wax to the pot, bowl, or tin on top of your pot. Depending on the size of your wax disc, you may need to cut it in half with a serrated blade to make it fit beneath the lip of the container. If the entire disc fits, simply place it flat in the container. You’re heating the wax until it’s fully melted, so the shape of the wax doesn’t matter.
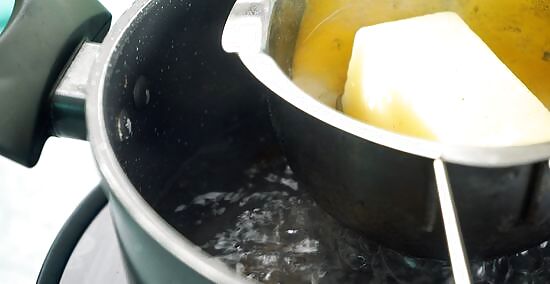
Bring the water to a boil over high heat. Start by turning the heat as high as it will go on your stovetop. Keep your pot heated on high until you start to see the water visibly bubble. Do not leave your wax unattended while the water boils to prevent wax fires or spills.
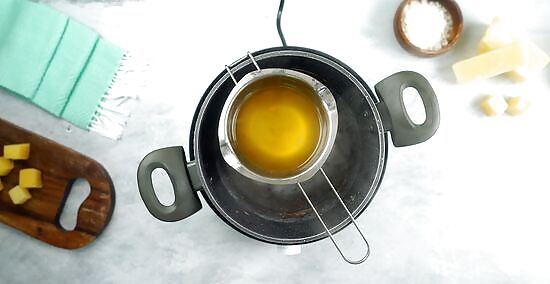
Reduce the heat to low and simmer the wax for 15-45 minutes. After the water begins to boil, it will take between 15-45 minutes for the beeswax to melt. How long you have to wait depends on the size of your wax disc and how soon you’re re-melting it after the first round of heating. Once your wax is bubbling, it’s ready for filtering.
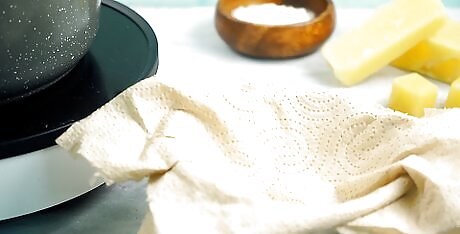
Create your filter and get a storage container. You’ll filter your wax directly into the container that you plan on letting your wax cool in, so grab the mason jar, bowl, or bucket that you plan on drying your wax in. Place a metal sieve over the mouth of your container. Use several strips of toilet paper to line the inside of the metal sieve so that there are no open spaces remaining. You can use a large coffee filter if you have one that will fit over your sieve. You can use a colander with very small holes if you don’t have a sieve, but there may still be some small debris left in your beeswax when you’re done.
Pour your melted wax into the sieve and let it drain slowly. Turn the heat off and use oven mitts to pick up the pot, bowl, or can. Slowly pour your wax over the sieve so that it has time to drain into your container. If your toilet paper gets clogged, replace it and continue the process until you’ve emptied your wax into the container.Tip: Dried beeswax on toilet paper makes for an excellent fire starter if you have a fire pit or fireplace!
Repeat this process if there are still unwanted objects in your wax. If you still see unwanted debris or dirt particles in your wax, repeat the process using the same double boiler setup. This process can be repeated multiple times to continue purifying the beeswax. Peel the sides of your second pot, tin, or glass with a scraper or dull knife to remove any wax that dried while you were pouring it.
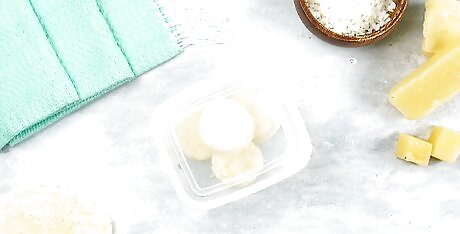
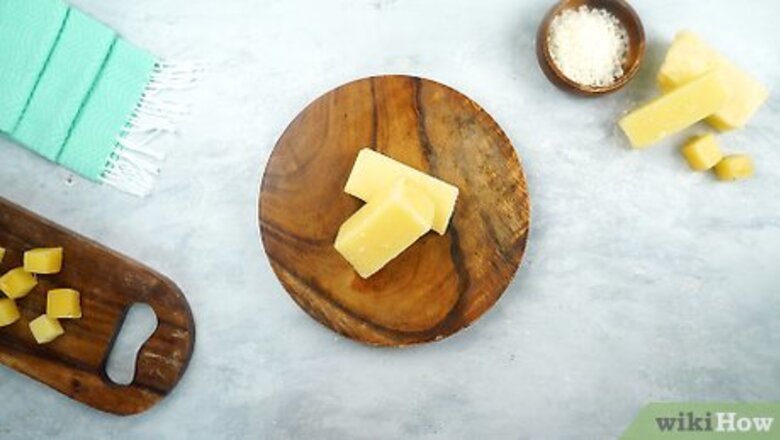
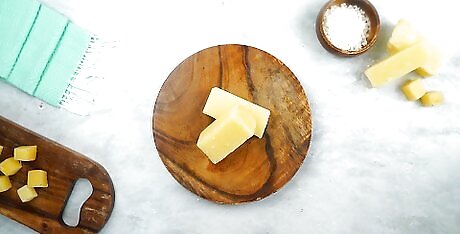
Transfer the wax to a storage container and let it cool. Once your wax has cooled, you can store it at room temperature in an airtight container. You can also choose to pour your wax into a clean ice tray if you want to use smaller pieces over a longer period of time. Keep your wax in the dark to prevent light from heating or damaging your wax.


Comments
0 comment