views
Cleaning the Outside of the Windshield
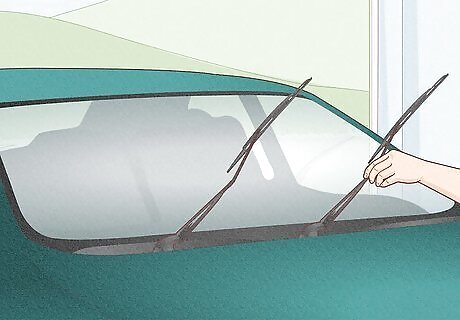
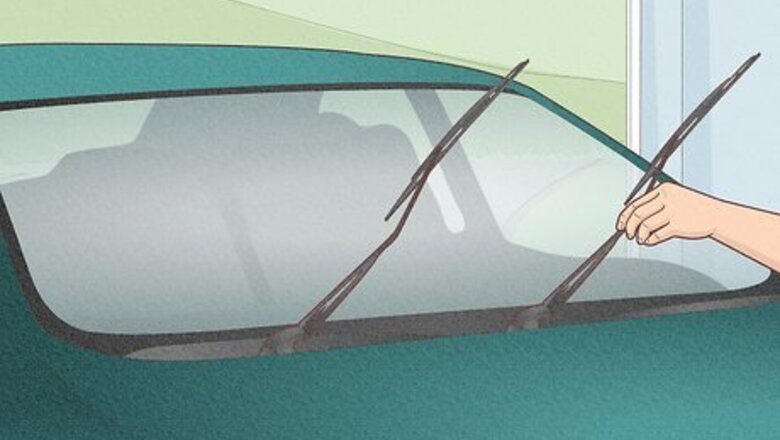
Lift the windshield wipers up. Before spraying any glass cleaner, ensure that the area beneath them gets cleaned as well. Leave them in the “up” position for the duration of the cleaning process.
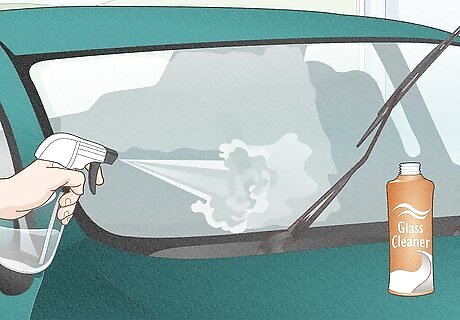
Spray half the windshield with diluted glass cleaner. You could choose to spray either the left or right side first. Spray in such a way that you cover the broadest possible area of that portion of the windshield which you intend to wipe first. Two or three squirts of cleaner is usually enough. If your windshield is very large, use four or five squirts of glass cleaner, as needed. Always dilute glass cleaner with water, like 1 ounce of cleaner per 1 gallon of water.
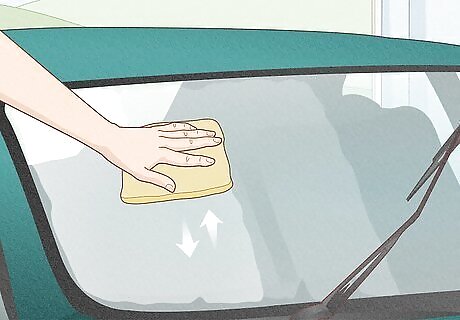
Wipe the glass clean with straight vertical wipes. Use a microfiber cloth to clean your windshield. Hold the cloth and extend your arm to the upper center of the windshield and bring it straight down along the central vertical line of your windshield. Return your hand to the top of the windshield but slightly towards the side of the windshield you’re standing on. Wipe another vertical line down parallel to the first. Continue to wipe the windshield in this way, moving progressively closer to the side of the windshield you’re located on, until it has been completely wiped. If you have a hard time leaning over the front of your vehicle to access the central areas of your windshield, use a step-stool to gain some height.
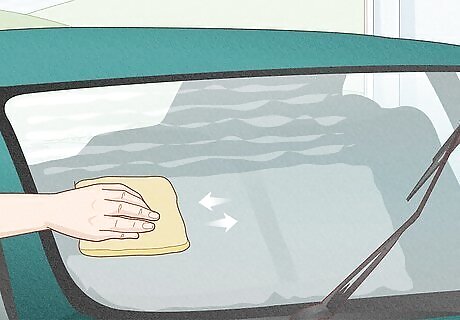
Wipe the glass clean with straight horizontal wipes. When you’ve completed a vertically-oriented wipe-down, begin a horizontally-oriented wipe-down. Starting again at the upper center of the windshield, drag the microfiber towel straight out toward the edge of the windshield you’re standing on. Then, wipe another, parallel row toward the same edge, beginning just below the first row. Continue in this manner until the half of the windshield you chose to start on is completely cleaned.
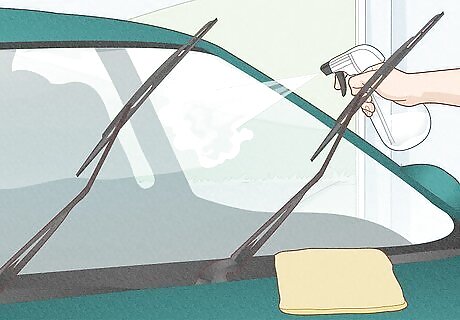
Repeat the process on the other side. Once finished with one side of the windshield, repeat the process to clean the other half. For instance, if you began by wiping horizontal and vertical lines on the right side of the vehicle, move to the left side in order to complete the cleaning process. This ensures the entire windshield gets clean. If you need to go over a certain spot more than once, wipe over it with a straight back-and-forth motion. Do not clean using circular motions as if you’re buffing the surface. This action could leave streaks.
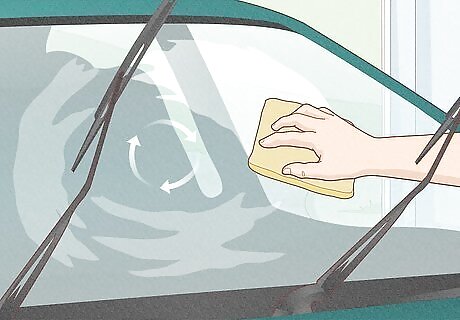
Buff the windshield. While the first wipe-down was intended to clean the glass cleaner off the windshield and remove excess grime, buffing the windshield is essentially moving your hand in a circular motion. Exchange the towel you used to wipe off the glass cleaner with a clean one. Depending on the size of your windshield, you might need several clean microfiber towels. Move your hand in a tight circular motion around the surface of the windshield. Start on one side of the vehicle, then move to the other side to ensure the entire surface of the windshield gets buffed. Your windshield should sparkle like a fresh-cut diamond.
Cleaning the Interior Side of Your Windshield
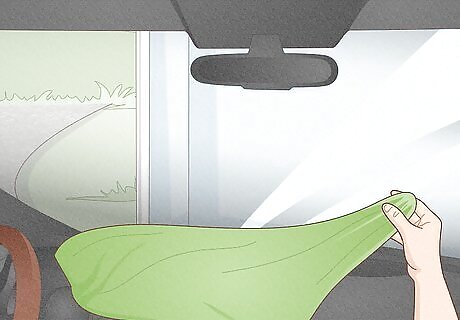
Place some microfiber towels on your dashboard. This will prevent drips on the dash. You could use the same towels you used to buff and clean the exterior of the windshield in order to avoid going through your towels too quickly.
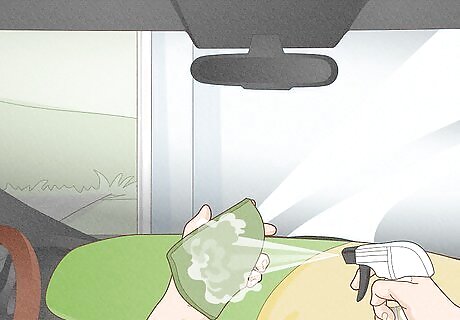
Spray some glass cleaner on your scrub pad. Spray a few additional squirts of cleaner on half the windshield. Starting in the upper-right corner of the passenger’s side, move the scrub pad down the windshield in parallel rows, working your way to the left (driver’s) side. You’ll have to stop after cleaning the first half of the windshield to apply glass cleaner to the driver’s side. Remain in the passenger seat or lean into the car from the passenger’s side door to avoid bumping or leaning on the steering wheel while cleaning. Avoid using water to clean the inside of your windshield since it will leave streaks. If your vehicle has leather or vinyl interior, an oily residue can build up on the windshield over time. In that case, use a product specifically designed to remove oily buildup.
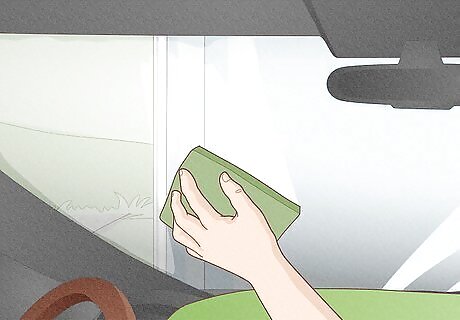
Continue scrubbing on the driver’s side. Just as you did on the passenger’s side of the windshield, move the scrub pad from top to bottom until the entire surface of the interior windshield has been scrubbed clean. When you’re finished, use a dry microfiber towel to go over the entire surface of the windshield to ensure you didn’t leave any cleaning liquid. Move your hand around the entire surface of the windshield in a small, tight circle.
Organizing Your Windshield Cleaning
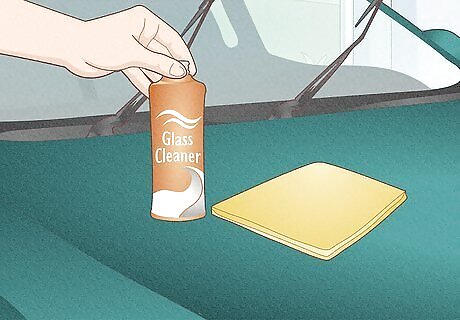
Choose the right glass cleaner. Avoid glass cleaners with ammonia as it can damage tinted windows. Almost all household glass cleaners contain ammonia. Look for a glass cleaner which is labelled “safe for tinted windows” if you have tinted windows. These are readily available at auto stores. Plain water is a great windshield cleaner. However, it does not contain the same compounds as commercial glass cleaner, and is somewhat less effective. If you want to use water as a glass cleaner, you should definitely use it in conjunction with a microfiber towel to ensure your windshield is scrubbed clean. Keep in mind that ammonia is very harmful to a variety of materials. Ammonia can also be hazardous to your health, so be wary of using it in the interior of your car.
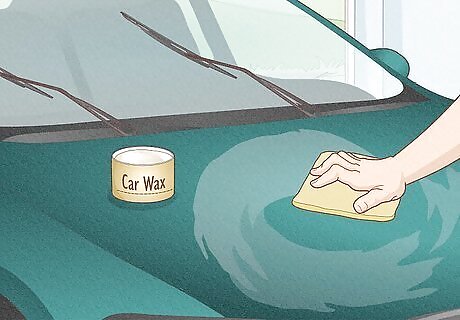
Plan your windshield cleaning. Cleaning the windshield should be the last thing you do when cleaning or detailing your vehicle. If you’re applying wax or polish, or repainting your vehicle, ensure you do it before you begin cleaning your windshield. Otherwise, you might end up getting a bit of polish or other undesirable substance on your windshield after it has already been cleaned. If you’re cleaning the car's interior windows, do them before cleaning your windshield from the inside so as to avoid getting the cleaning agents on your clean windshield.

Choose the right place to clean your windshield. If your vehicle is parked out in the sun, your glass cleaner might evaporate before you get to scrub it off. Park your car beneath a shady tree or in your garage before beginning a windshield cleaning.
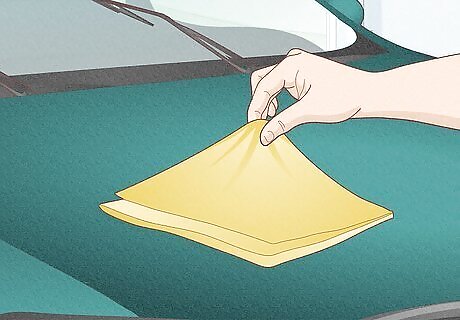
Choose the right towel to clean your windshield. Obtain a high-quality microfiber towel to clean your windshield. Ensure it has a weight of at least 300 GSM. These towels can hold up to eight times their weight in water and are gentle on the smooth finish of your windshield. Further, they prevent scratches by inducing electrostatic attraction in the particulates affixed to your windshield. The matter is thus lifted from, rather than dragged across, your windshield. Microfiber towels are readily available at your local auto store.
Cleaning a Glass Windshield With Your Wipers
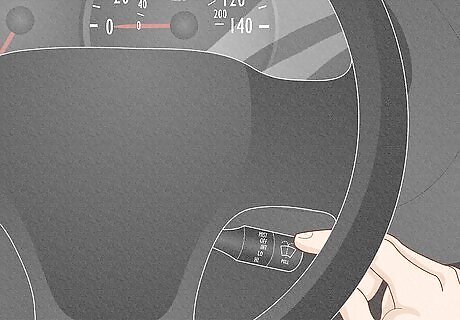
Locate your windshield wiper lever. The windshield wiper lever is a long lever, straight or angled, located to the right of the steering column. If you have trouble locating your wiper lever, consult your vehicle maintenance guide or contact the vehicle’s manufacturer.
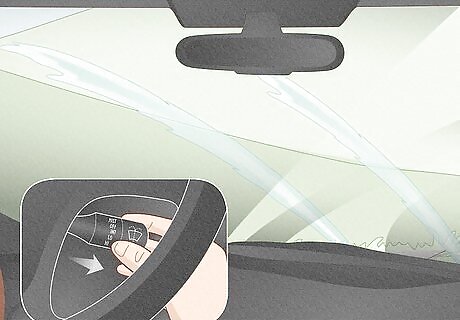
Pull the windshield wiper lever toward you. When you pull the windshield wiper straight back and away from the steering column, two parallel streams of windshield wiper fluid should eject onto the windshield. If your windshield wiper fluid does not come out when you pull the windshield wiper lever, or if it only comes out in a weak stream, check the level by opening your hood and locating the wiper fluid tank. Refill it if necessary. If your windshield wipers do not work, bring your automobile to your local car repair shop and get them fitted with new wipers. You could also try to find the right windshield wipers yourself, but make sure to check your vehicle’s maintenance guide beforehand so you get the right length.
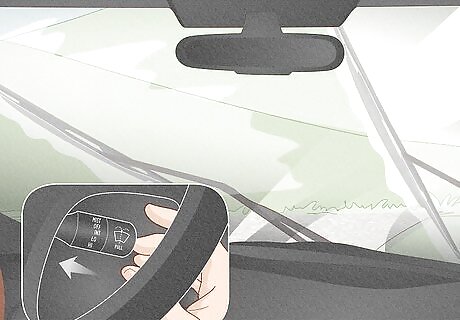
Release the windshield wiper lever. When you think the windshield has received enough wiper fluid and has been scrubbed adequately by the windshield wipers, release the lever to stop the cleaning process. If your windshield wiper fluid leaves streaks or smears behind, consider refilling it with a different variety after exhausting the current supply. Alternately, you might consider investing in a new pair of wipers. Consult the staff at your local auto care shop for advice pertaining to your vehicle. Windshield wiper blades should be changed regularly every 2 to 3 years. If there is some buildup on the wiper blade itself, try wiping the blade down with rubbing alcohol or mineral spirits.
Removing Grime With Detailing Clay
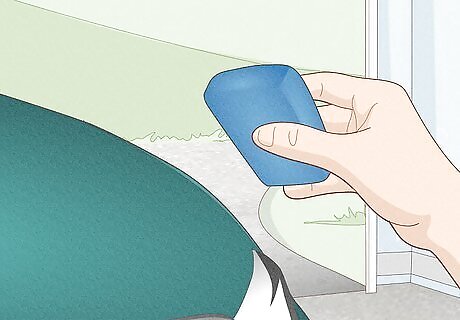
Obtain a 3 or 3.5 ounce bar of detailing clay. Detailing clay (or glass cleaning clay) is an elastic compound which can capture grit and grime lodged within a crevice and pull it out. If your car’s windshield has any dings in it, dirt can accumulate within. Even if there are no visible indentations, the fine particulate matter which has accumulated across the surface of your windshield can be removed with detailing clay. Obtain detailing clay at your local auto care shop. Each detailing clay has specific directions for use. Carefully read the package and follow the directions.
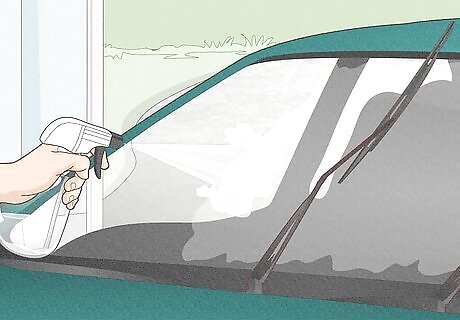
Mist the windshield with water. Next, apply an automotive lubricant to the windshield. This liquid combination will help the clay glide across the surface of the windshield. The amount of each you’ll need depends on the size of your vehicle. A bus will require a good deal more water and lubricant that a small car.
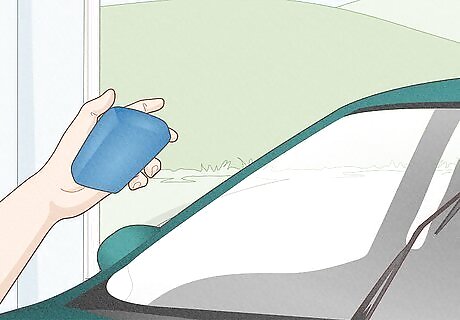
Grip the detailing clay lengthwise in your hand. Grip it in the manner you would a bar of soap. Keep your middle and index fingers on top of the clay, your thumb on one side and your remaining fingers on the opposite side. Move the detailing clay through the lubricant/water you’ve applied to the windshield. The clay should glide back and forth smoothly across the wet glass.
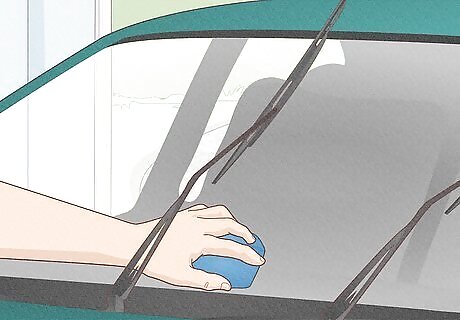
Position the clay on the windshield. Reach over the windshield and place the clay in the center. The clay should be placed in the center bottom of the windshield where it meets the hood.
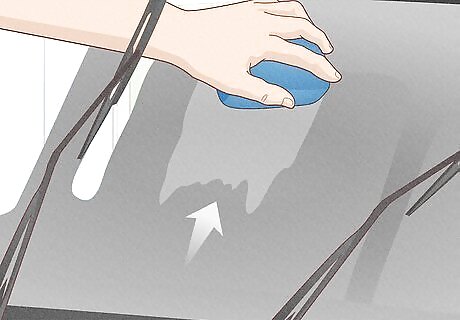
Move the detailing clay across the windshield. Bring the detailing clay from the base of the windshield to the top where it meets the roof. When you’ve completed one vertical line, place the clay at the bottom of the windshield again, but in a location slightly closer to you. Draw a second vertical line up from the windshield to the roof of the vehicle. The second line should be parallel to the first. Continue to drag the clay across the surface of the windshield in straight, vertical lines, moving the rows gradually closer to you.
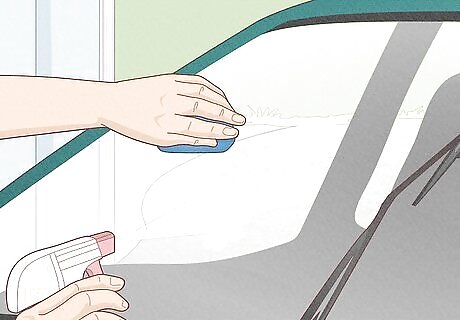
Clean any grit you encounter. When you feel the clay slow or stick in its motion across the windshield, you’ll know it has encountered some grit or grime on the windshield.
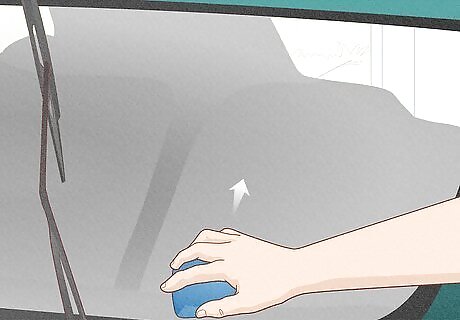
Move to the other side of the vehicle and repeat the process. Start again by placing the clay on the the bottom center of the windshield. Move the clay up in a straight vertical line toward the roof of the vehicle. After completing a vertical line, bring the clay back down to the base of the windshield. Position it at a point slightly closer to you, but directly next to the location you originally moved the clay from. Continue moving the clay up the length of the windshield in straight vertical lines, gradually bringing the clay closer to you.
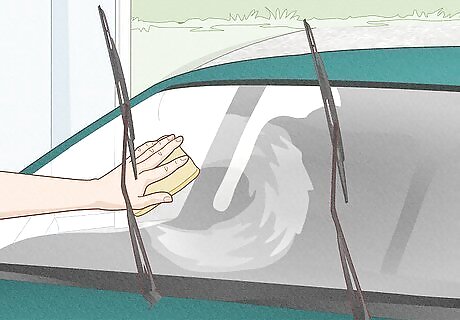
Wipe the glass clean when finished. Take a microfiber towel in one hand and move it across the windshield in broad, circular motions. This will remove any excess clay which may still be attached. You can choose to use either the same hand or a different hand on the two different halves of the windshield.


Comments
0 comment