views
Replacing a Knob Lock
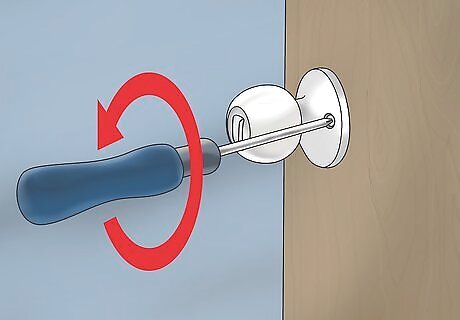
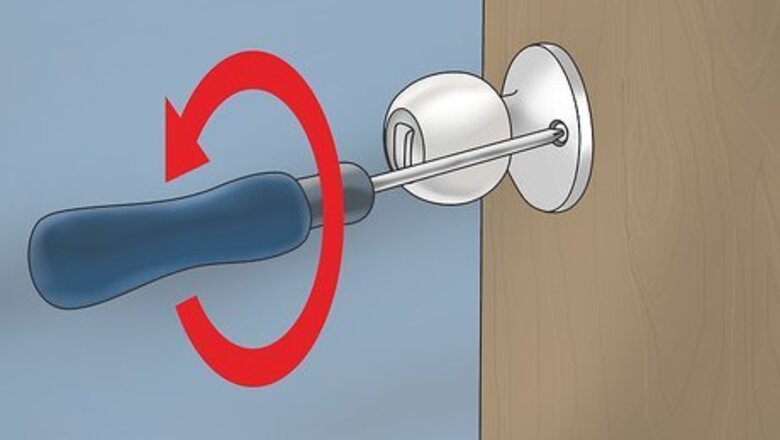
Remove the screws from the old lock on the inside of the door. Use a Phillips head screwdriver to unfasten the two or three screws located on the inside knob plate. Then remove each side’s door knob by pulling them away from the door. You may also need to use a wire tool or a paper clip. If your knob or lock has no screws on it, insert a paperclip into the small hole on the side of the doorknob. This should release the knob latch and will allow you to pull off the knob.
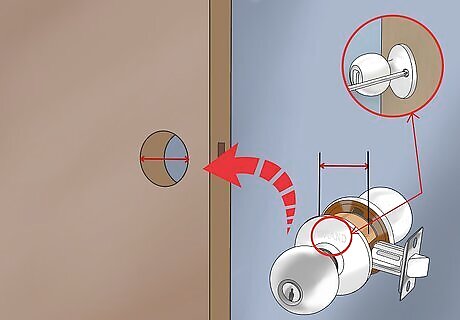
Use a lock of the same brand that fits your door. After removing the knobs, measure the diameter of the lock’s hole and the distance from its center to the edge of the door. Check your current lock’s brand, and purchase a lock that matches it and fits the hole’s dimensions. You can find a new lock that meets the measurements you took at a home improvement store, locksmith, or online. If you buy the same brand, your new lock will match your other locks, and you will most likely be able to install it using the existing holes.
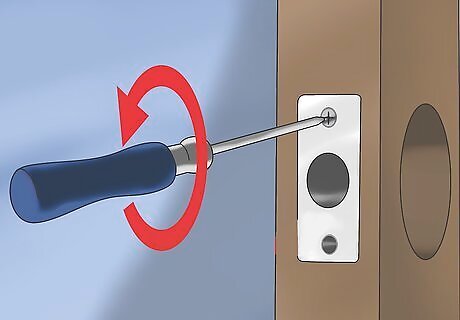
Remove the screws that secure the latch at the edge of the door. The latch is the final piece of lock equipment you need to remove. Unfasten the two screws that hold the latch plate in place. Once the screws are out, you can slide out the latch from the opening in the side of the door.
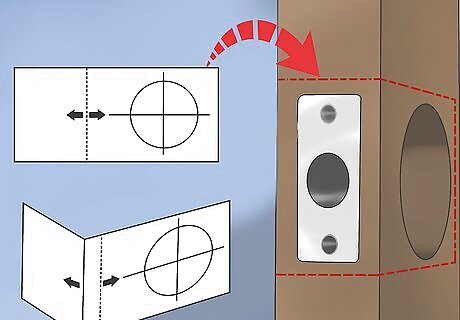
Wrap the cardboard template around the door edge. A store-bought lock will come with a cardboard template that shows you exactly how the lock will fit onto the door. Place this template over the hole in your door and make sure that everything matches up. If the template does not match up exactly with your hole, then you bought the wrong lock. If you bought the wrong lock, take the old lock that you removed back to the hardware store and ask for help finding a lock that fits your needs.
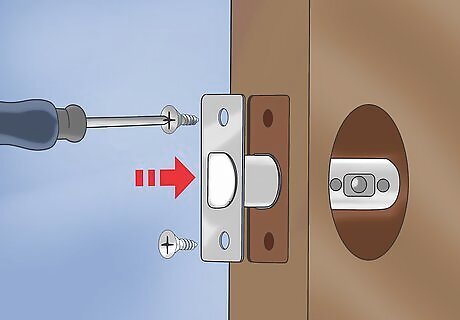
Put the new latch into place. If your template checks out, begin installation by sliding the new latch into the opening on the edge of the door. Drive the new screws through the holes in the latch plate and into the door edge to secure the latch. It’s best not to reuse your old screws, since they might be old and weaker than new screws. If your new lock didn't come with screws, buy ones that fit the lock and match the color of your hardware.
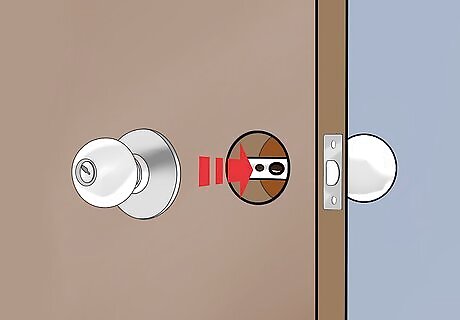
Put the door lock together. Place the outside knob (the one with the keyhole) and the inside knob on their respective sides, then slide them through the lock hole toward each other. They should meet in the middle and connect. Don’t force them together, but allow them to slide together easily. Drive screws into the holes on the inside door knob plate to finish putting the lock back together.
Rekeying a Lock
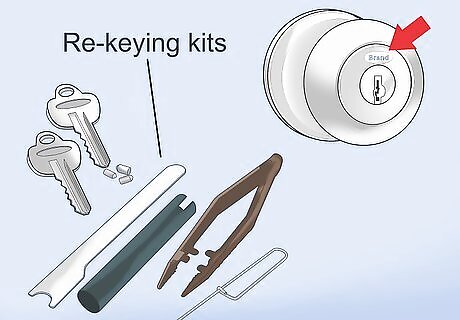
Purchase a kit labelled for your lock’s brand. There are re-keying kits that contain all the tools you’ll need available for most lock brands. One brand’s kit usually doesn’t work for others, so check your lock’s brand and purchase a kit that matches it. You can find kits online and at hardware and home improvement shops. Read your kit’s instructions carefully, in case there are any minor differences specific to your brand.
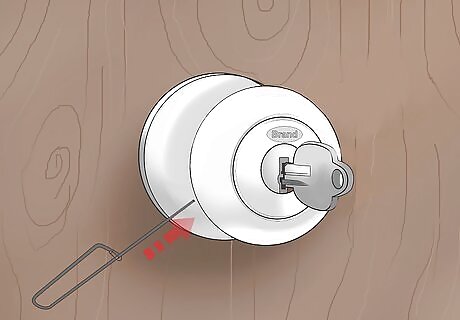
Remove the exterior door knob. The kit will provide a thin, wire-like tool that you can use to remove the knobs. Insert your key into the lock and turn it to unlock the door. Slide the wire tool into the small hole on the side of the interior door knob. This releases the knobs and will allow you to pull the outside knob out of the lock. You can also use a stretched out paperclip or pin instead of the tool. If you’ve lost your key, you’ll need to remove the entire lock and bring it to a hardware store or locksmith to have a new key made. If your lock doesn’t have a side poke hole, you’re better off replacing the whole lock. Your lock is probably complicated enough that it requires a locksmith to rekey.
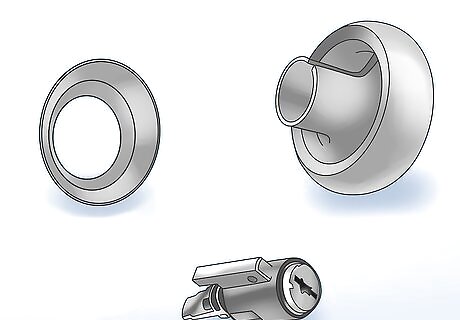
Pop the the cylinder out of the back of the knob. Once you’ve removed the exterior lock face, look inside the knob and check for any sheets of plastic or metal that hold the lock cylinder in place. Slide them out if any are present, then put pressure on the key, which is still inserted into the keyhole, to pop out the lock cylinder from the back of the knob. If your see rust or other signs of wear and tear inside the lock, you should just replace the entire lock.
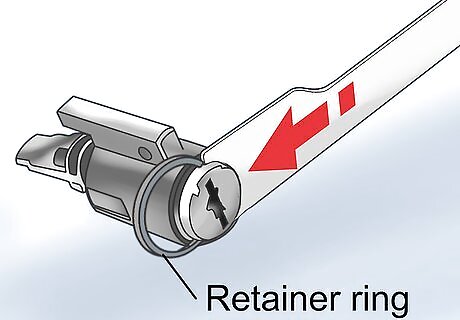
Remove the cylinder retainer ring. Your kit will come with a wrench-like tool that you’ll use to remove the retainer ring that secures the cylinder housing. Slide the tool around the horseshoe-shaped ring, then turn the tool to pop off the ring.
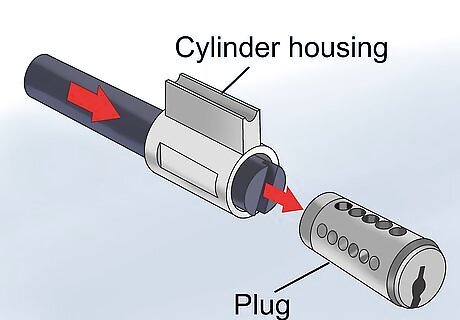
Slide the cylinder plug out of the cylinder housing. Your kit will come with a cylinder follower, or a tube-shaped tool, that you can use to slide the plug out of the housing. Push it through the cylinder housing from the side opposite the keyhole to pop out the plug. Keep constant pressure on the plug and follower, and make sure they’re always in contact as you slide the plug out, so that the lock pins and springs don’t pop out and fly everywhere.
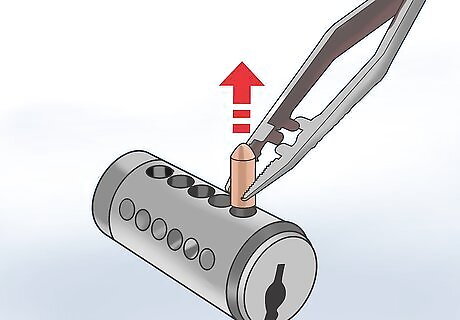
Remove the old pins from the cylinder plug. On some locks, you can just turn the plug over to empty out the old pins. Other locks might require you to pluck them out with a set of tiny tweezers supplied in the kit. Check your kit’s instructions to find out exactly how you should remove your plug’s old pins.
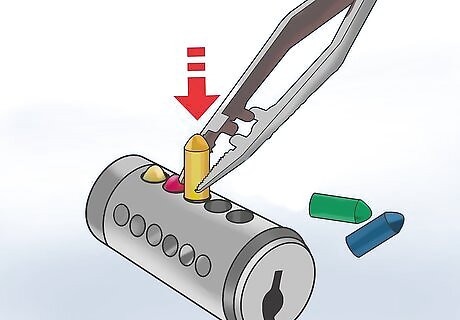
Insert the new pins to match the code in the instructions. Once you’ve removed the old lock pins, slide the new key (provided in the kit) into the keyhole. The new kit will come with colored or numbered pins, and its instructions will include a code. Use the kit’s tweezers to insert the pins into the plug’s slots so they match the code. For example, the code might list the correct order as blue, red, red, blue, yellow, starting from the side opposite the keyhole. Correctly installed pins should be flush with the surface of the plug; they shouldn’t stick out over their slots.
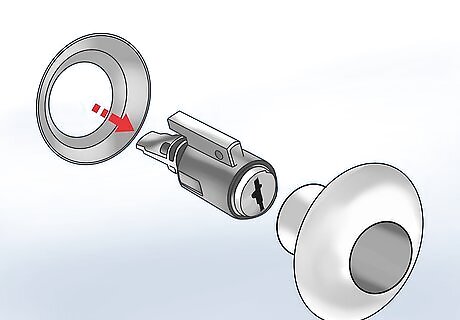
Reassemble the lock. Once the pins are installed, push the plug back into the cylinder housing. Slide the retainer ring back into place, pop the cylinder back into the door knob, and replace any plastic or metal sheets that secured the cylinder. Push the exterior door back into its slot in the lock, and rotate the key until it the knob pops and locks into place.
Changing a Deadbolt
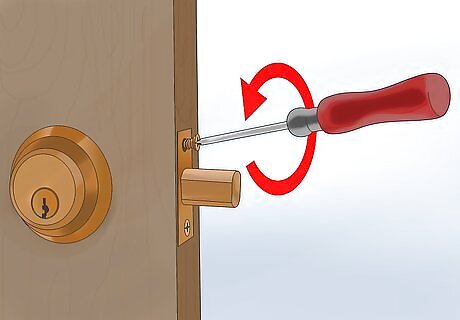
Remove the old deadbolt faceplates. Remove the screws on the inside plate. Once the screws are removed, you’ll either pull the interior faceplate straight out or rotate it counterclockwise to remove it. Then pull out or twist and remove the exterior plate. It’s a little tough to manage, but try to keep a hand on the exterior faceplate when you remove the interior one. On some models, the exterior faceplate doesn't screw into place, so it can fall to the floor when you pull out the interior plate.
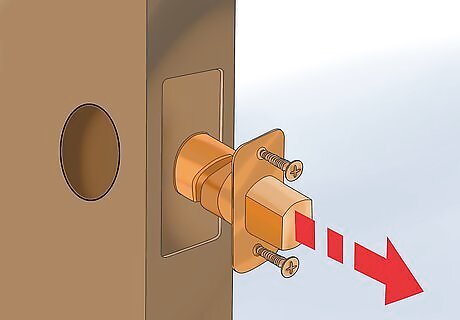
Remove the set plate and bolt. The set plate and bolt are the final components of the lock, and are fastened to the edge of the door with screws. Remove the screws, then pull out the set plate and bolt to finish uninstalling the old deadbolt. Sometimes the set plate and bolt are attached but, on some models, they're separate components.
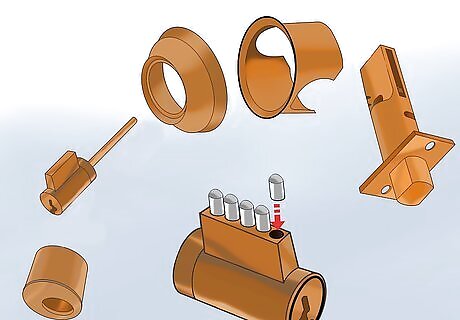
Rekey the old deadbolt or take it to a locksmith. Once you’ve removed the deadbolt, you can pop out the cylinder housing from the exterior faceplate and rekey it as you would a knob lock. If you’ve lost the key, you can take the components to a locksmith to have a new key made. Replace the entire deadbolt with a new one if the lock is worn or if you just want a new look.
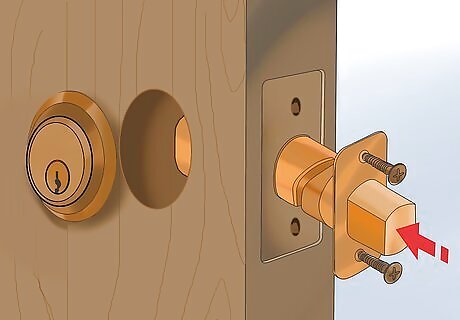
Install the new deadbolt’s set plate and bolt. If you’re replacing the entire lock, start by inserting the bolt through the hole in the edge of the door where the old bolt fit. If your brand’s plate and bolt are separate components, place the new set plate over the indentation on the side of the door where the old plate fit. Drive the new screws through the set plate and into the door to secure the new lock. If your new lock didn't come with screws, make sure you buy new ones that match your hardware's color. Deadbolts only have 2 screws, so they're a lot easier to line up and install properly.
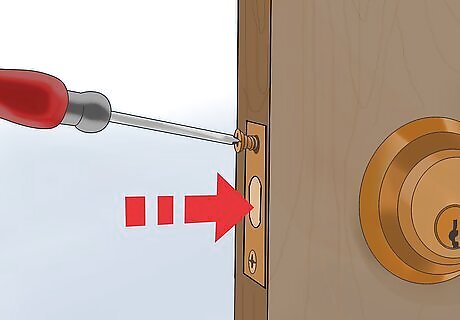
Attach the new faceplates and secure them with screws. Line up the new exterior and interior faceplates on their respective sides of the hole in the door. Thread the new screws through the screw holes in the interior plate, through the screw holes in the bolt, and into the exterior plate. Drive the screws until they’re tight to complete installation.


Comments
0 comment