views
X
Research source
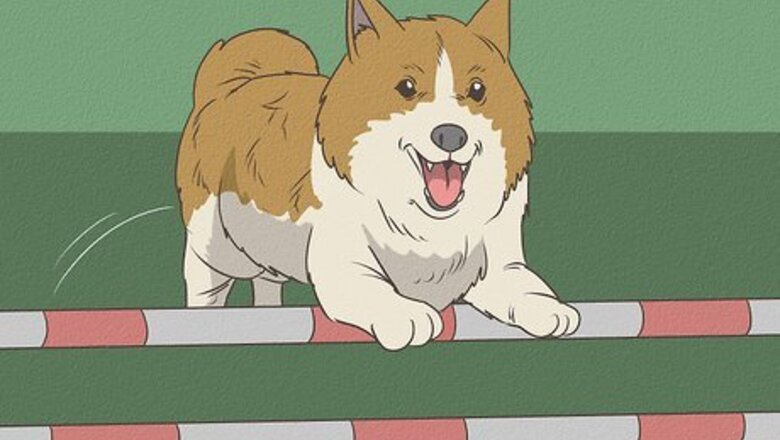
You can build your own agility course to help your dog train, practice, and even compete. To design an agility course, consider your dog’s size and level of training, then build a course that will meet your furry friend's size, constitution, and needs.
Planning Your Agility Course
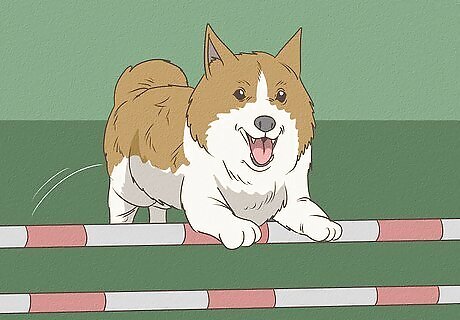
Evaluate your dog’s capability. As you start thinking about what obstacles you want to set up in your course, consider your dog’s capability. Make sure plan obstacles that are appropriate for your dog’s size. A corgi, for example, could not get through a tire jump meant for a German shepherd. Also consider any limited ability your dog has. If your dog has back problems, for example, they may be able to easily get up and down an A-frame, but may not be able to complete a weave pole exercise. Do not try to force a dog beyond its ability. Some dogs may not be able to do certain obstacles, and all dogs will have to train up from easier to more challenging courses.
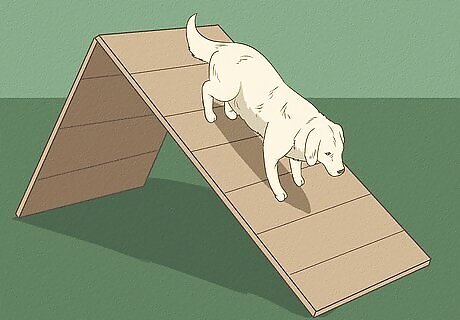
Build contact obstacles. Contact obstacles typically include A-frames and see-saws. A-frames have your dog run up one side and immediately down the other of a wooden, A-shaped obstacle. It is generally easier and safer for your pet to purchase a ready-built contact obstacles, but you can make your own A-frame from wood or aluminum. Instructions can be found online. For see-saw obstacles, you may buy a purpose-built agility see-saw or you can use one meant for toddlers or small children.
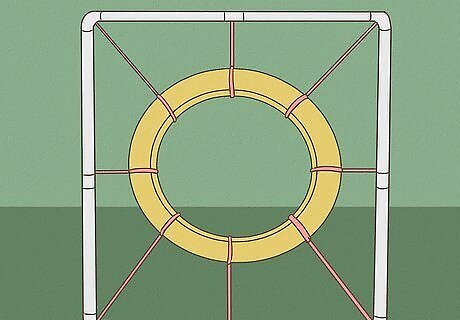
Plan a tire jump. Tire jumps are easily adjustable if you have different sized dogs, and are typically found in many competitive agility courses. These are tires suspended by ropes to a wooden frame. According to USDAA regulations, tire jumps must have an interior opening of 20 inches (50.8 cm), and the tire itself must have a 4 inch (10.16 cm) wall. Tire jumps are generally purchased whole from agility equipment retailers, as while you can build one yourself, professionally manufactured jumps tend to be more secure and less likely to hurt your pet if they miss the jump. Setting up tire jumps is generally a simple process that at most involves you connecting the tire to the suspending agents, but more often just involves placing the frame.
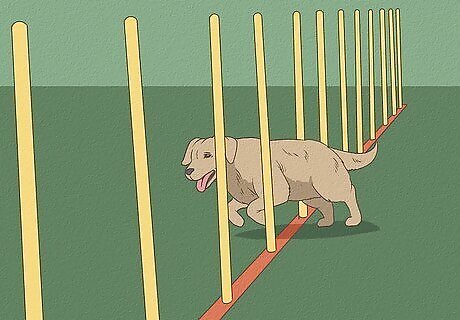
Plan your weave poles. Weave poles are a set of narrow plastic poles set closely together so that your dog can quickly weave their body between each pole. Each course should have five to twelve poles with approximately two feet (0.6 meters) between each pole. Weave poles should be sturdy enough that they can withstand your dog running in between them, but not so sturdy that they won't bend or fall if your dog does not weave perfectly. Weave poles should not be driven far into the ground, as this cause them to become more rigid and subsequently poses an increased risk of injury for your dog. You can make your own weave poles by setting one inch (2.5 cm) diameter PVC pipe in along a pipe base. Use tee pipe connectors to join the upright poles to the base. You can also purchase safe and sturdy weave poles from a manufacturer.
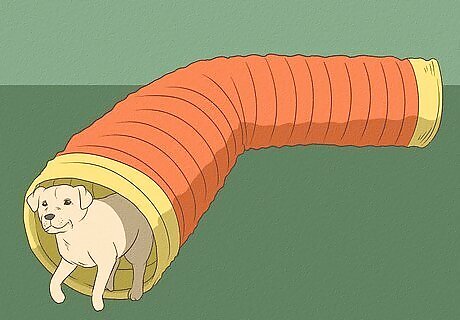
Lay out tunnels. Tunnels are generally of fabric, and may have a curve or bend, or may be straight. Tunnels can easily be improvised using children's play tunnels, and can be used as an indoor our outdoor training obstacle. If you are training for competition, your dog will need to know how to navigate a pipe tunnel, which is usually straight, and a collapsible tunnel, which may have a curve. Play tunnels can be used to train for both types of tunnel obstacles. Simply reconfigure the tunnel to be straight or to have a bend.
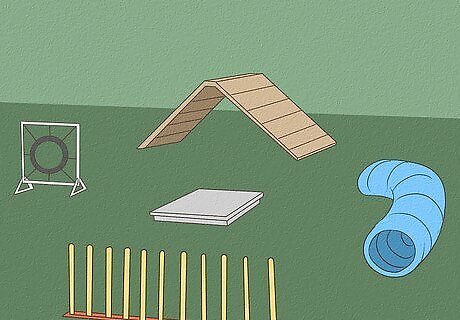
Create a few layouts. There is no one setup for an agility course. Different courses will have different obstacles at different points. Create a few layouts so that you can change up your course and keep your dog stimulated during training. Try not to put like obstacles next to one another. For example, do not put a see-saw after an A-frame. Create variation to help your pet get the most from the course.
Setting Up Your Course
Decide if you want to DIY. You can create your course either by buying purpose-built obstacles or by making your own. Take a look into the investment of purchasing new equipment and the time commitment and knowledge necessary to build your own and decide what is right for you. You can use a variety of objects to create obstacles for your dog to work with, including broomsticks, PVC pipes, ramps, and more. If you do not have much experience building or fixing things, a dog agility course might not be the best place to start. Lack of experience may lead to unsafe features in your course that could cause harm to your dog. If you are considering purchasing equipment, look for agility training kits that allow you to bundle obstacles. The right package could help save money when compared to buying pieces individually. If you choose to build your own obstacles, look up instructions for specific obstacles meant to fit your dog’s size. Follow their instructions, measurements, and plans closely.

Clear the space. Make sure you clear the space for your course before you begin putting it up. Remove any obstructions such as sticks, rocks, bowls, and other play equipment. Also be sure to clear out distractions such as treats and toys unless they are specifically to be used during the training. Be sure that the space is mostly level. The obstacles associated with an agility course can be disorienting and potentially harmful if on uneven surfaces.
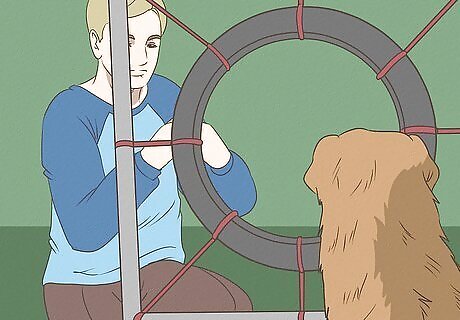
Put up the obstacles. Once you have your obstacles, set up one of your course designs so that you and your dog can start training. Remember to safety check each obstacle before you let your dog on the course. Make sure nothing shifts or moves while your dog is on it. Make sure bars like those on hurdles can easily be knocked off so that your dog does not run into a hard object while training. Check to make sure that your dog can comfortably fit through any tunnels before guiding them into one.
Introducing the Course to Your Dog
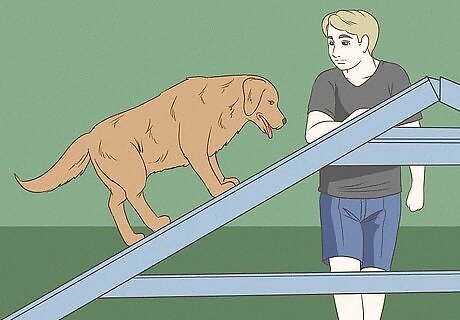
Let your dog explore. Before you ever start training, let your dog explore the course. Unleash them in the area of the course and allow them to sniff around and familiarize themselves with the equipment. Familiarizing early on helps your dog feel more comfortable on the course when training. If your dog seems curious about the equipment, help them explore obstacles such as tunnels and see-saws. Gently guide your dog through with your hands or with verbal encouragement.
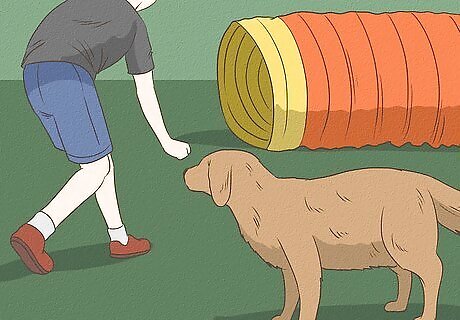
Take your dog on a walkthrough. Once you have introduced the course to your dog, take them on a walkthrough so that they can start to understand each obstacle. Help guide them up and down contact obstacles and over jumps. Use vocal commands, treats, and gentle touch to help guide your dog through the course the first time. Be sure to help your dog stabilize on obstacles such as the see-saw. Use your hands to help them keep from coming down too fast or sliding off the obstacle.
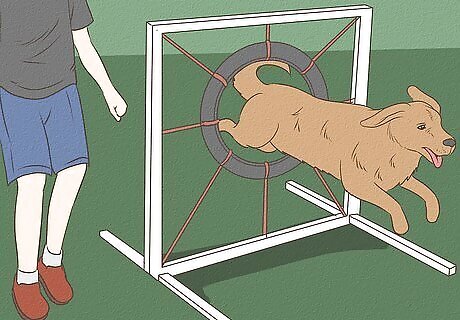
Begin training. Once your dog is comfortable with the course, you are ready to start your agility training. If you have never practiced agility training with your dog before, practice handling and commands on the ground before you work your way to the obstacles. Start with more obvious obstacles such as using cones for weave poles until your dog is ready to handle the more narrow poles. Take your dog to agility training classes or training groups to help both you and your pet get the most from your new hobby.


Comments
0 comment