
Choosing a Blurring Service
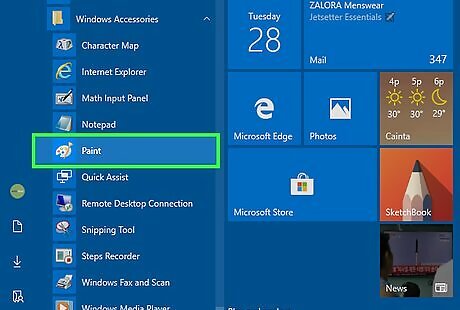
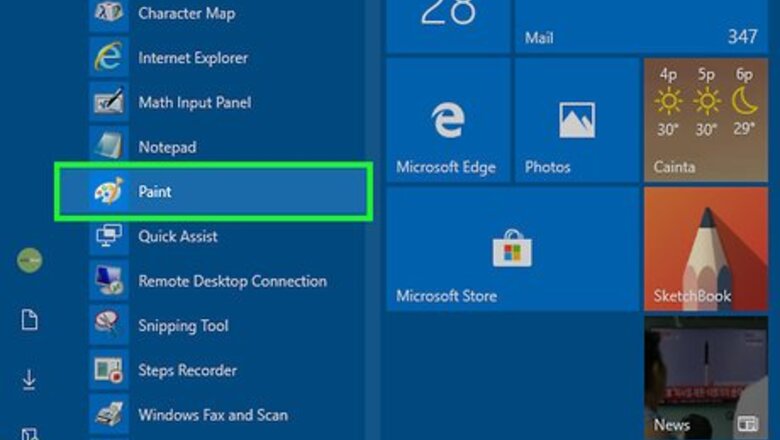
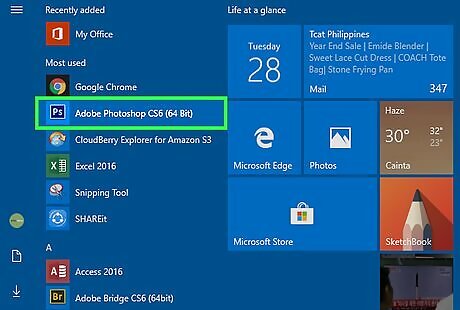
Use an in-built image editor for a simple option. Windows based computers often come with MS Paint, a simple image editing program. Apple computers have Paintbrush and other image manipulating programs as well. These programs may be found in various locations on your computer, so it may be quickest to do a keyword search for “MS Paint” or “Paintbrush.” To bring up the search function in Windows, press the ⊞ Win and S keys at the same time. Similarly, access the Apple Finder function by pressing ⌘ Cmd and F. Other common image manipulating programs you might want to search for (some might suit you better than others) include: Adobe Photoshop, CorelDraw, and GIMP.

Prioritize free-to-use websites for simple blurring. Free-to-use sites are often the quickest and easiest way of blurring a photo. Many of these don’t require registration or new software; all you need to do is visit the site, upload your picture, then use the site interface to blur the faces. Some common free-to-use sites include PicMonkey, LunaPic, and PhotoHide. Of these three, LunaPic is unique in that it automatically detects and blurs faces the moment your picture is uploaded. If privacy is a concern, be sure to read the site's terms of use and user agreement carefully. Some sites may record your photos after you upload them.
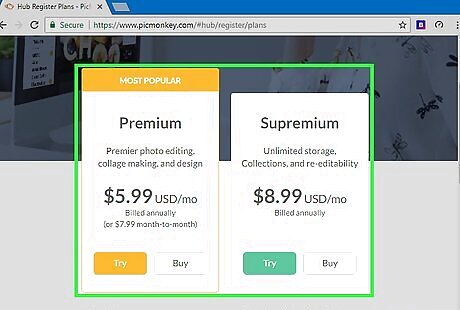
Expect more options and higher quality with pay-to-use services. A feature common to pay-to-use sites is auto-pixelation, which automatically blurs faces. This can be a real time saver if you’ll have to blur faces frequently. You might also find pay-to-use services offer a wider range of pixelation options, like light or moderate blurring, which can be used for stylistic effect. Lighter blurring will be less obtrusive than heavy blurring, which can make a blurred image more prominent. The face detection processes of most pay-to-use services are usually higher quality than free to use services.
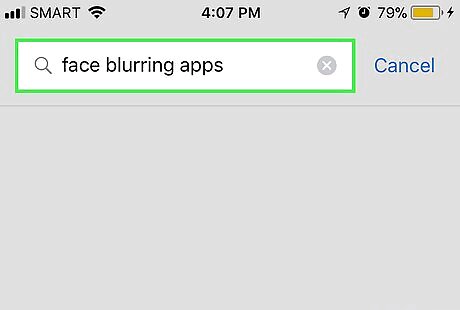
Search for face blurring apps in the app store. There are quite a few apps out there for blurring your face and protecting your identity in pics. Some may suit your needs better than others. For example, some apps offer fun filters along with the classic pixelated blurring effect. Try finding apps by searching for things like, “face blurring apps,” “face pixelating apps,” “apps to blur faces,” and so on. Check out user comments about the app. If it seems like the app team does a good job of responding to customer feedback, it’s usually a good sign. Common Android blurring apps include ObscuraCam, Android Hide Face, and Pixlr. iOS blurring apps that are popular include Touch Blur, Photo Editor, and TADAA.
Read the privacy agreement before choosing a service. If you’re trying to protect your privacy with blurring, it’s unlikely you’ll want sites saving unblurred copies. Read the privacy agreement and user information carefully before using a service. If you have any doubts, find another service. If you’re uncertain whether a site is safe or not, do a general keyword search online for reviews about it. For example, you might search for “reviews for blurmyface.com.”
Obscuring Faces with an Image Editor
Open the photo with your photo editor. In Windows, right click the photo you want to blur. Right clicking will open a drop-down menu. Hover your cursor over the “Open with” option in the drop-down menu, and select MS Paint, Photoshop, or “Choose another app.” If you have to select “Choose another app,” a pop-up window will open a directory of programs. You’ll have to find your image editor in this directory. Try looking in the “Windows Accessories” folder. Apple users. Hold Ctrl and click the image you want to blur to open a drop-down menu where you’ll find “Open with.” Select Paintbrush, another program, or choose “Other…” to select an editor from your computer program directory.
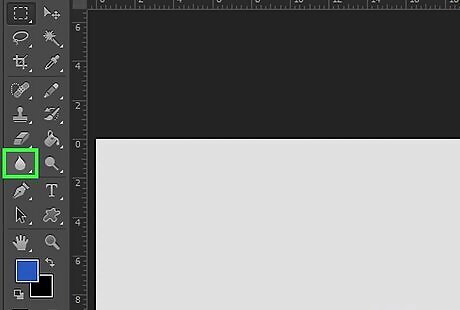
Find the blur tool. Even basic image editors usually have a blur tool. In some cases, this may be a warping wand that distorts color, effectively hiding identity similarly to blurring. Use the help feature of your image editor to search for “blur,” “blurring,” or “blur tool.” Most programs have a visible “Help” tab somewhere at the top of the program window. “Help” is often the farthest right option in the standard status bar tabs (like “File,” “Edit,” “View,” “Options,” etc.).
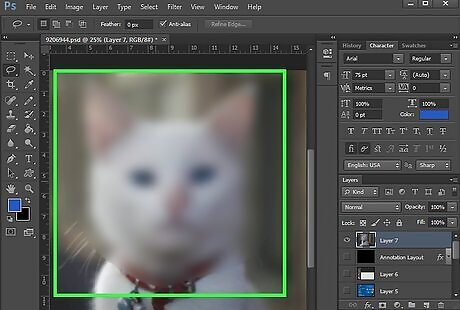
Blur the faces in the photo. If your program uses a blurring tool, in most cases you can apply the blurring effect by clicking and dragging your cursor over the faces you wish to hide. Some editors may create a blurred circle that overlays faces in the picture. These circles are often drawn by clicking and dragging.
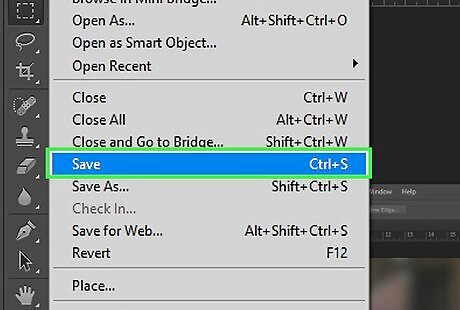
Save the photo. Once you’re satisfied that the identities in your picture are sufficiently blurred, save the picture. Now it’s ready to be posted wherever you like, without it compromising your privacy.


Comments
0 comment