

Allocating a Drive Letter in Windows

Open the Start menu.
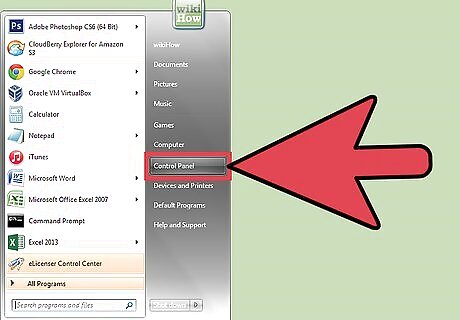
Click on Control Panel. Which option you click depends on your version of Windows. Click on "System and Security" if using Windows 7. Click on "System and Maintenance" if using Windows Vista. Click on "Performance and Maintenance" if using Windows XP. (Note that in Classic View, you won't be able to see this option.)
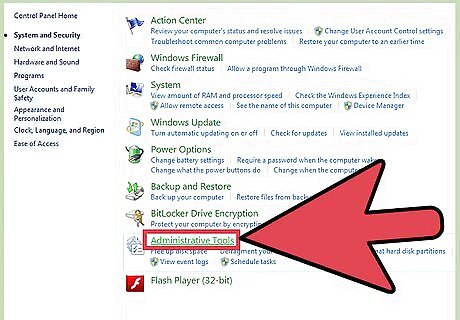
Select Administrative Tools.
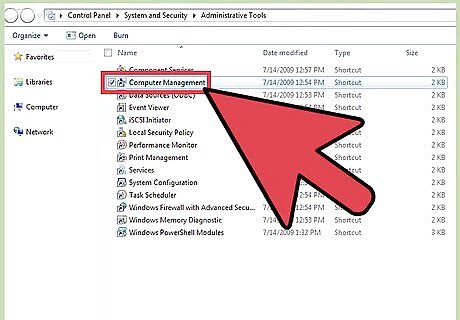
Double click on Computer Management.
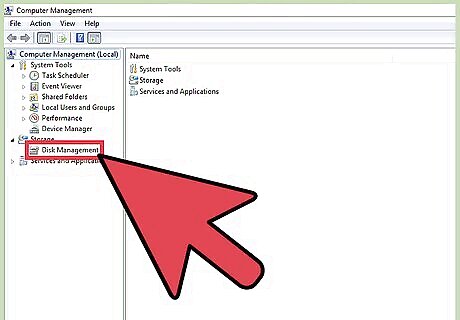
Click on Disk Management. It is located in the left pane.
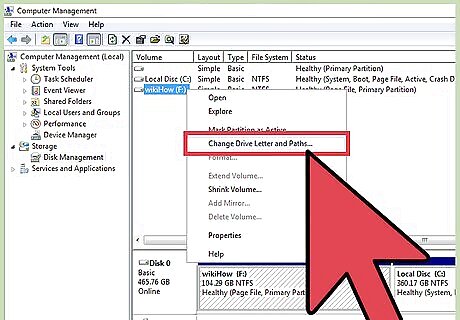
Right-click on the drive you want to change. Select "Change Drive Letter and Path" from the drop-down menu.
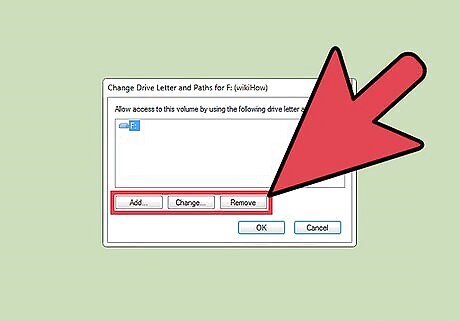
Select "Add," "Change," or "Remove." If you selected "Add" or "Change," click "OK." If you selected "Remove," click "Yes." "Add" allows you to label a drive with a previously unused letter. "Change" allows you to swap the letters of existing drives. "Remove" takes away the letter assigned to a drive. In Windows XP, you need to click "OK" and then "Yes" if you are changing or removing a drive letter.
Renaming Drives in Mac OS X
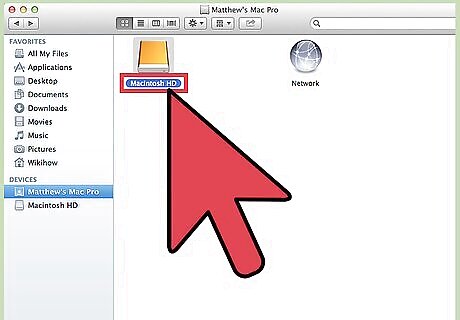
Click and hold on the name below the icon of the drive.

Type in the new name manually. You can go to Get Info and deselect the "Locked" box if the drive is initially locked.


Comments
0 comment