
views

Purchase Adobe InDesign if you do not already own it. Follow the on-screen instructions for installing InDesign on your computer and restart your computer if necessary.
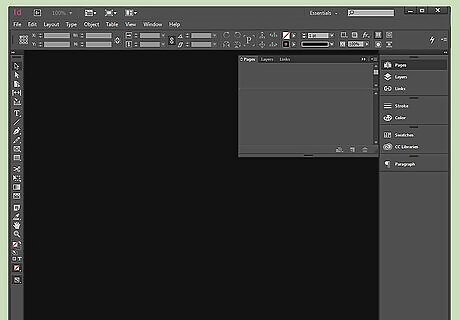
Familiarize yourself with InDesign's workspace and available user resources.

Open Adobe InDesign.
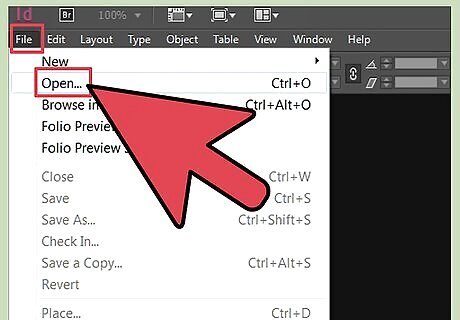
Open the InDesign document you want to work in by selecting File>Open from the Control panel at the top of your workspace. If you do not have an existing InDesign document to work in, create a new document by selecting File>New>Document and specifying the settings for your new document.
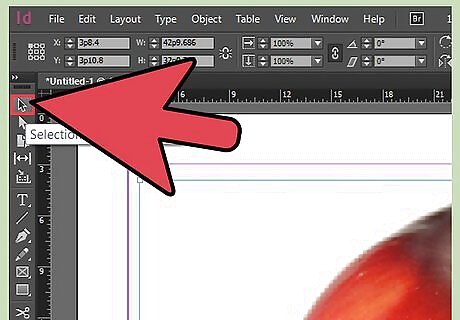
Use your Select tool, which is located in your Tools panel, to click on the item you wish to adjust the opacity of. If your document does not contain any items, create or import them now. To import a photo, click File>Place from InDesign's Control panel. Navigate to the picture file you would like to import and double click the file name. Move your cursor to the location or frame where you want to place your picture and click your mouse. Adjust the size of your picture by selecting the picture using your Select tool and dragging a handle while holding the Control and Shift keys. This will adjust the picture's size proportionally. You may also enter precise values for the picture's height and width in the Height and Width fields located in the Control panel. To create another type of object, select the Line, Ellipse, Rectangle or Polygon tool from the Tools panel. Click the location in your document where you would like your shape to appear. Click then drag your mouse to draw your desired shape. With your newly drawn object still selected, click on your Swatches panel, which is located at the right-hand side of your workspace. Select the Fill box and then click select a color for your object. To import text, create a text frame using your Text tool, which is located in your Tools panel. With your Text tool still selected, click within the text frame and begin typing your text. You may also import text from an existing word processing document by selecting File>Place, navigating to the file you wish to import and double clicking the file name. A loaded cursor will appear. Move your mouse to the location where you want your text to appear and click to place the text. Large amounts of text may need to be threaded across multiple text frames. Do this by clicking the red plus sign in the right, bottom corner of your text frame, navigating to the new page or column where you would like to place your text and clicking your mouse. Repeat this step until all your text is placed.
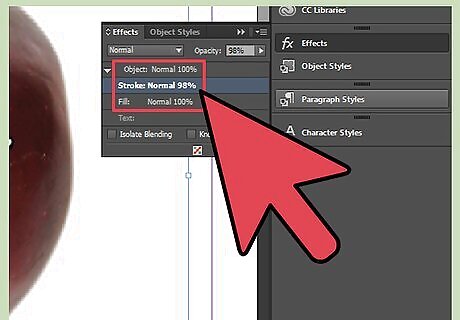
Select the Apply Effects button, which is located on the Control Panel. Select either Object, Stroke, Fill or Text depending on the item you are adjusting the opacity of.
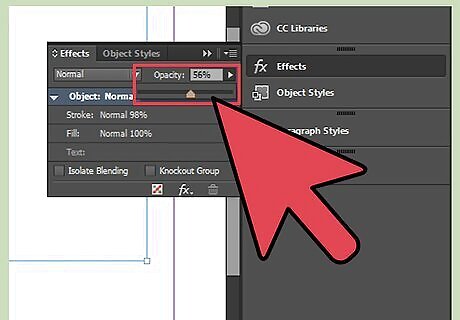
Enter a value in the Opacity box. You may also click and drag the slider located next to the opacity setting.
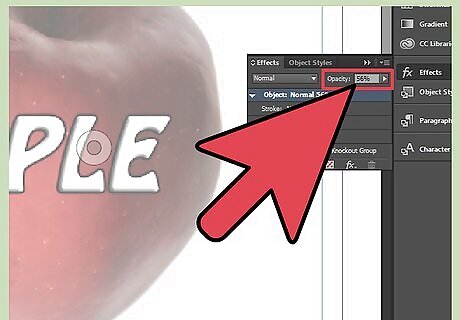
Repeat these steps for each item you wish to adjust the opacity of.


Comments
0 comment