views
If you want to insert a new line in your Word document, press ↵ Enter/⏎ Return.
Adding Rows to Tables
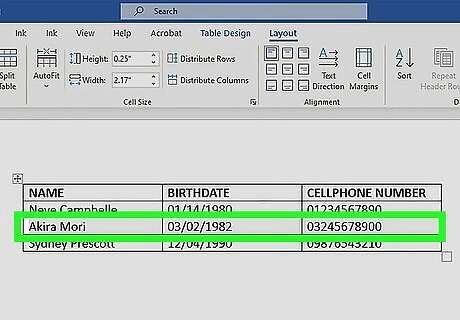
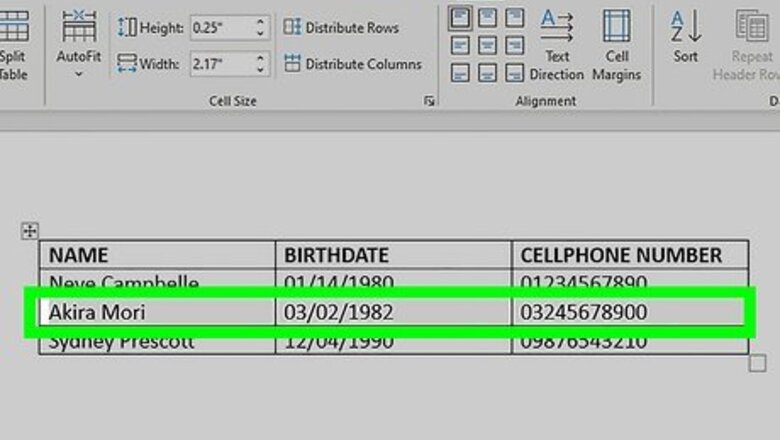
Select the row you want to insert a new row above or below. You can insert rows so that they appear above or below the selected row. If you want to add a row at the bottom, select the bottom row. You can select any cell in the row or the entire row. To insert multiple rows at once, you'll need to select as many rows as you want to create by clicking and dragging your mouse. For example, to create three rows at a time, select three existing rows.
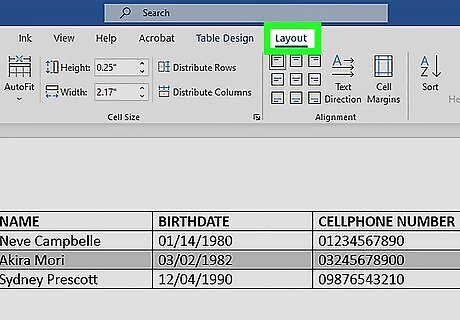
Click the "Table Layout" tab. You'll find this at the far right end of your Word tabs in Windows, or next to the "Table" tab in Word for Mac. It will only appear if you are currently working in a table.
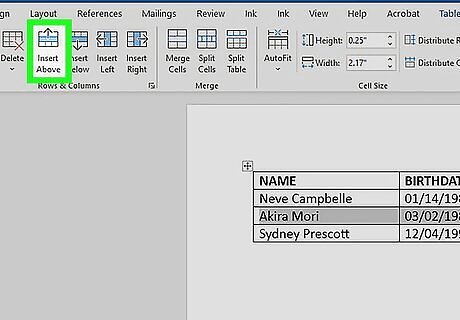
Click "Insert Above" (Windows) or "Above" (Mac) to insert a row above the selected row. This will insert blank rows with the same row formatting directly above the row you selected. Click "Insert Left" or "Insert Right" to insert a column to the left or right of the selected cell instead.
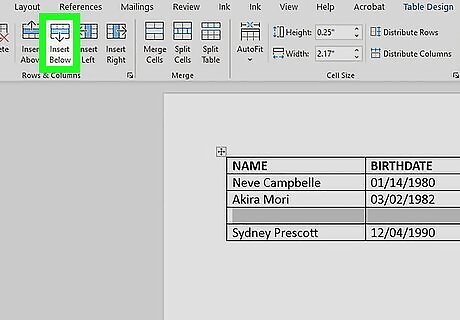
Click "Insert Below" (Windows) or "Below" (Mac) to insert a row below the selected row. This will insert blank rows with the same row formatting directly below the row you selected.
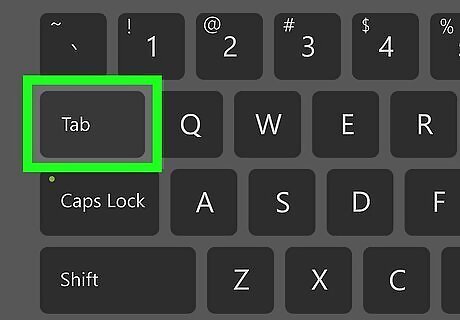
Use the .Tab ↹ key to quickly add new rows at the end of a table. You can place your cursor in the last cell of your table and press Tab ↹ to create a new row. This will only insert rows below the last row on your table.
Deleting Rows
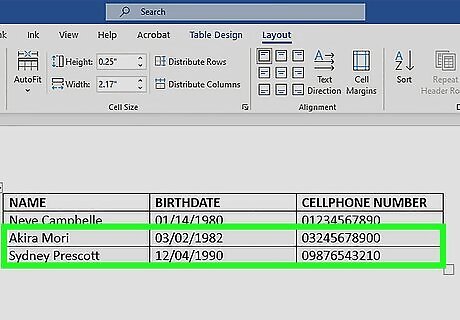
Highlight the row or rows you want to delete. You can click and drag to highlight multiple rows, or simply select a single cell in the row you want to delete.
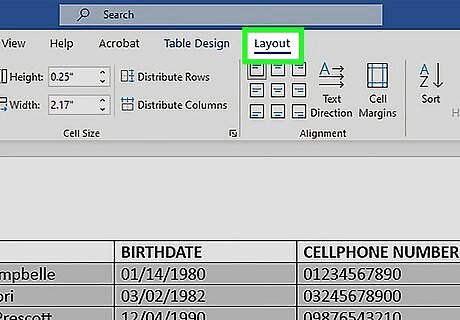
Click the "Table Layout" tab. This appears at the end of your tab list when you are working in a table.
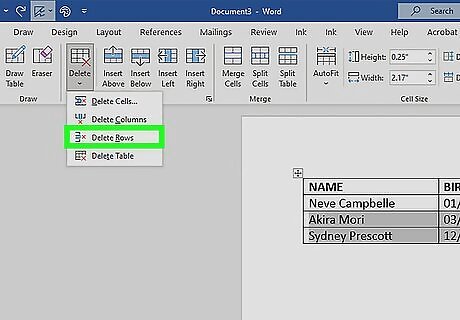
Click the "Delete" button and select "Delete Rows." This will delete the row or rows that you have selected. All of the content in each of the deleted row's cells will be deleted as well.
Copying and Pasting Rows
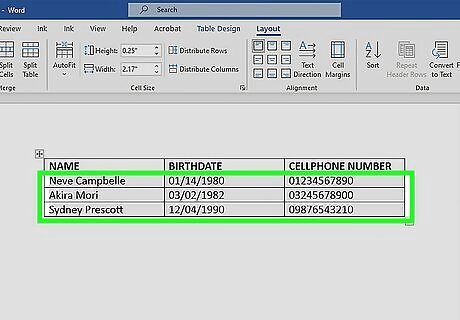
Highlight the row or rows that you want to copy. Make sure to highlight the entire row, or the new row will not have all of the cells. You can highlight one or more rows by clicking and dragging your mouse over them.
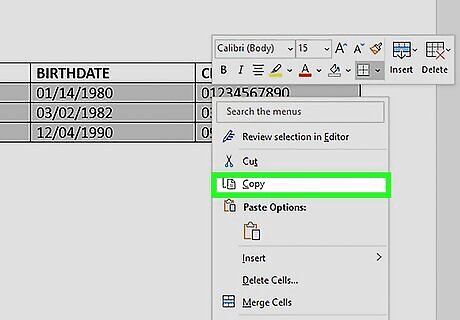
Right-click a cell in the row above where you want to insert the copy. When you paste a copied row, it will be inserted directly beneath the row you right-click on.
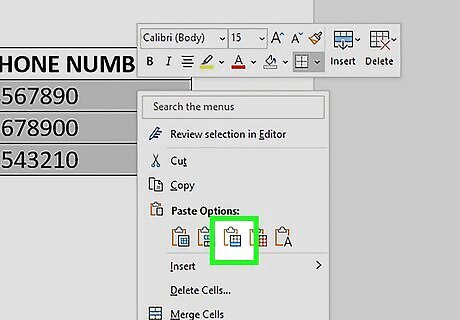
Select "Insert as New Rows" from the "Paste" options. This will insert the copied row as a new row in the table, directly beneath the row that you right-clicked.


Comments
0 comment