
X
Research source
This wikiHow shows you how to create your own SVG images.
- Adobe Illustrator and Inkscape have tools to create vector graphics from scratch and save them as SVG files.
- Adobe Illustrators has Image Trace, which can trace an image file and convert it to a vector graphic. Inkscape can do this using the Trace Bitmap feature.
- You can upload a JPG file to Convertio.co to convert it to the SVG format.
Using Adobe Illustrator
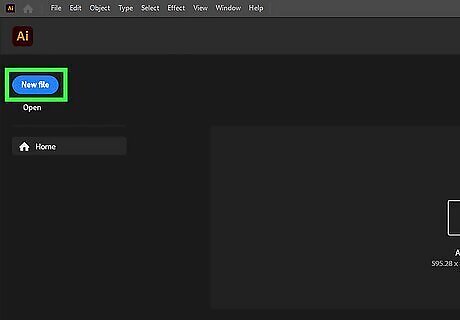
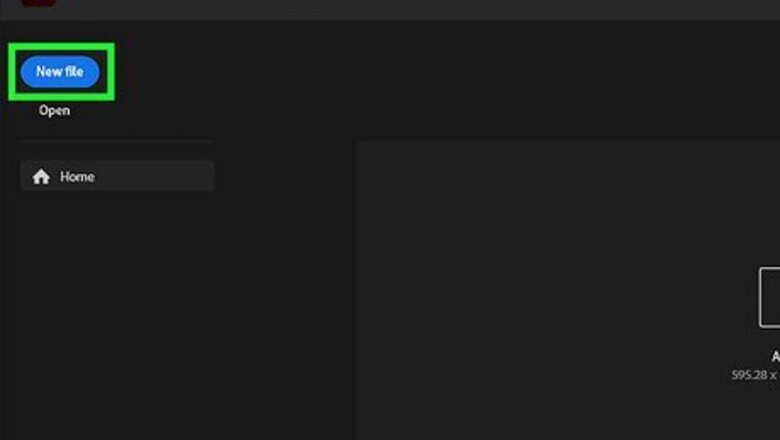
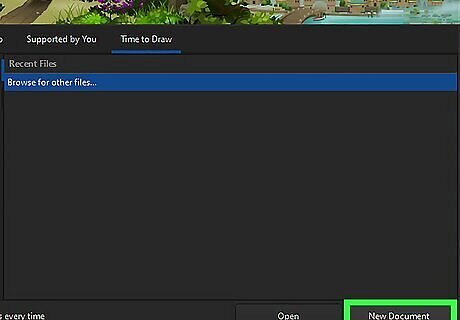
Create a new Illustrator document. To select a new file from the opening screen, click New File and then select the size and dimensions of your document. Alternatively, you can create a new document at any time by clicking File in the menu bar, followed by New. Adobe Illustrator comes as part of a subscription to Adobe Creative Cloud, or you can get a standalone subscription at https://www.adobe.com/products/illustrator/campaign/pricing.html here. If you don't want to buy a subscription, you can use Inkscape for free instead.
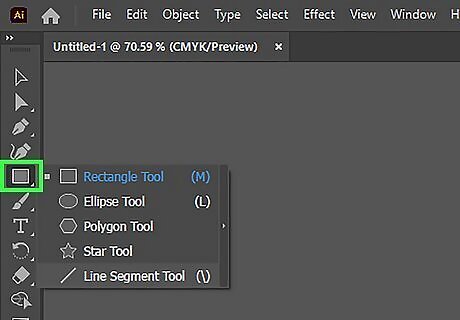
Use the tools to draw an image. There are a variety of tools you can use in Adobe Illustrator and Inkscape to create an SVG image: The shape tools: Click and hold the rectangle tool in the toolbar on the right to display all the shape tools. Then, click the shape tool you want to use, and click and drag to draw a new shape. The line tool: The straight line in the toolbar is used to draw straight lines. Click the tool, then click and drag to draw your line. The brush tool: The brush tool allows you to create brush strokes freehand with a mouse or drawing tablet. Click the paintbrush icon in the toolbar, then click and drag to draw. The pen tool: The pen tool takes a little getting used to, but it's great for drawing complex shapes. Click the found pen tip icon in the toolbar, click the page, and then click again to create a straight line. Or click, then click and drag to create a curved line. Click the starting point of your shape to complete the shape. The text tool: To type on your drawing, click the "T" in the toolbar, click the page, and start typing.
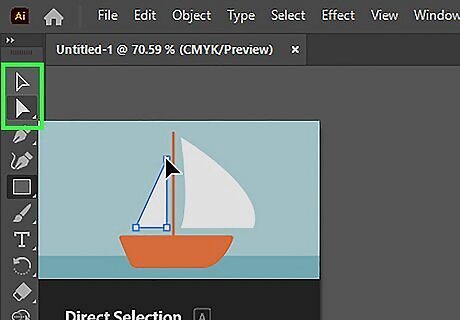
Modify shapes. You can move and modify shapes using the selection and direct select tools. The selection tool: The selection tool is the black mouse cursor icon in the left toolbar. Use this tool to click and drag shapes to move them. You can also use it to adjust the size of shapes. The direct select tool: This is the icon that resembles a white mouse cursor. It allows you to move points and corners of a shape (called "vectors" or "nodes") and use the Bezier curves to adjust the arch of a curved line.
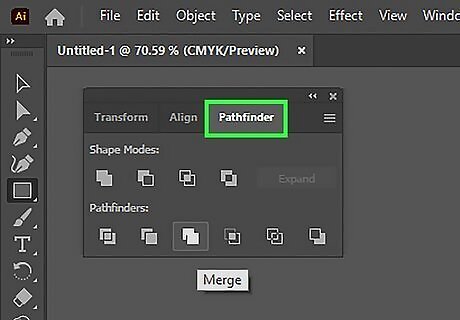
Combine and cut shapes. You can use the pathfinder to combine and cut shapes. Use the selection tool to select two or more overlapping shapes. Click Windows followed by Pathfinder to open the Pathfinder. Click the "Unite" icon to combine the shapes. Click the "Minus Front" icon to subtract the top shape from the bottom shape. Click the "Intersect" icon to create a new shape where the shapes intersect. Click the "Exclude" icon to cut the parts that intersect out of the shapes.
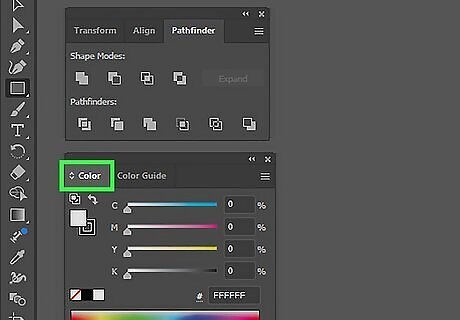
Add and change colors. You can add or change the colors of the fills of a shape, which is the color inside the shape. You can also adjust the color of a shape's stroke, which is the outline of a shape. Click Window followed by Color to open the Color panel. Click the solid square to pick a fill color. Click the square with an outline to pick a stroke color. Use the color picker to pick a color. You can also use the menu bar at the top to adjust the thickness of the stroke.
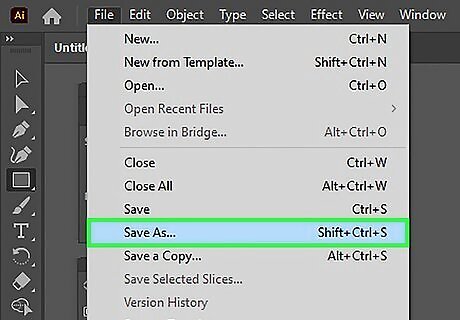
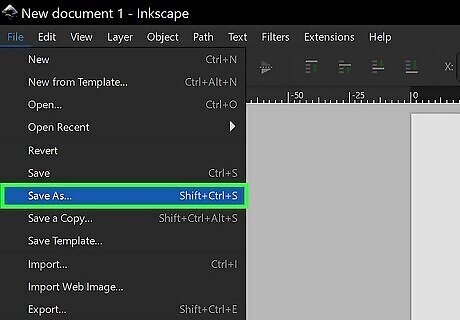
Save the image as an SVG. Once you are done creating an image, use the following steps to save it as an SVG file: Click Files Click Save as. Use the drop-down menu to select "SVG". Enter a filename. Click Save.
Using Inkscape
Create a new Inkscape document. Inkscape is a free and open-source alternative to Adobe Illustrator with similar tools and features. Click New document on the title page. Alternatively, you can click File in the menu bar and then click New. You can download Inkscape for free from https://inkscape.org/
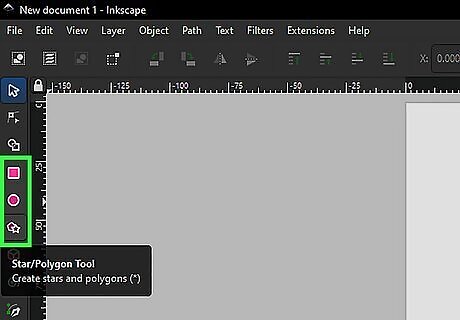
Use the tools to draw an image. There are a variety of tools you can Inkscape to create an image: The shape tools:' They can be used to draw rectangles, circles, polygons, and more. Click the shape you want to draw in the toolbar to the left, then click and drag to draw. The connector tool: The connector is used to create straight lines. Click the squiggly line in the toolbar, then click and drag to create a straight line. The calligraphy tool: This tool lets you to create brush strokes freehand with a mouse or drawing tablet. Click the paintbrush in the toolbar, then click and drag to create brush strokes. The pen tool: The pen tool allows you to create complex shapes. Click the fountain pen tip in the toolbar. Click and then click again to create a straight line, or click and then click and drag to create a curved line. Click the starting point of your shape to complete the shape. The text tool: Add text to your document in any font that is installed on your computer. Click the "A|" in the toolbar, click where you want to add text and start typing.
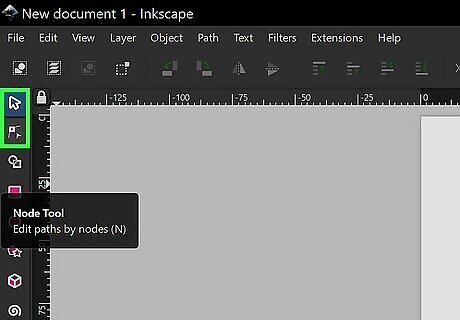
Modify shapes. You can move and modify shapes using these tools: The selector tool: The selector is the black mouse cursor in the toolbar to the left. You can use this tool to click and drag shapes to move them and adjust shape sizes. The node tool: The node tool allows you to move points and corners of a shape (called "vectors" or "nodes"). It also allows you to use the bezier curves to adjust the arch of a curved line. Click the icon that resembles a mouse cursor, clicking a square node in the toolbar. Then click and drag the points in a shape you want to move.
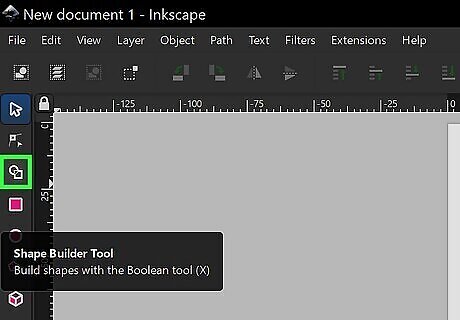
Combine and cut shapes. You can use the shape builder tool to combine or cut shapes. Use the selector tool to select two or more overlapping shapes. Click the shape builder tool in the toolbar. It has an icon that resembles a merged square and a circle. Click the icon that resembles a plus (+) sign next to a square in the upper-left corner. Click the parts of the shape that you want to combine. Click the icon that resembles a minus (-) sign next to a square in the upper-left corner. Click the parts of the shape you want to remove. Click Finish in the upper-right corner.
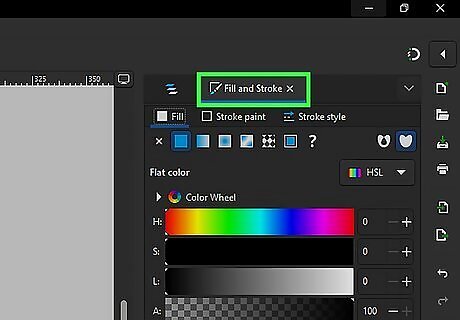
Add and change colors. You can add or change the colors of the fills of a shape, which is the color inside the shape. You can also adjust the color of a shape's stroke, which is the outline of a shape. Click Object followed by Fill and Stroke to open the "Fill and Stroke" panel. Click the Fill tab to select a fill color. Click the Stroke Paint tab to select a stroke color. You can also click Stroke Style to adjust the thickness and style of the stroke. Click a color at the bottom of the screen.
Save the image as an SVG. Inkscape saves images as SVG files by default. Click File followed by Save (or Save as) to save the images as an SVG in Inkscape.
Tracing an Image in Illustrator

Create a new Illustrator file. In addition to drawing your own SVG images from scratch, you can also use the Image Trace feature in Illustrator to trace an image file (such as a JPEG or PNG) and convert it to an SVS vector file. Start by clicking New File on the opening page, or click File, followed by New in the menu bar and select your document size and dimensions.
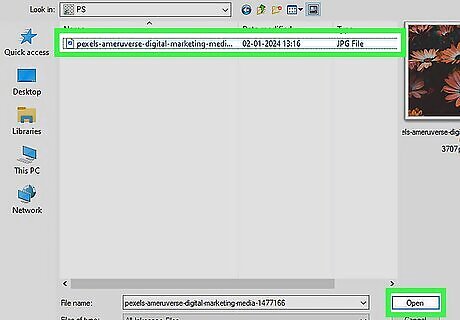
Import an image you want to convert to an SVG. The best images to convert to SVG are drawings, cartoons, logos, or any image that has relatively few colors. Photo-realistic images do not convert to SVG very well. Use the following steps to import an image: Click File in the menu bar at the top. Click Place. Select an image and click Place.
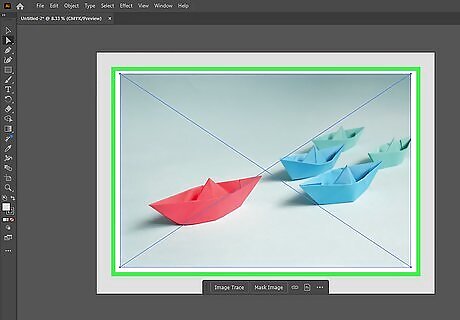
Select the image. Click the selection tool (the black mouse cursor) and then click the image you imported. You can also use the selection tool to click and drag the image or adjust the size of the image.
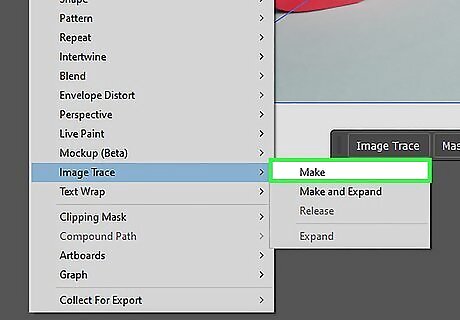
Click the Object menu and select Image Trace.
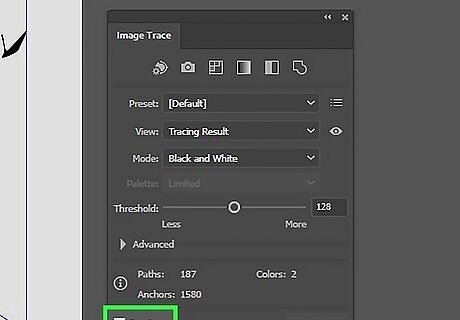
Check "Preview." It's the checkbox in the lower-right corner. This allows you to see the results of your Live Trace options.

Adjust the trace options. Presets:. This allows you to select a preset with pre-configured tracing options. Alternatively, you can click one of the preset icons at the top of the menu. View: This lets you to select what type of preview you see. Mode: Select a tracing mode like "Colors" for full color, "Grayscale" for black, white, and grey shades of color, and "Threshold," which is just black and white. Palette: Select what kind of color palette you want to use (i.e., automatic, limited, full color, etc). This option is only available if you select "Color" or "Grayscale" as the color mode. Colors: Use this slider bar to adjust how many colors are in the trace.
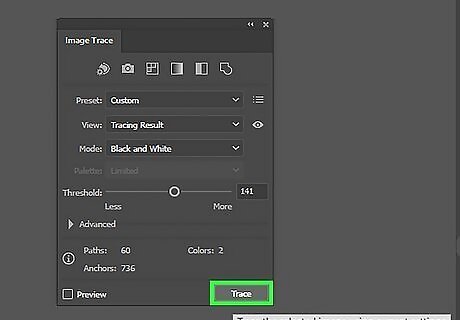
Click Trace. It's in the lower-right corner of the Trace Options menu. This creates a trace of your image.
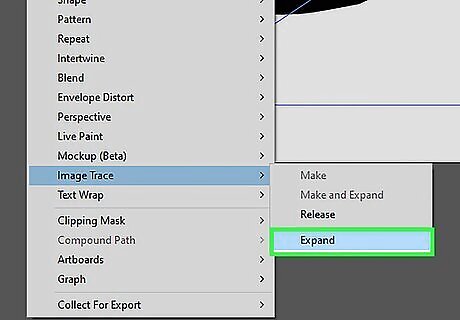
Expand the trace. This will convert the image into a vector image using the tracing options you selected. Use the following steps to expand the traced image: Click Object Click Image Trace. Click Expand.

Save the image as an SVG file. Use the following steps to save the image as an SVG file: Click File Click Save as. Select "SVG" from the drop-down menu. Enter a filename for the image. Click Save.
Tracing an Image in Inkscape

Create a new Inkscape document. In addition to drawing an SVG image from scratch, you can also use the Trace Bitmap feature in Inkscape to trace an image file (such as a JPEG or PNG) and convert it to a vector image to be saved as an SVG file. Click New document on the title page, or click File, followed by New in the menu bar. Then, select your document size and dimensions.
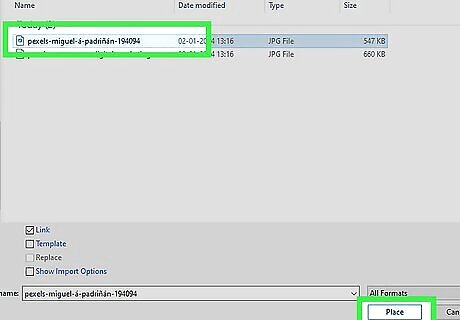
Import an image. The best images to convert to SVG are drawings, cartoons, logos, or any with relatively few colors. Photo-realistic images do not convert to SVG very well. Click File in the menu bar. Click Import. Select an image you want to trace. Click Open.
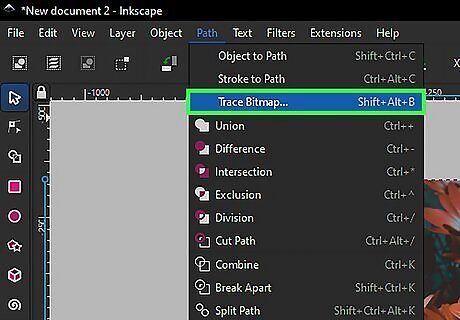
Open the Trace Bitmap menu. Use the following steps to do so: Click Path in the menu bar. Click Trace Bitmap.
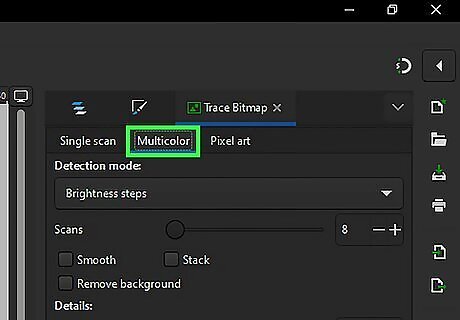
Select Multicolor. For the best results, click the multicolor tab at the top. Alternatively, you can click Single scan to render the image as a black and white outline or Pixel art to render each pixel as a separate vector shape.
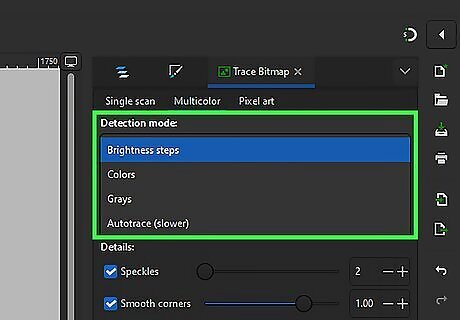
Select a detection mode. Use the drop-down menu at the top to select a detection mode. This will determine how the image is rendered. Your options are as follows: Brightness steps: This renders a grayscale image based on color brightness. Color: Renders a colored image. Greys: Renders a grayscale image based on the colors. Autotrace: This attempts to render the image accurately, but may take longer.
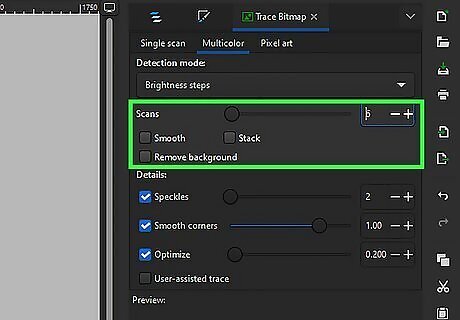
Adjust the number of scans in the image. Use the slider bar next to "Scans" to select how many scans of the image you want to make when rendering the image. The more scans, the more detail and color you will get. However, it will take longer to do more scans.
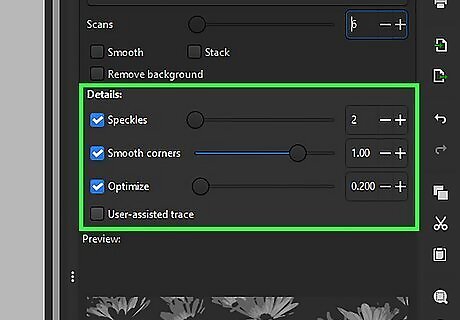
Adjust the details. Speckles: This slider bar determines how much the scan should ignore small spots in the image. Smooth Corners: This determines how much the scan should smooth out sharp corners in the image. Optimize: This determines how much the image should try to join adjacent line segments and curves.
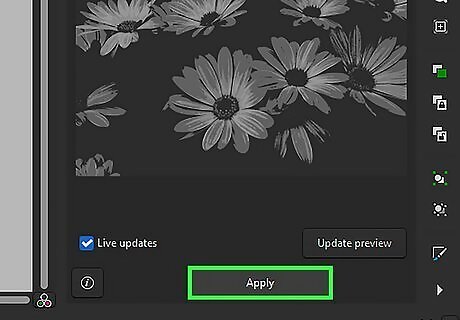
Click Apply. It's at the bottom of the Trace Bitmap menu. This scans the image and renders it as a vector image. This process may take several minutes.

Save the image. Inkscape saves files as SVG natively. Use the following steps to save your image as an SVG: Click File in the menu bar. Click Save as. Enter a filename for the file. Click Save.
Using a JPG to SVG Converter

Go to https://convertio.co/jpg-svg. This takes you to the page for Convertio’s JPG to SVG Converter, which is free.
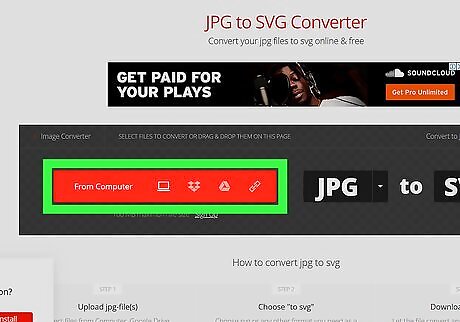
Click Choose File. It's the red bar at the top of the page.
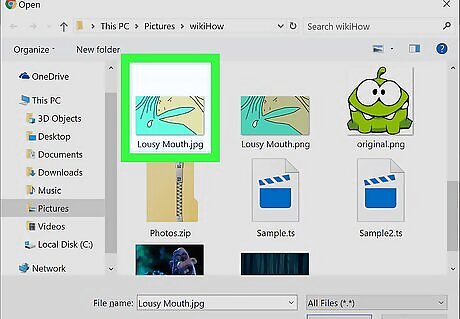
Select the file you want to convert. Navigate to the image you want to turn into an SVG image and click it to select it. Then click Open.
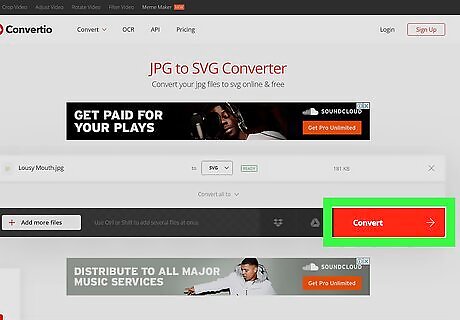
Click Convert. It's the red button that appears next to the file when it finishes uploading.

Click Download. Once the file is done being converted, a blue button will appear to the right of the file name in the Converter menu. Once you click it, the image will then be downloaded onto your computer as an SVG file.


Comments
0 comment