views
Writing a Resume in LaTeX
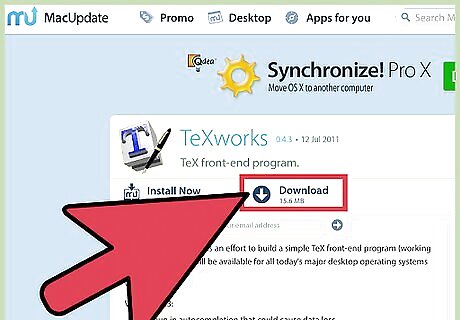
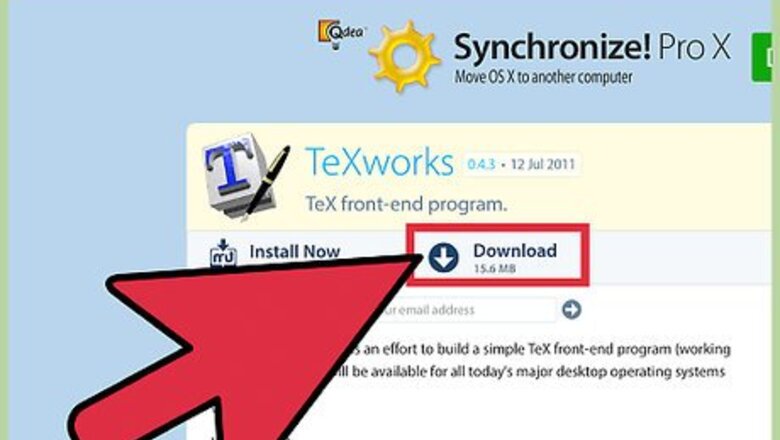
The first step is to download a free copy of a LaTeX editor. Although any LaTeX editor should work. This article is written specifically for TeXworks.

When you open up Tex Works you should see a screen like this:
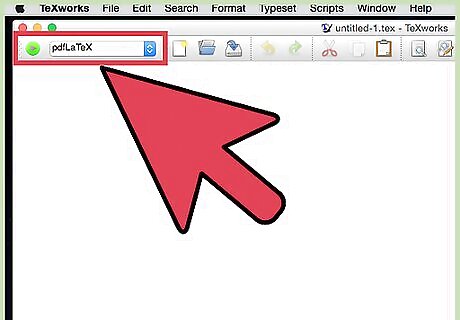
Change the top left menu to pdfLaTeX: I also would suggest going into Format/Syntax Highlighting and selecting LaTeX, as this will make your code easier to read.
Make the Header
In LaTeX you write your document in the same manner that would would in Word, except you have to use commands like:
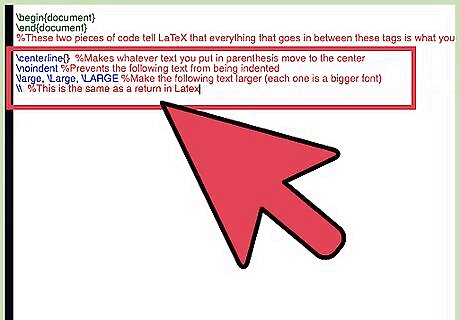
The return key also plays a key role in designing LaTeX documents. If you return twice as if to make a new paragraph, LaTeX will treat that as a new paragraph and ignore any formatting code used for the previous paragraph. We will see how this comes in handy later.
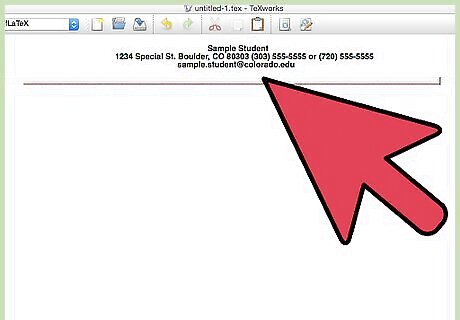
At this point your document should look like this:
Making the Body
The next part of your resume should be some simple objective and summary type sections. This can easily be accomplished by making headers and following them with text. Here is an example:
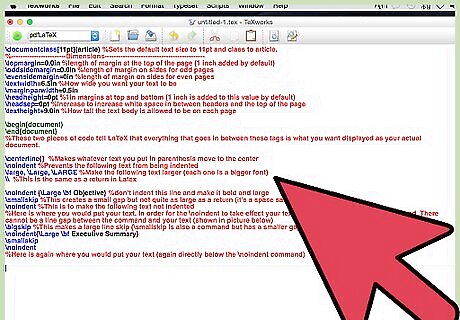
Below are examples of how your text should look in LaTex and how your document should look so far:
Extra Helpful Commands
While this may look a little bit silly on the sample resume we created, it serves the purpose of demonstrating how you can make columns in LaTeX. In order to do a list of known programming languages I used the following command:
Here is a sample of \hfill using the following code:
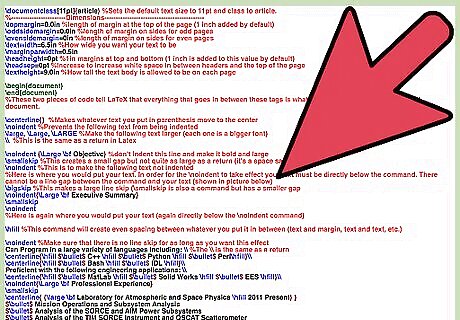
Repeat these last 4 lines for each section you want to add.
Here is a look at the code and the product after you add in these lines:


Comments
0 comment