
views
Setting up an eSIM
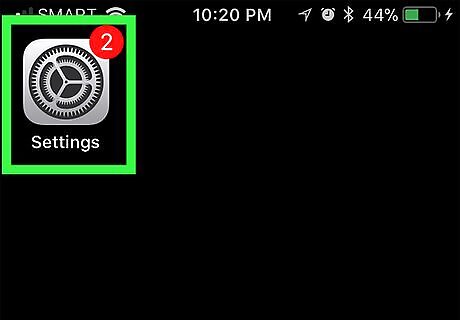
Open your iPhone’s Settings iPhone Settings App Icon. You’ll usually find this app at the home screen.
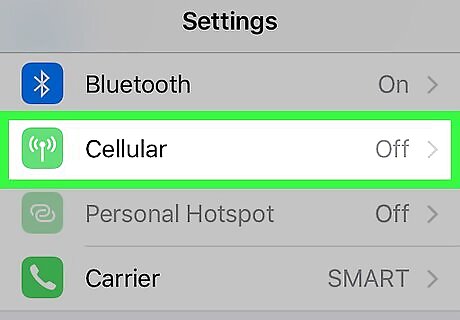
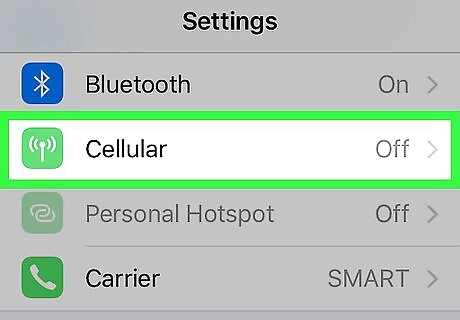
Tap Cellular. It’s in the first group of settings. This may appear as Mobile Data on some phones.
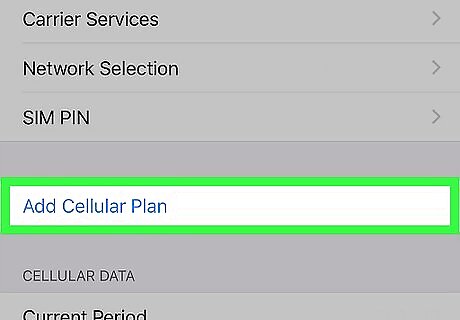
Tap Add Cellular Plan.
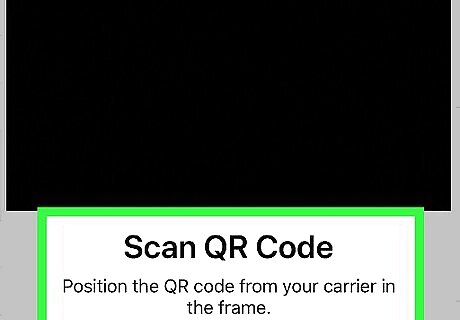
Scan the QR code with your iPhone’s camera. Follow the on-screen instructions to open the camera, and then align the QR code in the viewfinder. Your iPhone will scan the code and add the carrier. If your provider instructed you to enter its details manually, scroll down to the bottom and select Enter Details Manually. Some providers require an activation code to complete the setup.
Label your carriers (optional). If you have multiple carriers, label each one so it’s easy to switch between them: Open Settings. Tap Cellular. Tap the phone number you want to label. Tap Cellular Plan Label. Select a label from the list or type a new one under ″CUSTOM LABEL.″ Choose Primary if you want to use this phone number as your main number. If you set it as Primary, iMessages and FaceTime will use this number by default. Choose Secondary if you don’t want this phone number to be used by iMessages and Facetime. You’ll still be able to make calls from this number by choosing it when dialing outbound in the phone app. Tap Done.
Enabling or Disabling an eSIM
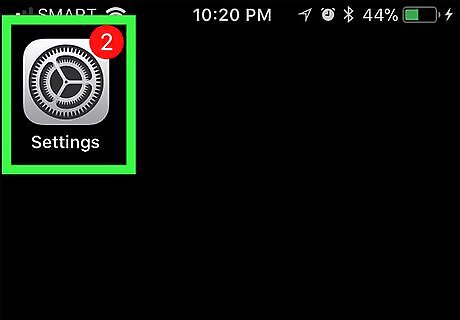
Open your iPhone’s Settings iPhone Settings App Icon. You’ll usually find this app at the home screen.
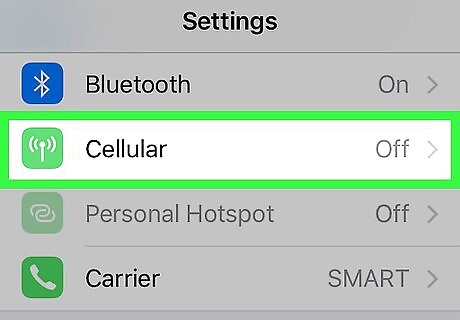
Tap Cellular. It’s in the first group of settings. This may appear as Mobile Data on some phones.
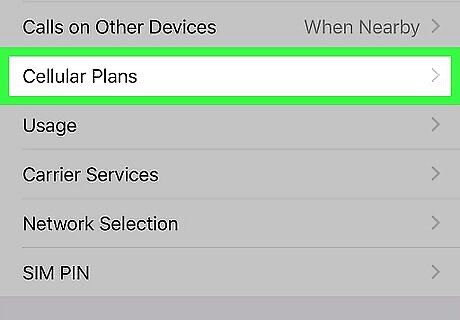
Scroll down and tap the phone number. All plans you’ve added to this phone appear under the ″CELLULAR PLANS″ header.
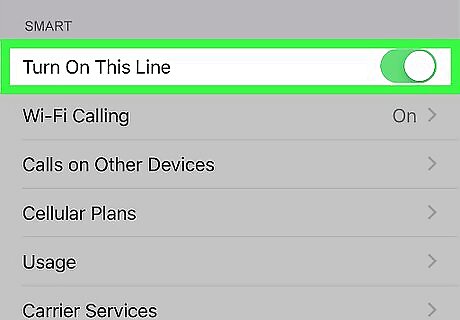
Toggle the switch to the desired position. If you want to enable the plan, toggle the switch to the On (green) position. To disable it, toggle it to the Off (gray) position.





Comments
0 comment