
Setting up Cycle Tracking

Open the Health app on your iPhone or iPad. It's a white icon containing a pink heart. You should find it on one of the home screens, in a folder, or by searching. You must have iOS 13 or later to use Cycle Tracking. If you haven't upgraded to iOS 13, see How to Update iOS to get started.

Tap Cycle Tracking. It's in the "Health Categories" section near the top of the screen.
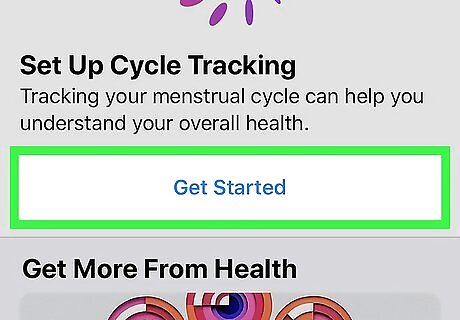
Tap Get Started.
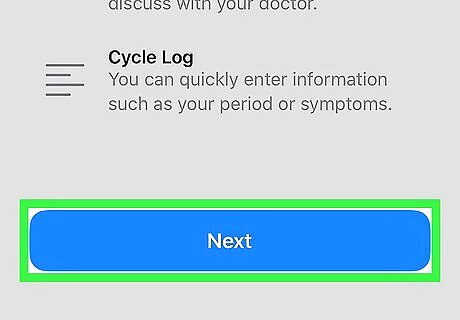
Review the welcome screen and tap Next.
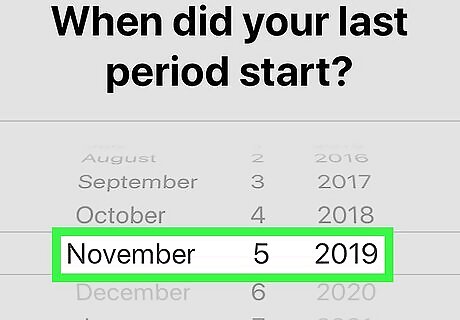
Enter the date your last period began. Use the wheels to select the date, and then tap the blue Next button to continue. If you're currently menstruating, enter the date your current period began. Tap the Skip option at any time to skip a step.
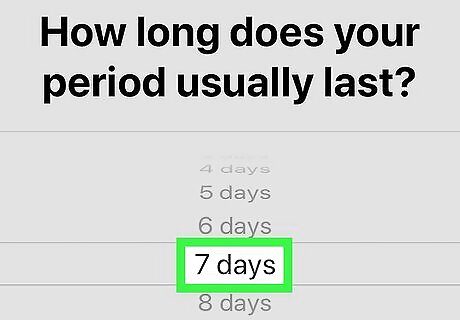
Select your average period length. Scroll through the suggestions until the one that best describes your period is highlighted, then tap the blue Next button.
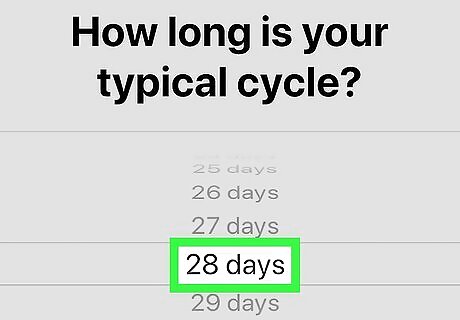
Select your typical cycle length. Your cycle length is the typical number of days between the start of each menstrual period.
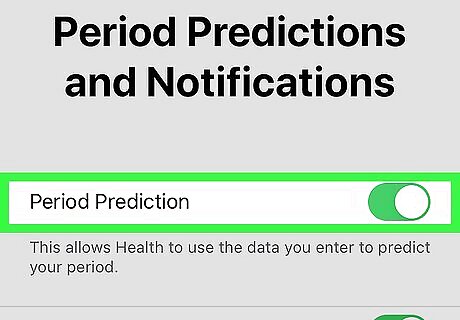
Select your period prediction preferences. When you're finished, tap the blue Next button. Cycle Tracking can use other linked apps to help predict your periods. Slide the "Period Prediction" switch to On (green) to permit this feature. To receive notifications about upcoming periods as well as logging reminders, slide the "Period Notifications" switch to On (green).
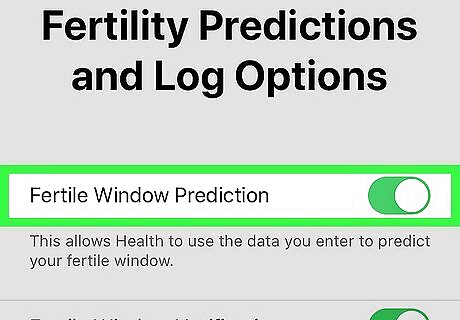
Select your fertility logging preferences. The options here are useful if you want to track and predict your fertility. When you're finished, tap the blue Next button. To allow the Health app to predict when you're fertile, slide the "Fertile Window Prediction" switch to On (green). To track your own fertility observations, slide the "Log Fertility" switch to On (green).
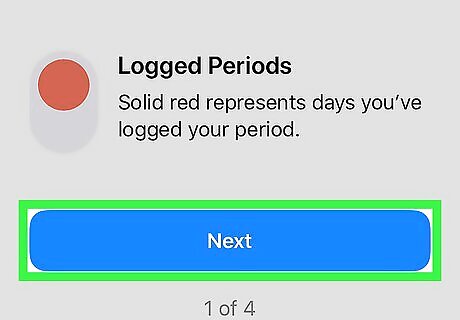
Tap the blue Next button to move through the Cycle Timeline tutorial. The remaining setup screens teach you how your logged days and predictions will appear in the app's calendar.
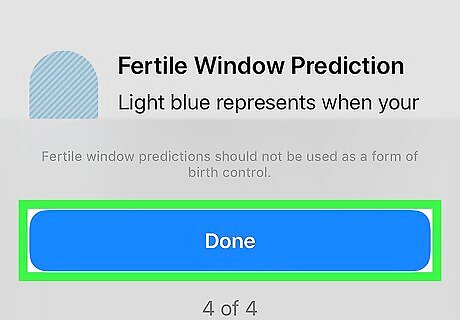
Tap Done to complete the setup. Now that cycle tracking is enabled, you can use it to start keeping track of your period. If you've been tracking your cycle in an app that integrates with Apple Health (such as Clue), your data from that app will automatically import to Cycle Tracking.
Logging Your Symptoms
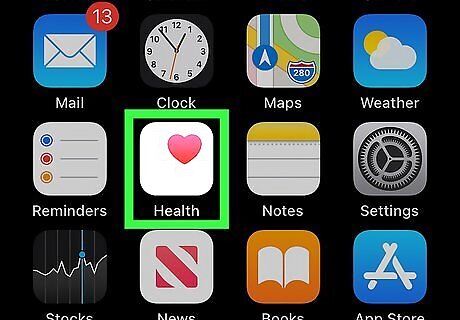
Open the Health app on your iPhone or iPad. It's a white icon containing a pink heart. You should find it on one of the home screens, in a folder, or by searching.

Tap Cycle Tracking. It's the third option under "Health Categories" near the top of the screen.

Swipe to the date you want to log. If you're adding symptoms for the current date (today), just skip to the next step. Otherwise, to log symptoms for a different date, swipe across the calendar at the top of the screen until the desired date is selected. To quickly log an entire menstrual period tap Add Period at the top-right corner of the screen to open the full calendar, swipe to the month you want to log, and then tap each date you were menstruating.

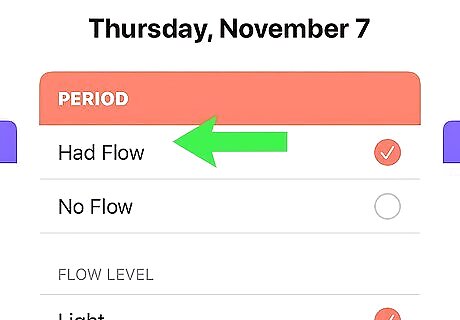
Tap the red Period button. A window containing options for the current date will appear.
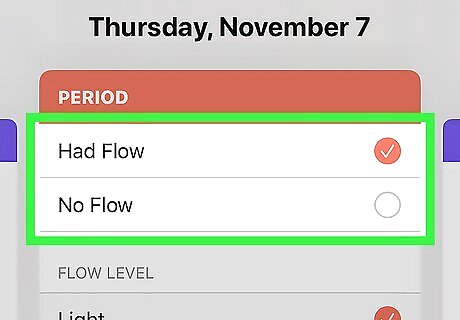
Tap the options that describe your flow on this date. Choose the options that best describe your flow on this particular date. If you are not menstruating on this date, you can tap No Flow or leave all of the options blank.
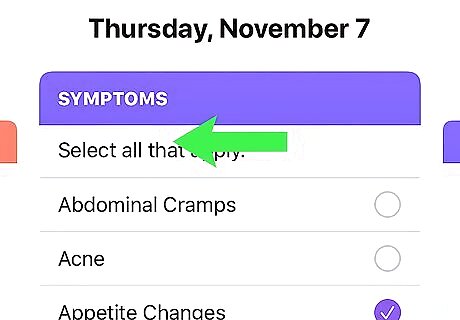
Swipe left to track your Symptoms. A list of symptoms you can log for the day will appear. Scroll through the list and tap each symptom you have or had.
Swipe left to track additional options. The remaining screens help you track other aspects of your cycle, including your fertility (if you chose this option) and whether you're experiencing breakthrough-bleeding (spotting). Continue swiping left through the options until you've logged all you wish to log.
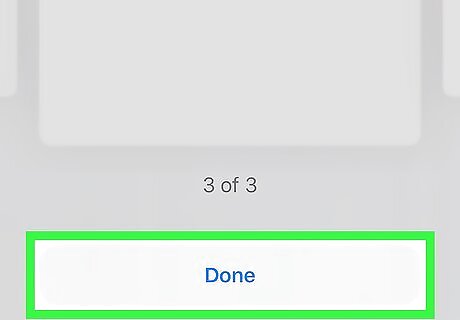
Tap Done to save your changes. The options you selected are now saved in the Health app and can be used to help predict your future cycles.
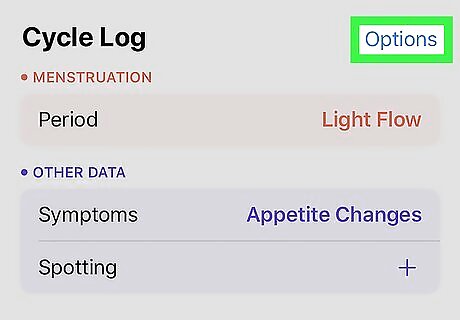
Tap Options to customize your tracking. It's the blue text next to "Cycle Log". This is where you can customize the type of data you want to track. Scroll down to the "CYCLE LOG" section to view all trackable options, and then use the switches to toggle tracking on or off for each. For example, if you want to be able to track the appearance of your cervical mucus, slide the "Cervical Mucus Quality" switch to the On (green) position.
Monitoring Your Cycle

Open the Health app on your iPhone or iPad. It's a white icon containing a pink heart. You should find it on one of the home screens, in a folder, or by searching. Once you've been tracking your cycles for a while, the Health app will start displaying useful information about your periods.
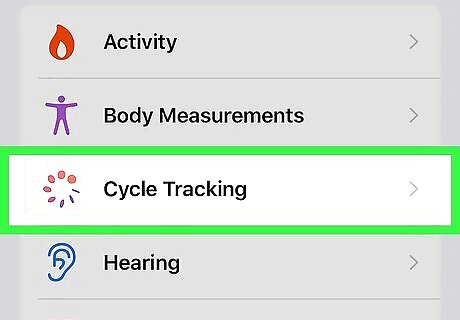
Tap Cycle Tracking. It's the third option under "Health Categories" near the top of the screen.
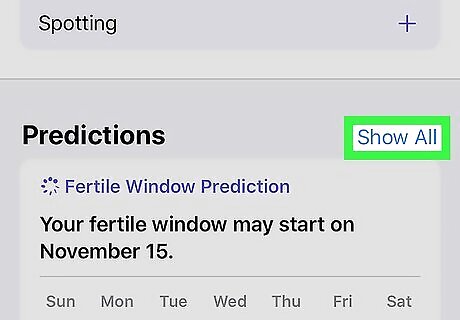
Tap Show All next to "Predictions." You may have to scroll down to see this section. The Predictions screen displays the date the Health app predicts your next two periods. Predicted menstruation dates are shown in a darker shade of red. Tap the back button when you're finished to return to the Cycle Tracking menu.
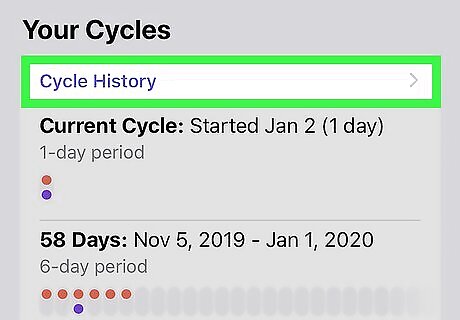
Tap Cycle History to see previous cycles. The information on this screen can be helpful for finding information such as the dates and lengths of previous cycles. Tap Filters at the top-right corner of the screen to filter the data by certain criteria, including symptoms. Tap the back button when you're finished to return to the Cycle Tracking menu.
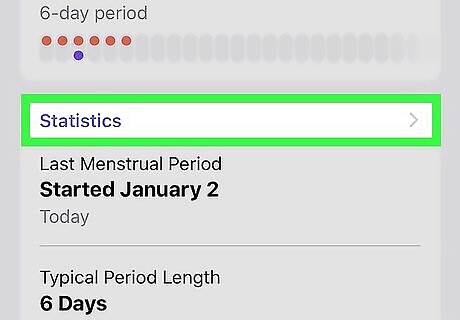
Scroll down and tap Statistics for averages at a glance. This section is at the bottom of the Cycle Tracking menu. This is where you'll find your average period and cycle lengths based on data collected by the app. Data here updates automatically based on the information you log.


Comments
0 comment