views
Raising the Needle and Presser Foot
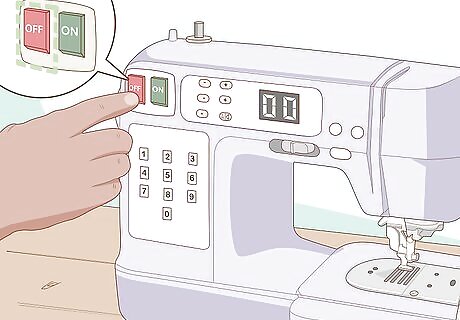
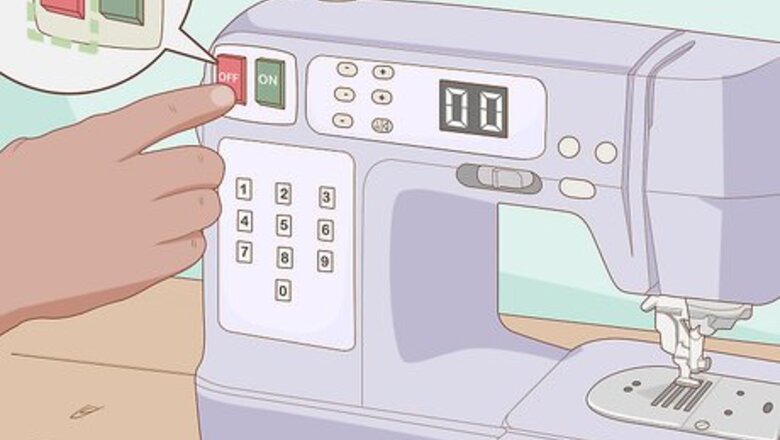
Turn off the sewing machine. Locate the power switch on the side of your sewing machine, and switch it to the off position. Do this before you try to thread your sewing machine. You will be inserting the thread through moving parts of the sewing machine. If the machine remains on and you accidentally apply pressure while trying to thread the machine, you could seriously injure your fingers.
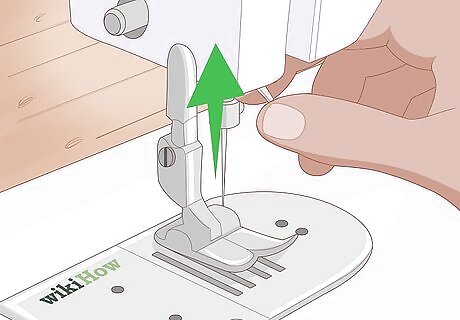
Raise the needle using the hand wheel on the side of the machine. Since the power is switched off, you will need to adjust the moving parts manually. Turn the wheel on the right side of your sewing machine in clockwise to move the needle upwards. Stop turning when the needle is at its highest point. If you keep turning the wheel, the needle will move back down again, so make sure to stop turning when it reaches its highest point.
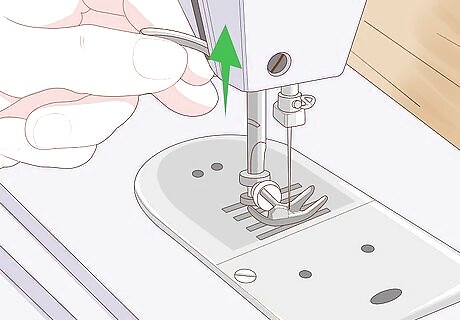
Lift the presser foot with the lever. Locate the lever next to the needle base on your machine. Push this lever upwards to raise the presser foot. Having the presser foot in this position will make it easier to thread the machine because it will be out of the way.
Threading the Top of the Machine
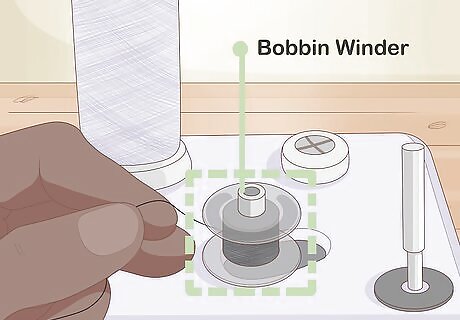
Wind the bobbin before you thread the top part of your machine. If you don’t have a pre-wound bobbin already, wind a bobbin now. Place a spool of thread onto the spool pin and move the bobbin winder pin to the far left. Insert the end of the thread through the hole in the rim of the bobbin and place the bobbin onto the winder pin. Push the bobbin pin back to the right. Then, apply gentle pressure to the pedal to begin winding the bobbin. Continue to apply pressure to the pedal until the bobbin is wound and thread is nearly even with the rim of the bobbin.
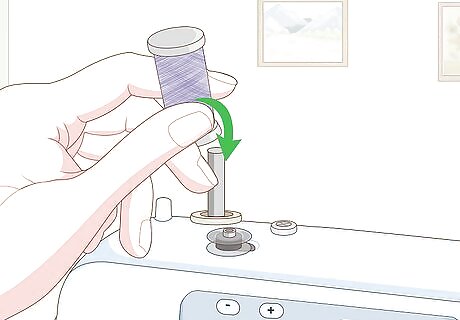
Place a spool of thread onto the spool pin. The spool pin should be located on the top of your sewing machine. Place a full spool of thread onto the pin until it locks in place. You should hear or feel it click. If your sewing machine has a horizontal spool pin, then you will also need to place a cap on top of the pin to hold the spool in place. It does not matter what direction the thread is going when you place it onto the spool pin.
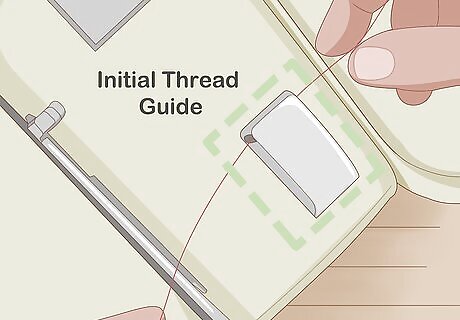
Wrap thread around the first thread guide. The first thread guide will be on the top of the machine above the needle apparatus. If you have the manual to your machine, look at the chart that indicates the function of each of the parts to locate this guide. Grasp the end of the thread on the spool and pull it across the top of the sewing machine to the first thread guide. Bring the thread through the slot under the thread guide. Wrap the end over the top of the thread guide and then wrap it around to the right side of the guide. As long as the thread is going through the guide and out on the right side, it should be fine.
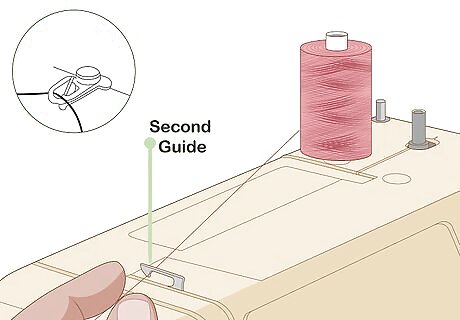
Insert the end of the thread under and over the second guide. The second thread guide will be next to the first thread guide. Use your instruction manual to locate it if possible. Go into the guide from the right underside of it. Then, bring the end of the thread over the top of the guide. After you do this, grasp the thread on either side of the thread guide and move the thread to the end of the guide. Make sure the thread is completely through the guide. If you're ever unsure of what to do, read through the instruction manual.
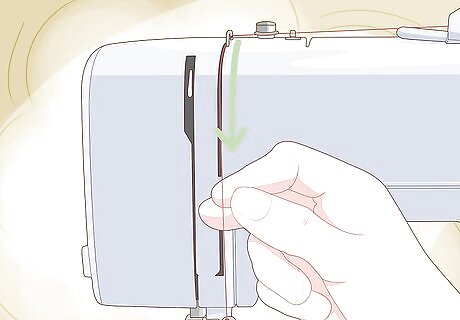
Bring the thread through the threading canal and tension mechanism. Next, pull the end of the thread and wrap it around the tension mechanism, which is directly at the bottom of the threading canal. The threading canal is a grooved area on the side of your sewing machine. Bring the thread through the canal and around the bottom of the canal to go through the tension mechanism. Make sure that the thread is straight and taut in the threading canal. Be patient with yourself as you try to thread your machine. It may take a few tries.
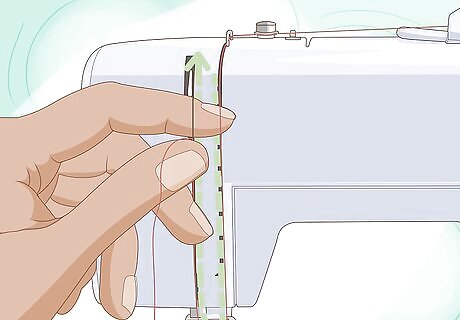
Pull the thread up through the other side of the threading canal. When you have the thread through the tension mechanism, bring it back up on the other side of the threading canal. Then, bring the thread over the take up lever at the top of the canal. The take-up lever also helps to control the tension on your machine.
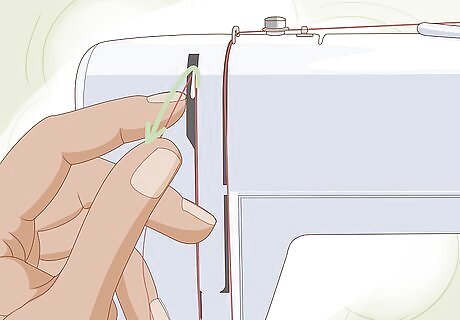
Pull the thread down and through the thread guide above the needle. Next, bring the end of the thread back down through the last part of the threading canal. When you get to the bottom of the canal, insert the thread through the thread guide that is located above the needle. This guide should be right where the blunt end of the needle is attached to your sewing machine.

Thread the needle going from the front to the back of the machine. Keep pulling the thread down towards the eye of the needle. Then, insert the end of the thread through the eye of the needle and pull the end through by about 6 inches (15 cm) past the eye of the needle. If the end of the thread is frayed, cut about 0.5 in (1.3 cm) from the end. This should make it easier to thread the needle. You can also stiffen the end of the thread using water, saliva, or beeswax to make it easier to thread your needle.
Loading the Bobbin
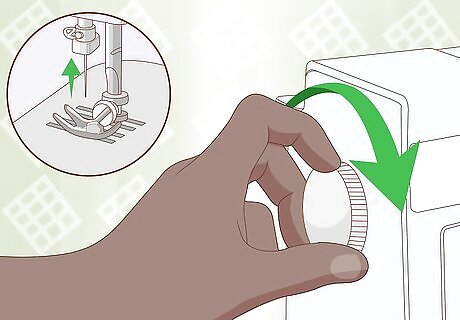
Rotate the hand wheel clockwise to raise the needle to its highest position. The needle needs to be up and out of the way to load the bobbin case, so turn the wheel until it is at its highest position. This should only take about a half a turn. If you already raised the needle to thread the top portion of the machine, leave the needle where it is at.
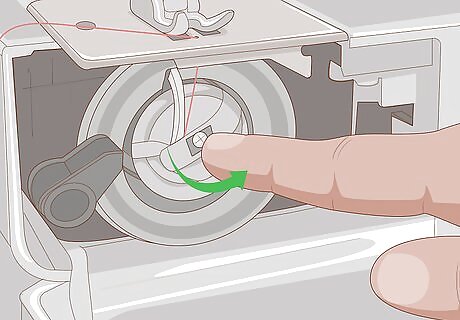
Open the bobbin case on the bottom of the machine. The bobbin case is located directly beneath the needle on your sewing machine. Look for a button or tab on the bobbin case. Press the button or lift the tab to open the case. The case should be empty, but if there is an empty bobbin inside you can remove it. If you do not have a front loading bobbin machine, there will be a case that you will have to remove and open.
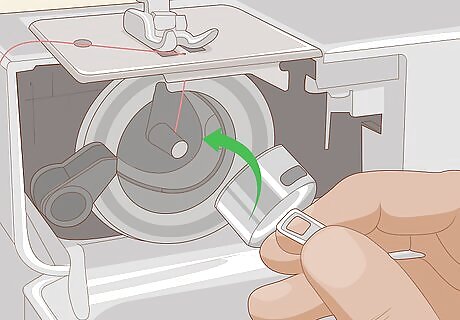
Place the bobbin into the case using the arrows. There should be arrows around the outside of the case. Use these arrows to determine which way the thread should be going. Then, place the bobbin into the case so that you can move the thread in this direction. For example, if the arrows indicate that the thread should go along the left side of the bobbin and then up, then place the bobbin into the case with the thread going in this direction. If the machine does not have a front-loading case, you will need to put the bobbin into the open case after you have taken it out of the machine and then close it back up.
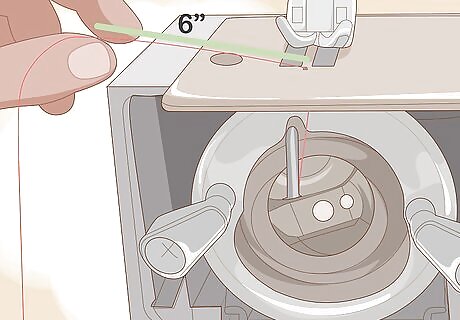
Pull the thread through the slot until 6 inches (15 cm) are through. This will be enough slack for the bobbin thread to catch and connect with the top thread. If there is not enough thread, you won’t be able to make stitches. You don’t have to measure the thread. You can just estimate 6 inches (15 cm). It’s okay if there is a little more or less thread. For a case that you remove and load outside of the machine, inspect the case for a hole to bring the thread through before you close the case. Pull out 6 inches (15 cm) of thread.
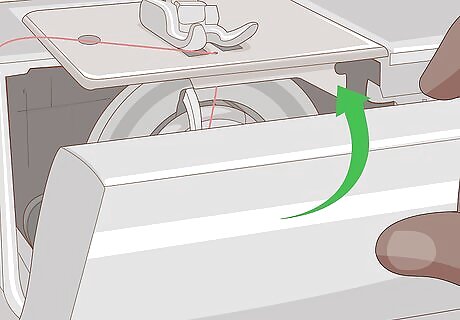
Close the bobbin case lid. Once the thread is through the slot, you can put the lid back onto the bobbin case to secure the bobbin. Press on the lid until it snaps into place. If you had to remove the bobbin case from the machine to load it, close the case and then put the case back into the slot under the needle and close that as well.
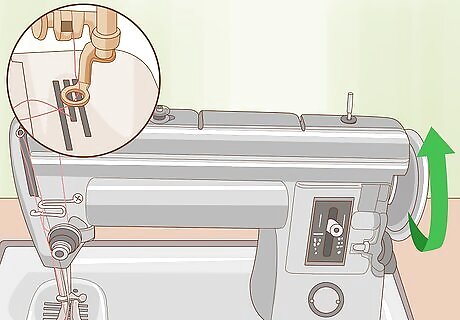
Turn the hand crank clockwise a few times to catch the thread. With the bobbin lid secured, turn the wheel on the side of the machine to catch the bobbin thread. This will connect the top and bottom threads and pull up some of the bobbin thread so that it is visible. Gently tug at the 2 threads when they come up. They will appear as a loop, which you can push to the back of the machine to move them out of the way. If the thread does not come up, repeat the process. If your thread looks knotted or gets too loose on the bottom of your fabric, then then adjust the upper tension. If it's knotting at the top, then adjust the bobbin.


Comments
0 comment