
X
Trustworthy Source
Cleveland Clinic
Educational website from one of the world's leading hospitals
Go to source
Start with Step 1 below to learn how to correctly tape a high ankle sprain, then keep reading for more information on how to identify, treat and prevent a high ankle sprain.
Taping the Sprain Correctly
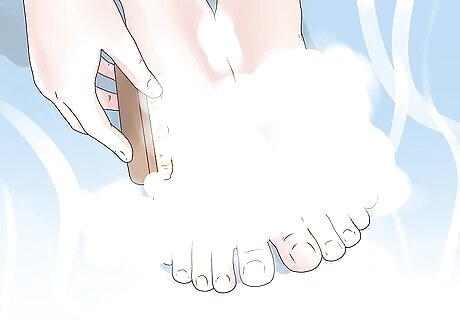
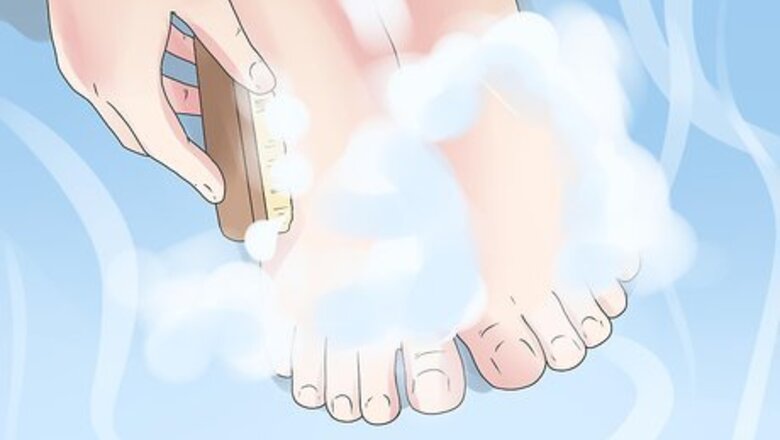
Make sure the foot is clean. Wash the foot in warm water and soap and pat it dry before proceeding to step 2. Dirty or moist feet can invite fungi to grow and cause athlete’s foot. If you sprain your ankle, elevate it and ice it before you stabilize it.
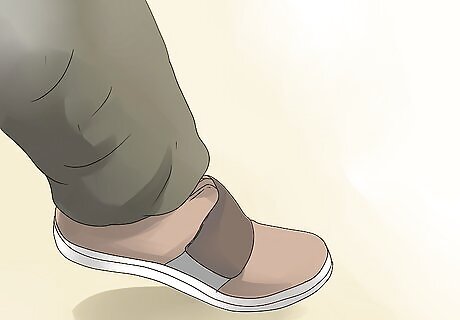
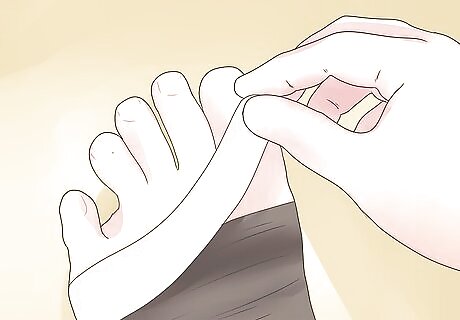
Keep the injured foot in a neutral position. You can do this by keeping the toes pointing straight toward the ceiling. The feet have a natural tendency to point downward in a long-sitting position. Keeping the foot in a neutral position helps to prevent excessive stress on the ankle joint.
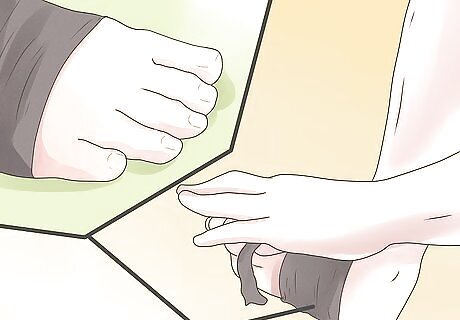
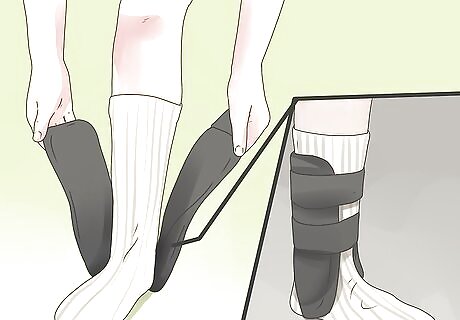
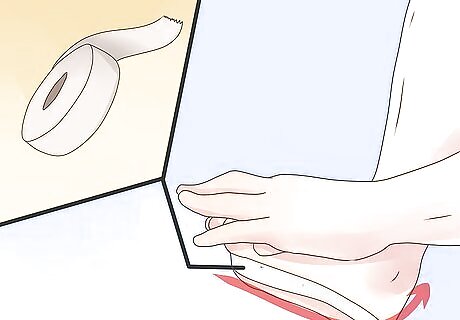
Apply pre-wrap tape to protect the skin. Use pre-wrap tape to cover the skin from the mid foot to 3 inches (7.6 cm) above the ankle. A pre-wrap protects the skin from irritation or abrasion caused by athletic tape. Starting at the mid-foot, wrap the pre-wrap around the foot, around the ankle and heel and up the leg until you reach a spot three inches above the ankle. Each strip of pre-wrap should overlap the previous strip by half. Don't worry if you miss a patch of skin around the heel as you wrap, this is not likely to cause any problems. Keep the pre-wrap tight, and try to use as little as possible.
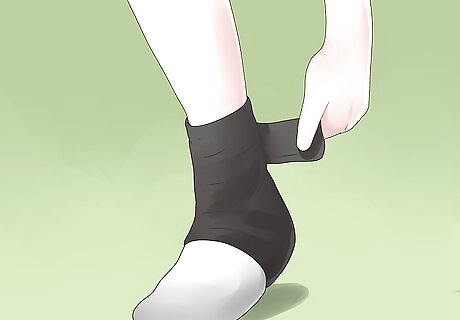
Apply the anchors to hold the tape in place. Take the athletic tape and wrap it around the top edge of the pre-wrap (just under the calf muscle) three times, moving downwards. This forms the anchor and helps to keep the tape in place during movements. Make sure that each layer of tape covers 50% of the previous layer. This helps to keep the anchor stable. The tape should be snug but not tight. You shouldn't feel any pulling pressure on the leg as you apply the tape.
Apply the stirrups to stabilize the ankle. Attach a strip of tape to the anchor on the outer side of the leg. Pull the tape downwards towards the foot and wrap it around the sole of the foot. Attach the other end of the strip to the anchor on the inner side of the leg. This serves as a stirrup. Do this twice more, to make a total of three stirrups. The stirrups should be side by side, not overlapping each other. The stirrups are necessary as they prevent the ankle from moving outwards, keeping it stable and preventing further injury.
Lock the heels to keep the foot in a neutral position. Using athletes tape to lock the heels keeps the foot in a neutral position and reduces the risk of aggravating the sprain. Here's how to do it: Place a strip of tape at the front of the leg, towards the lower part of the shin bone. Pull the tape diagonally downwards toward the inside of the leg and wrap it around the back of the heel. Pass the tape under the sole of your foot (in front of the heel) and pull it back up over the instep until you reach the ankle on the opposite side. Do the same thing again, this time starting on the opposite side of the ankle. This balances the pull of the heel locks and prevents injury from both sides.
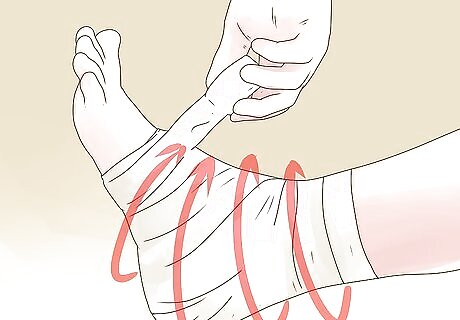
Close the gaps. To close any gaps in the bandage (where the pre-wrap is exposed), start wrapping strips of tape around the foot, starting at the bottom of the pre-wrap, near the toes. Each strip should start and end at the top of the foot (not on the sole, as this could cause blisters). Once you have finished covering the gaps on the foot, you can continue to wrap the athletic tape around the rest of the ankle and leg, using the same strip-by-strip technique. Make sure the pre-wrap is entirely covered in the athletic tape — any gaps will serve as a weak point and potentially cause the tape to unravel. There should be minimal pulling pressure applied on the tape. The goal is only to cover the gaps, not to compress the foot with tape.
Apply a second heel lock over the taped foot. Repeat the process described above for making a heel lock, but this time use a stronger tape, such as Leukotape. This reinforces the neutral position of the ankle, even during physical activity.
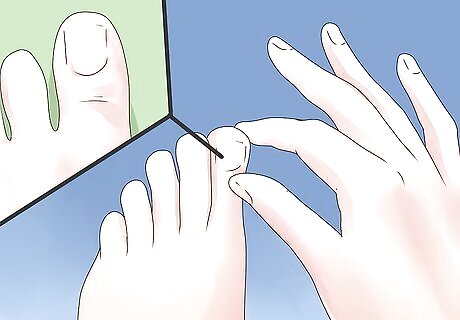
Make sure the ankle isn't wrapped too tightly. Some compression is okay, but if the bandage is wrapped too tightly it can cut off the blood supply and become uncomfortable. Check the nails for blood supply. Press on the nails and release. You should be able to see the nails return to pinkish color in less than two seconds. If it takes more than two seconds for the nails to turn pink, the taping is too tight. Numbness or loss of feeling is a sign that there is inadequate blood flow to the foot. A tight tape can compress the blood vessels of the foot and cause numbness. If the taping is too tight, you will need to undo it and wrap the ankle again.
Caring for a High Ankle Sprain
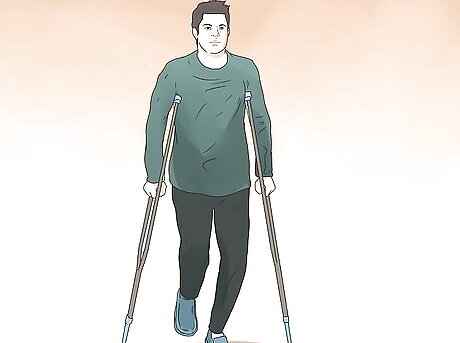
Rest your ankle by avoiding any physical activity. Resting your ankle is very important following a sprain. Avoid doing any physical activity or putting any pressure on the ankle during the first 48 hours following the injury, otherwise you risk making the sprain worse. Stay sitting down as much as possible, and use crutches to move around if necessary.
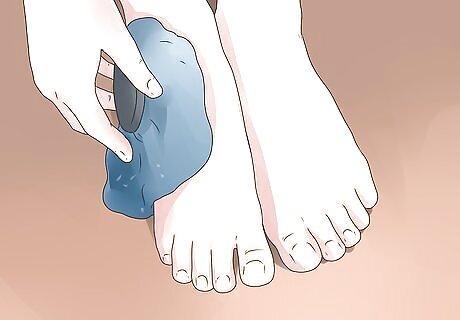
Ice your ankle to bring down any swelling. Ice your ankle as soon as possible following the injury, as this numbs the pain and helps to prevent swelling by shrinking the blood vessels beneath the skin and limiting blood flow to the area. Apply an ice pack wrapped in a towel or cloth to the affected area. Don't apply ice directly onto the swollen skin, as this can cause tissue damage. Apply the ice pack for 15 to 20 minutes at a time, 4 to 8 times a day for the first 48 hours following an injury.
Wear a bandage to compress the ankle. Compress the ankle with an elastic bandage or wrap (using the method described in the section above).This reduces swelling and helps to support the injured ankle. Make sure that you don’t wrap the bandage so tight that you restrict blood supply. If your toes feel cold and start to turn blue, you should re-wrap the bandage.
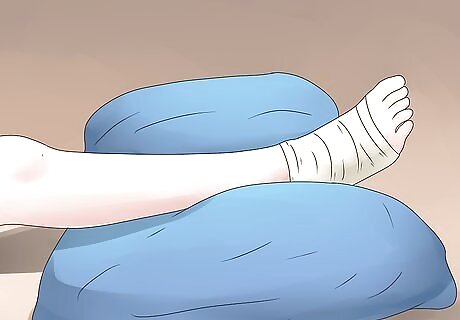
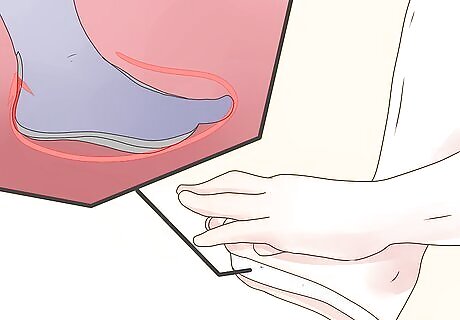
Keep the injured ankle elevated above heart level. Keeping the ankle elevated above heart level helps to reduce swelling, as gravity prevents excess blood from accumulating around the site of the injury. Place a pillow or cushion beneath the ankle to keep it elevated while sitting or lying down.<
Understanding High Ankle Sprains
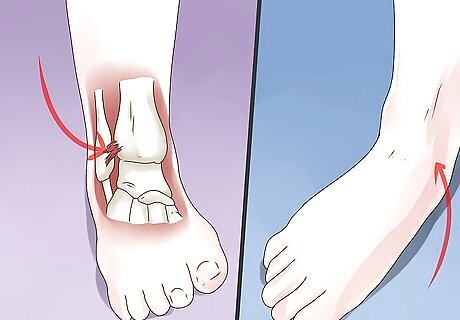
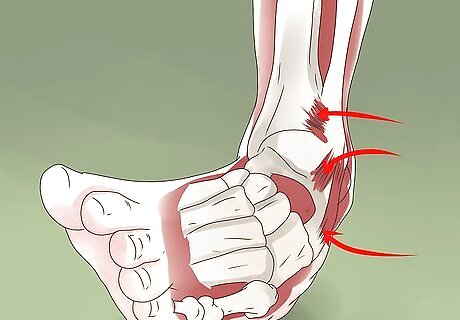
Understand the difference between a high ankle sprain and a regular sprain. A high ankle sprain is also known as syndesmosis sprain. The syndesmotic ligament is a strong and fibrous connective tissue that links the tibia (shin bone) and fibula (outside bone) of the lower leg. This injury is known as “high” ankle sprain because the syndesmotic ligament is actually located above the ankle. A regular or "low ankle" sprain occurs when the ligaments connecting the fibula to the foot are stretched or torn. This injury happens when you “roll over” on your ankle. This is the most common type of ankle sprain, and the recovery period is between 4 to 6 weeks. A high ankle sprain, on the other hand, is a more severe type of ankle sprain because it may take between 2 to 6 months to recover. In most cases, this injury happens when you twist out your lower leg and foot.
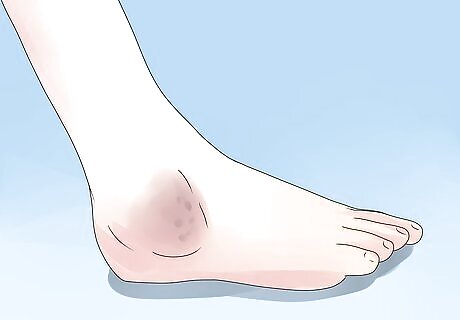
Learn to recognize the signs and symptoms of a high ankle sprain. The signs and symptoms of a high ankle sprain are more or less the same as a regular sprain, however, the pain and swelling will be located slightly higher on the ankle. To identify a high ankle sprain, look for the following: Pain: Following an ankle sprain, the tissue surrounding the injury will release chemicals that stimulate the pain receptors. Swelling: Swelling occurs at the site of the injury due to internal bleeding. Additionally, swelling occurs because more blood is being pumped to the area to aid healing. Warmth: The skin surrounding the injured ankle is warm to touch, as the body tries to heat the area to kill potential bacteria that may cause infection. Redness: The skin covering the ankle becomes pinkish-red in color. This is evidence of increased blood supply to the area.
Identify the different grades of high ankle sprain. High ankle sprains are divided into three different categories — grade one, grade two and grade three — according to the severity of the injury. Recovery time will vary depending on what grade sprain you have. Grade I: Grade I is the mildest type of ligament injury, as the syndesmosis is usually only stretched or slightly torn. Symptoms of a grade I injury may include swelling, tenderness, and stiffness. Though the ligament is injured, walking is still possible. Grade II: Grade II sprains occur when the syndesmosis ligament is partially torn. The ankle is still somewhat stable but walking may be painful. There is tenderness, bruising, and swelling around the ankle. Grade III: A Grade III sprain occurs when the syndesmosis ligament is completely torn. The ankle is no longer stable and feels wobbly. Walking is impossible or very difficult and may be accompanied by intense pain.
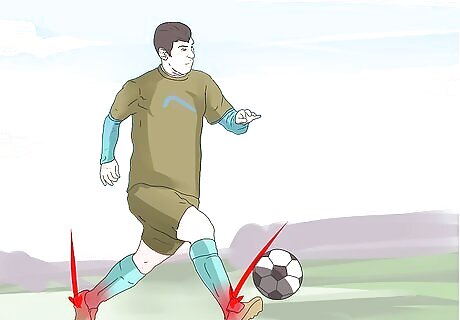
Familiarize yourself with the risk factors. If you have already suffered a high ankle sprain, you are more likely to re-injure yourself in the future. Therefore it's important to be aware of the risk factors for a high ankle sprain, so you can take preventative measures to avoid re-injury. Sports are the most common risk factor when it comes to high ankle sprains. Injury may occur as a result of sudden and forceful motion, or when external force is applied to the leg. The sports that most commonly cause high ankle sprains include football, soccer, wrestling, hockey, basketball, and lawn tennis. Certain medical conditions can make you more likely to sustain an ankle injury. For example, being overweight or obese puts greater strain on the legs for a prolonged period of time, making the ankles more prone to injury. Conditions which cause decreased muscle strength and bone integrity are also a risk factor for high ankle sprains.


Comments
0 comment