views
Preparing the Instruments for Decontamination before Sterilization
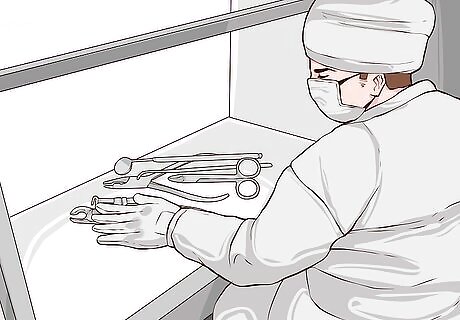
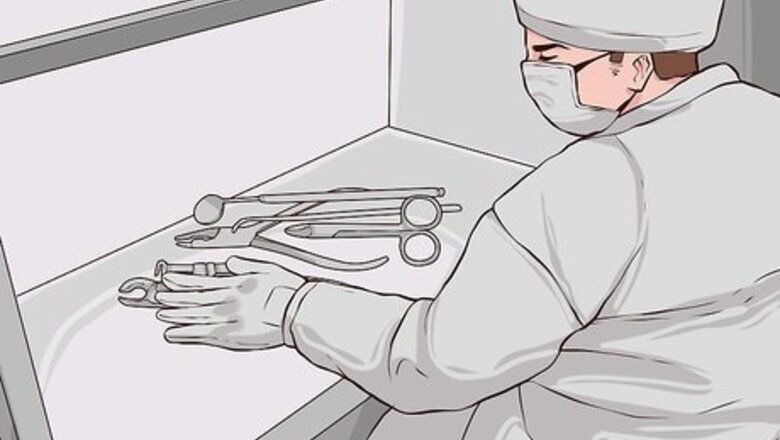
Move the instruments. Instruments that have been used need to be collected and removed from the area where they were used. Take them to the area where you decontaminate things in your environment, such as a Decontamination Area in a Processing Department. This will help cut down on the chance of the contamination of the personal areas or other surfaces within the work space. The instruments should be covered when they are being moved in covered carts, containers, or plastic bags.

Wear the right clothes. Before you handle any contaminated instruments, you need to be dressed for the part. Workers in areas that decontaminate instruments should wear protective clothing, such as a scrubs or other moisture-resistant clothing. You also need shoe covers. plastic or rubber gloves, and a hair net or other covering. You might need protective goggles in certain situations, if the substance you are using to decontaminate the instruments splatters.
Clean instruments immediately after use. Instruments must be cleaned immediately after use and before you attempt to sterilize them — cleaning the instruments is not the same as sterilizing them. Remove inorganic and organic debris from the instruments with a soft plastic scrub brush and medically approved detergent. Scrub each instrument well to remove all residual matter, such as blood or organic tissue. If the instrument is hinged or opens, make sure you clean hinges along with inside and outside surfaces. After you scrub them, you need to run the instruments under pressured water to make sure any extra material is off. This helps clean areas unable to be reached by brushes, ie tubings. If instruments are not cleaned beforehand, the process of sterilization, may not be successful and compromise the instrument tray. There are solutions approved for soaking instruments. Your facility will have them on hand with proper instructions for their use. When not cleaned properly, it may affect the health of the patient. There are automatic washers that you can use, but their use depends on the facility and location of the cleaning process.
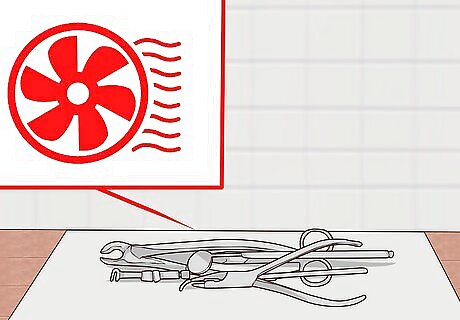
Rinse the instruments. After cleaning the instruments, place them back in their wire tray to receive a brief autoclaving prior to being sent for repackaging. Again, cleaning the instruments is not meant to sterilize them. This step just prepares them for sterilization. Sterilization will destroy all microorganisms on the surface of the instrument, preventing infection. Use caution when handling sharp items like scissors, blades, and other sharp implements. If an instrument is disposable, you should dispose of it properly and do not try to wash and reuse it. Some instruments may be packaged in sterile bags, but are not considered disposable themselves.
Preparing the Instruments for an Autoclave
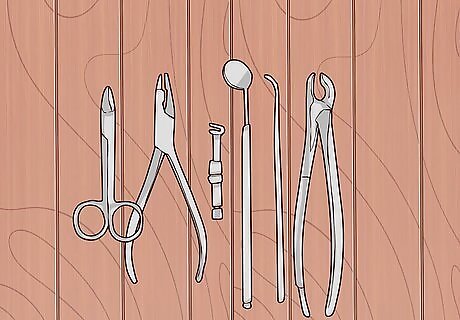
Sort the instruments. Inspect every instrument as you sort to make sure it's clean. Arrange the instruments based on what they're used for and where they need to end up. Keeping them organized is essential because each instrument has a purpose. Make sure you know what your instruments are going to be used for next before you sort them. Organize and wrap the instruments for distribution before the autoclaving process. If you wait until afterwards and open them, they won't be sterile.
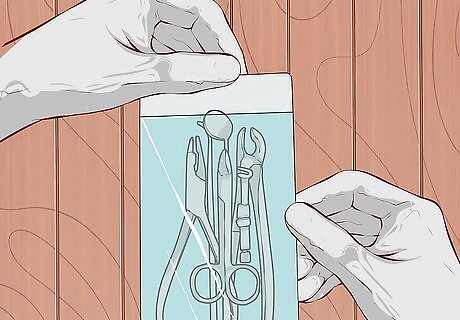
Place instruments in pouches. Once you have your instruments sorted, you need to place them in sterilized pouches that can go into the autoclave. You should use special autoclave pouches designed to withstand the high temperatures of the autoclaves. The pouches have a strip of test tape that changes color when the autoclave process is effective. Take each pile of instruments you sorted and place them in as many bags as necessary. You shouldn't have too many in a bag because it might hinder the sterilization process. Make sure that any instrument that can open, such as scissors, is left open when you put it into a pouch. The inside of the instruments need to be sterilized as well. Autoclaving in pouches is convenient because you can see the instruments you need when finished.
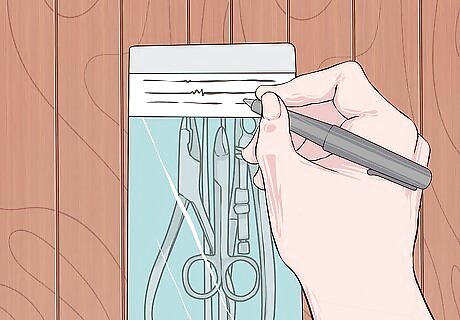
Label the pouches. Once you have them locked in a pouch, you need to label each one so you and others will know what the instruments are needed for. Write the instrument names, the date, and your initials on the pouches. Seal each bag securely. If the bag doesn't already have a test strip, attach one. This will show whether the sterilization was successful. You can now place the pouches in the autoclave.
Sterilizing the Instruments in an Autoclave
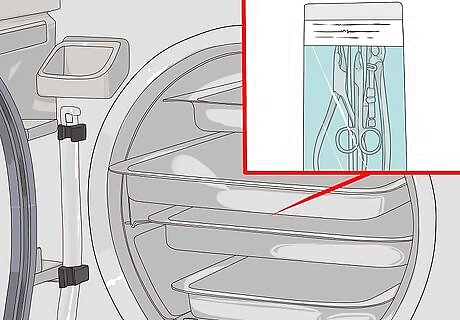
Choose a cycle on the autoclave machine. Autoclaves use high temperature steam emitted at a high pressure over a certain period of time to sterilize medical objects. This works by killing the microorganisms through time, heat, steam, and pressure. There are different settings on an autoclave machine that work for different things. Since you have bags of instruments, you should use the fast exhaust and dry cycle. This works best for wrapped items like instruments. Autoclaving fast exhaust will also sterilize glassware.
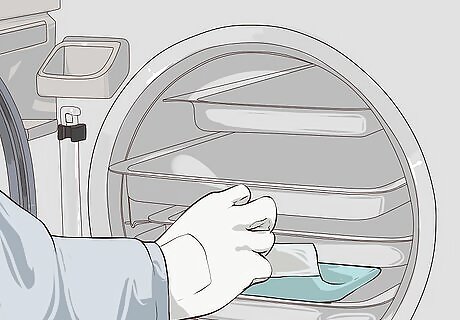
Stack the trays. You need to place your instrument bags onto the trays that go into the autoclave machine. You should stack them in a single row. They should not be on top of one another. The steam needs to get to each instrument in each bag. You need to make sure that all instruments remain apart during the sterilization cycle. Leave space between them to allow steam to circulate.
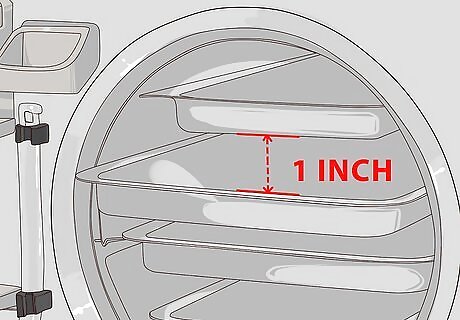
Load the autoclave. Set the trays about 1-inch apart in the machine to permit steam circulation. Don't overload the sterilizer trays. Overloading will cause inadequate sterilization and drying. You should also make sure the instruments don't shift and overlap when you set them inside the machine. Place any empty canisters upside-down to prevent accumulation of water.
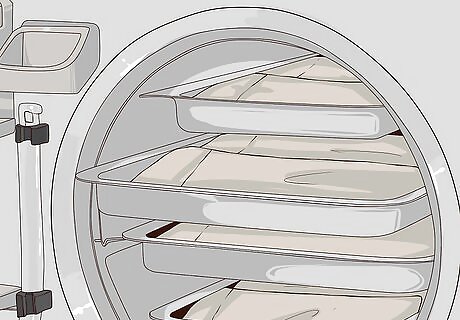
Run the autoclave. The autoclave machine should run for a certain period of time at a specific temperature and pressure. Wrapped instruments should be in the autoclave at 250 degrees for 30 minutes at 15 PSI or 273 degrees for 15 minutes at 30 PSI. Once the machines has run, you need to open the door a small bit to let the steam out. Then, run the drying cycle on the autoclave until the instruments are dry. Drying should take about 30 additional minutes.
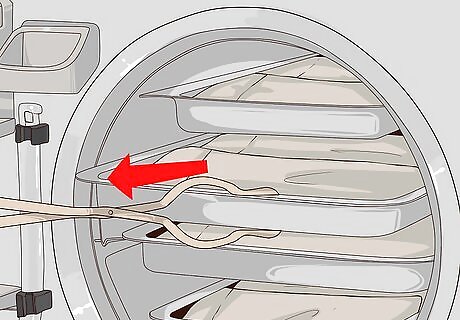
Check the tape. After they are finished drying, take the trays of pouches out of the autoclave with sterile tongs. You now need to check the indicator tape on the pouches. If the tape turned the color according to the manufacturer's instructions, it's been exposed to 250 degree or higher heat and considered decontaminated. If the tape does not turn a different color or you see wet spots inside the pouch, then the process of autoclaving needs to be redone. If they are fine, place them aside to cool to room temperature. Once they are cooled, store them in the pouches in a warm, dry closed cabinet until they are needed. They will remain sterile as long as the pouches are dry and closed.
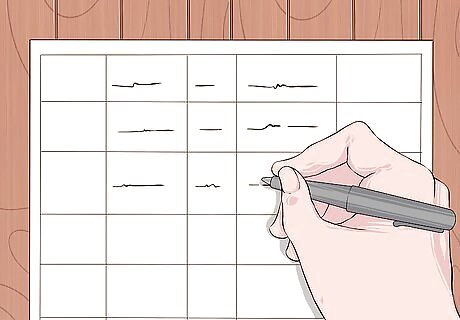
Keep a log. Keep a record in a log sheet, using information such as the initials of operator, date the instruments were sterilized, the length of the cycle, the max temperature of the autoclave, and the results. For example, note if the indicator strip turned color or if you ran a biological control. Make sure you follow your company's protocol and keep records for as long as you are required.
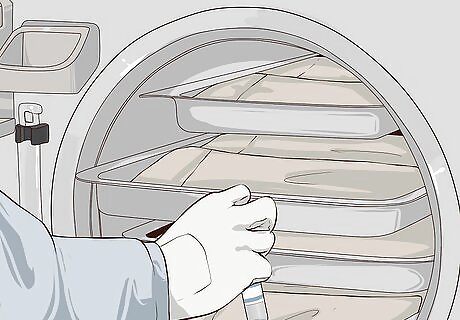
Run a biological control test in the autoclave every quarter. A biologic control run is essential to determine if the sterility process is adequate. Place a test vial of the bacteria Bacillus stearothermophilus in the center of a pouch or on a tray in the autoclave. Next, perform a normal operation. This will test to see if the machine can get rid of the Bacillus stearothermophilus in the autoclave.
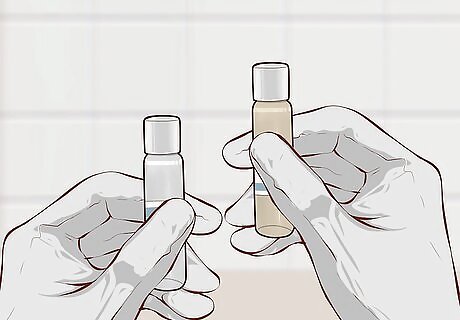
Check the results of the control test. Keep the vial at 130-140 degrees for 24-48 hours, depending on manufacturer protocols. Compare this vial to another control vial at room temperature that was not autoclaved. The product inside the non-autoclaved vial should turn yellow to show growth. If not, there may be a problem with the sample vials. If that is the case, repeat the testing. If it still doesn't change color, it may be a bad batch of vials and you may need a whole new set. If there is no growth on the autoclaved vial after 72 hours, then sterilization is complete. If you see yellow on the test vial, sterilization has failed. Contact the manufacturer if failure happens and do not continue to use the autoclave. This test should be run every 40 hours of use or once a month, which ever one is sooner. The spore test should be placed in an area that is the most difficult for the steam to reach. Be aware testing standards may vary.
Sterilizing Equipment with Ethylene Oxide

Understand the method. Ethylene Oxide (EtO) is used for items that are moisture and heat sensitive, such as devices with plastic or electrical components that cannot withstand high temperatures. EtO helps perform antimicrobial sterilization to protect the instruments from making people sick. Studies prove that EtO is a critical sterilization technology for medical and health care purposes. It is a unique and irreplaceable sterilization method. EtO’s uses include sterilizing certain heat-sensitive and irradiation-sensitive materials, as well as some instruments and devices on-site in hospitals EtO is a chemical solution that kills all microorganisms, leading to the sterilization of the item.
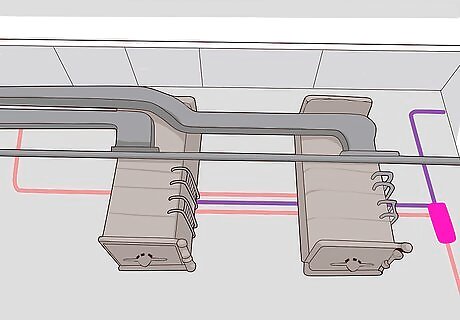
Start the process. When using ethylene oxide as a cleaning option, the process has three stages, which are the preconditioning stage, sterilizer stage, and degasser stage. In the preconditioning stage, the technician needs to get organisms to grow on the equipment so they can be killed and the tools can be sterilized. This is done by sending the medical equipment through a controlled temperature and humidity environment.
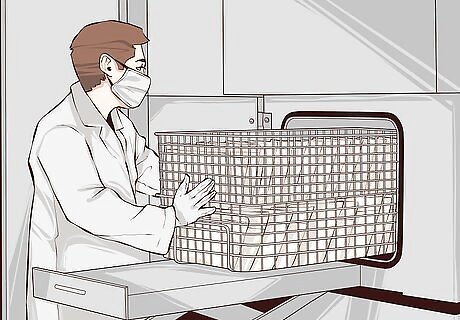
Perform the sterilizer stage. After the preconditioning stage, the long and complicated sterilization process starts. The whole process takes about 60 hours. The temperature control is the most important. If the temperature falls below sterilization level, the process has to start over. The vacuum and pressure of the machine is also important. The machine will not start without the perfect conditions. Towards the end of this phase, the batch report is produced, which tells the operator if there are any issues with the process. If the machine was set on the auto mode, the machine will move on to the degasser stage if the report shows no errors. If there were errors, the machine will automatically stop the process and let the operator fix it before any further sterilization is done.
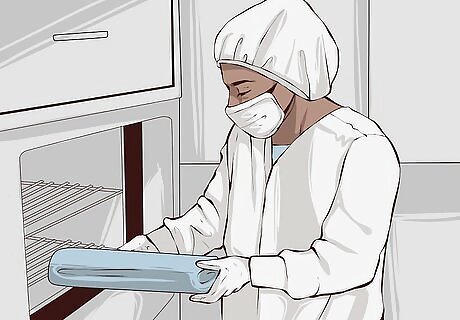
Carry out the degasser stage. The final phase is the degasser stage. During this stage, any leftover particles of the EtO are removed from the tools. This is important because EtO gas is extremely flammable and harmful to humans. You must make sure this happens completely so you and any other lab workers are not harmed. This is also completed under temperature control. Be warned that it is a very dangerous substance. Any operator, personnel, and patients that might come into contact with the gas must have training about the hazards. It also takes longer than an autoclave.
Performing Sterilization by Dry Heat
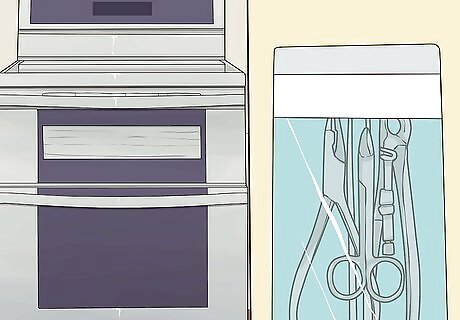
Learn the process. Dry heat is a process used on oils, petroleum, and powders. Also, any items that are sensitive to moisture use dry heat. Dry heat is used to slowly burn the microorganisms away and is typically done in an oven. There are two types of dry heat, a static-air type and a forced air type. The static air is a much slower process. It takes longer to raise the temperature of the air in the chamber to sterilization levels because it has coils that heat up. The forced air process uses a motor that circulates the air inside the oven. The heats range from 300 °F (149 °C) for 150 minutes or longer to 340 °F (171 °C) for an hour.
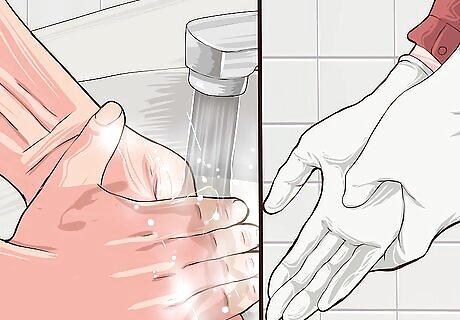
Start the process. Similar to autoclaving, you begin the dry heat method by washing your hands and applying non-sterile gloves. Next, wash instruments to remove any debris or matter that might be left behind. This ensures that the items that get put into the ovens are as clean as possible and will not have non-sterile materials left behind on them.
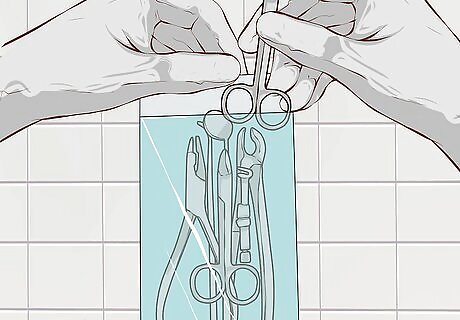
Load the bags. Just like with autoclaving, the medical tools are placed into bags during the sterilization process. Place the cleaned instruments into sterilization pouches. Seal up each pouch so it is airtight. This is important because wet or damaged packages will not be sterilized during the process. You need to make sure the bags have temperature sensitive tape or an indicator strip. If they don't, you should add one. The tape helps you ensure the products are sterilized by reaching the temperature necessary for the sterilization.
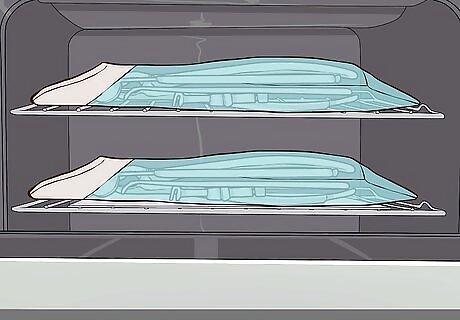
Sterilize the tools. Once you have all the tools in pouches, you need to load the pouches into the dry heat oven. Do not overload the oven because the tools will not get sterilized correctly. Once the pouches are loaded, start the cycle. The sterilization process will not start until the chamber is at the right temperature. Follow manufacturer’s guidelines for loading the ovens. After the cycle is complete, remove the instruments. Check the indicator strips to make sure the items were sterilized. Take the tools and store them in the safe, clean, dry place in order to protect them from dust and dirt.
Using Alternative Methods
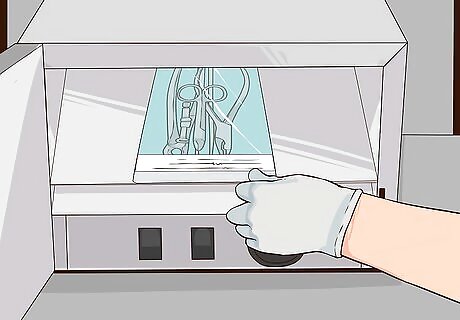
Use microwaves. Microwaves are also used for sterilization. The non-ionizing radiation destroys the microorganisms on the surface of the tools. The microwave stream process is performed on the tools and the heat is used to kill the organisms. It can be used quickly and reliably. You can also use this method at home for things like baby bottles.
Try hydrogen peroxide. Hydrogen peroxide use in the form of a plasma or vapor can be used to sterilize. The plasma is made into a cloud of hydrogen peroxide with help from a strong electric or magnetic field. The sterilization phase of hydrogen peroxide is made up of two phases, the diffusion phase and the plasma phase. For the diffusion phase, put the non-sterile object into a vacuum chamber where 6 mg/L of hydrogen peroxide is injected and vaporized. For 50 minutes, hydrogen peroxide is diffused into the chamber. In the plasma phase, 400 watts of radiofrequency is applied to the chamber, making the hydrogen peroxide a plasma that is made of hydroperoxyl and hydroxyl radicals. These help sterilize the product. The whole process takes about one hour.
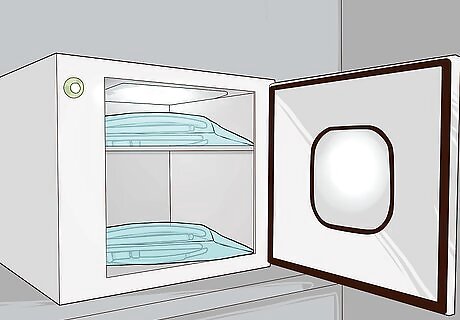
Sterilize with ozone gas. Ozone gas is a gas generated from oxygen and is used to sterilize medical supplies. The ozone method of sterilization is a newer method that involves a lower temperature. With help from a converter, the oxygen from a hospital source is converted into ozone. To sterilize, a 6-12% concentration of ozone gas is continually pumped through the chamber holding the supplies. The cycle time is about 4.5 hours with a temperature of 85 degrees to 94 °F (34.4 °C).
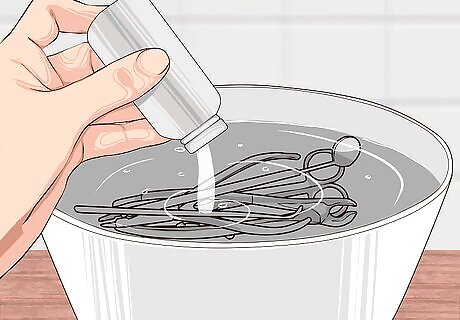
Consider chemical solutions. Chemical solutions can be used to sterilize instruments by soaking in the solution for the required period of time. The chemical agents are peracetic acid, formaldehyde, and gluaraldehyde. When using any of these chemicals, remember to use a well ventilated area with gloves, eye cover, and gowns or aprons for your own protection. Peracetic acid should soak the products for 12 minutes in temperatures of 122 degrees to 131 °F (55 °C). You can only use the solution once. Gluaraldehyde requires 10 hours of soaking after adding an activating chemical that comes with the bottle.
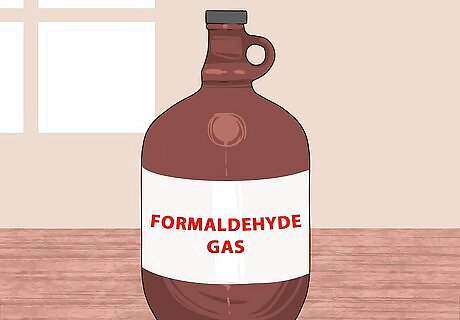
Try formaldehyde gas. Formaldehyde gas is used for the products that cannot stand heat too high without warping and other damage. In this process, the initial vacuum process removes the air from the chamber. The instruments are loaded and then the steam is let into the chamber. The vacuum continues to remove the air from the chamber as it heats up. Formaldehyde gases are then mixed with steam and pulsed into the chamber. The formaldehyde is slowly released from the chamber and replaced with steam and air. The conditions have to be ideal for this process with humidity at 75% to 100% and temperatures from 140 degrees to 176 degrees Fahrenheit. Formaldehyde gas is not the most reliable, but it is suggested if EtO is unavailable. It is an old technique that dates back to 1820. It is not often suggested for sterilization because of the gases, smell, and complex processes involved compared to the others available.


Comments
0 comment