
views
Shrinking a Sweater in a Washer and Dryer

Wash your sweater on a hot cycle. This can work on wool, cashmere, angora, and mohair sweaters. You can also wash the sweater in hot water, but the cycle should be much shorter than a full cycle. Time it for 10 minutes and check on it every few minutes. You can put the sweater in a pillowcase to prevent the fibers from snagging in the machine. Another way to fight fading is to turn it inside out.

Dry the sweater on low heat for 25 minutes, checking it every 6 minutes. The heat will make the fibers tighten up, which causes the garment to shrink. To avoid shrinking your sweater too much, check on it every 6 minutes. Machine-drying a sweater agitates the scales in the wool fibers, which makes the wool become shorter and thicker, causing it to shrink.
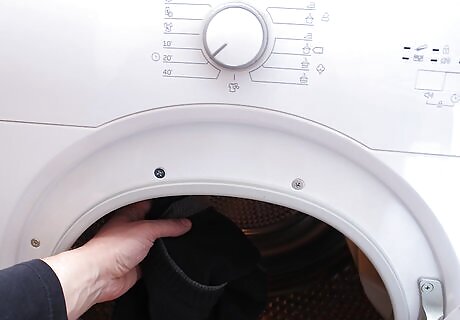
Try the sweater on but put it in the dryer again if it’s still too big. Make sure it fits and didn’t shrink too much. If it’s too big, put it in the dryer again for 25 minutes and check on it every 6 minutes. If you were checking on it regularly, it shouldn’t have gotten too small. Putting it in the dryer for 25 minutes with other garments will shrink the sweater down 1 size. Look in the mirror at all angles to see if the sweater fits well. Observe if it feels too tight or is still a little loose where you want it to be form-fitting. Kate Sekules, Veteran Fashion Journalist & Expert on Clothing Repair Before discarding a favorite sweater now oversized, try strategic shrinking techniques first. Carefully wash in hot water, reshaping while damp before high heat drying to tighten fibers. Handle with care, assessing as you go to preserve integrity of knit material. Gradually shrinking until the desired fit is achieved, keeping in mind that overdoing it may cause uneven texture. Tightening a loose sweater too aggressively weakens its structure.
Reshaping a Wool Sweater

Fill a sink with cool water and bleach-free detergent. This can work for a stretched out wool sweater. Add 1 tablespoon (15 mL) of mild, bleach-free detergent to the water. You can also use detergents made for washing wool. Mix the detergent in the water with your hand.
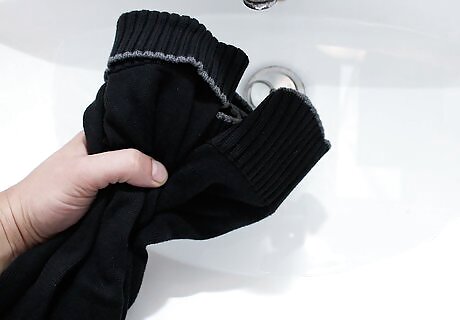
Soak the sweater inside-out for 5-10 minutes. Check on it every 3 minutes and agitate it in the water. You can also dampen the fabric by spritzing it with water. Don’t twist or bunch the sweater when you swirl, as this will damage its material.
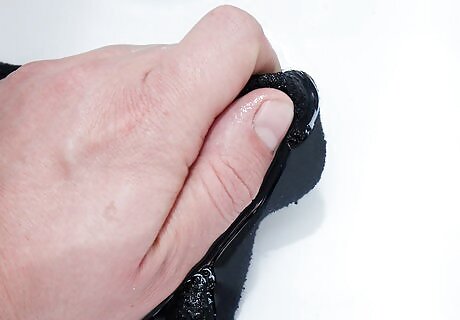
Blot the sweater with a towel to remove excess water. To blot it, press the towel against the sweater to squeeze the extra water out. You can also push your sweater against the wall of the sink to squeeze excess water out. Alternatively, roll the sweater up in the towel like a burrito to remove more water. Just be sure to avoid wringing it out, as this can ruin the fabric.
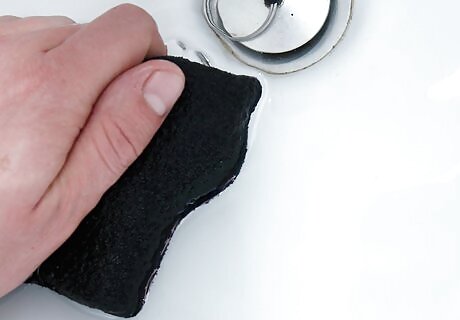
Manipulate the fabric with your hands to shrink areas of the sweater. Grip the sweater with your hands to gently squish together parts of the fabric that you want to shrink. Place your hands firmly on the sweater, and use your fingers to push the material inward. Do this with the whole garment if needed, or just in some areas such as the bust or waist. Put a towel down to soak up excess water from the sweater. Place the sweater on a flat surface while you reshape it.
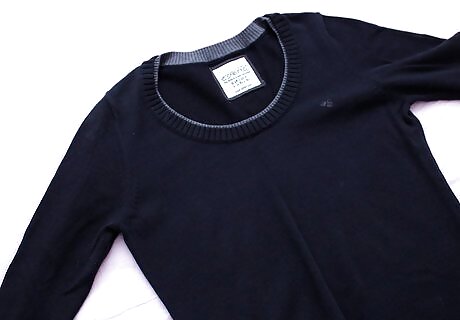
Let your sweater air dry on a flat surface. Ideally, you should leave it on the surface where you reshaped it, so you don’t disturb the work you did. You can put it on your bed, a table, a counter, or any flat surface where it won’t be disturbed. So, keep it away from pets, if you have any. Keep your sweater out of direct heat and sunlight to prevent too much shrinkage.
Shrinking with an Iron
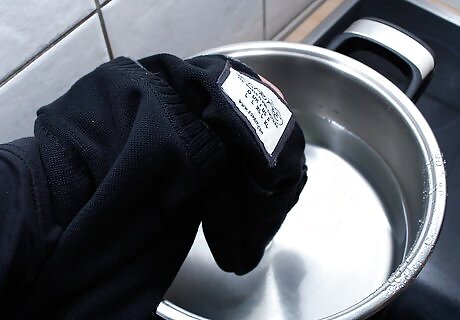
Put the sweater in a pot of boiling water for 5 minutes. This works well for cotton fabrics. The pot should be tall enough to fill it with water while leaving room for the sweater. Let the water come to a boil, add the sweater, then let it boil for 5 minutes. Add 1 c (240 mL) of white vinegar to the water to prevent the colors from fading. The garment should be 100% cotton to shrink it with boiling water and an iron. This may not work for a preshrunk garment.
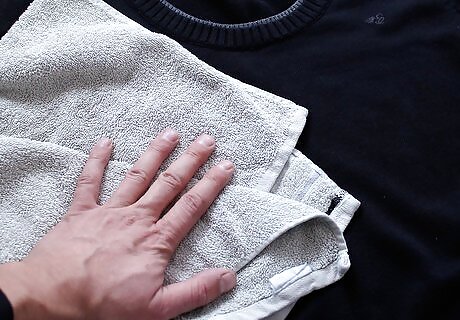
Remove the sweater from the pot and absorb excess water with a towel. Blot the wet sweater until it’s no longer dripping wet. You can also roll up the sweater inside the towel to squeeze the water out.
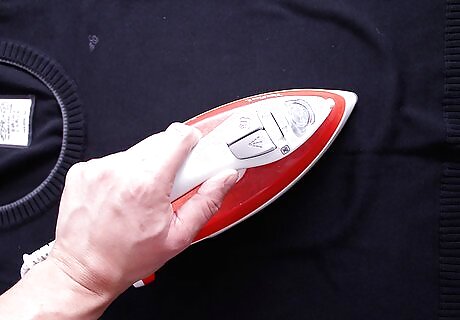
Iron the sweater on high heat for 5 minutes. High heat is ideal for a cotton sweater you’re trying to shrink. Place it flat on the ironing board and cover it with a cloth, such as a towel to protect it from heat damage. If your iron has a steam function, you could use that by filling the iron with water and letting it warm up before ironing the garment.
Tailoring a Sweater to Make it Smaller
Put your sweater on and pinch the excess fabric with your fingers. Pull out the sides of the sweater to see how large it is and decide how closely you want it to fit your form. By pinching the fabric, you’ll determine where to start your seam when you turn the sweater inside out.
Turn your sweater inside out to make the side seam. A sweater made of any material can be altered. Knit sweaters don’t have seam allowances but turning one inside out to find the seam is where you start when altering it. This inside seam is the one you’ll be taking in when altering the sweater. Make sure the sweater is pressed completely flat and symmetrical on a table, so it’s not altered crooked. Use chalk to draw a line on the sweater where you will be making the seams. This will make it easier to remember where to put the pins.
Make a seam allowance using pins. Take in about 1 to ⁄2 in (2.5 to 1.3 cm) on the side of the sweater, depending on how big it is. Starting at the armpit, or whichever part is too big, stick several pins along each side of the sweater to mark where the seam will be. To make an accurate seam allowance, use the seam guide on your sewing machine. Most sewing machines come with ⁄4 inch (0.64 cm) seam guide.
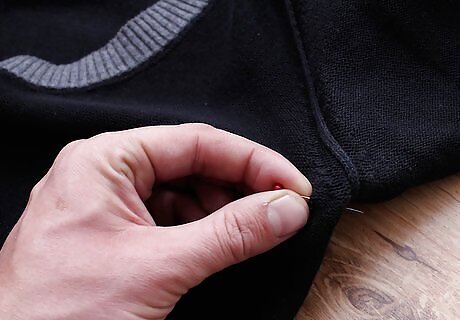
Take in 1 to ⁄2 in (2.5 to 1.3 cm) on each side of the sweater. Measure it with a tape measure and put pins where you want the seam to be. When you sew the seam, keep the pins in place to sew it evenly.
Sew along the edges of the sweater to make the seam. Set the sewing machine to make a dart or zig-zag stitch for a neat and flexible seam allowance on the sweater. Sew along the edge where you stuck the pins as placeholders. Remove the pins as you sew. Stop sewing just before the ribbing or hem of your sweater to prevent an odd flip out of fabric at the bottom.
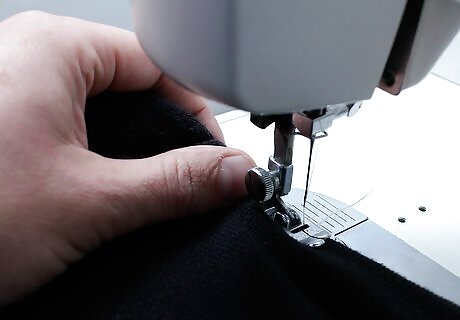
Sew a seam on the other side of the sweater. Make sure you measure both sides equally. Measure the seam allowance and mark the new seam with chalk. Line up the pins to hold fabric in place. Sew with a dart or zigzag stitch on the sewing machine.
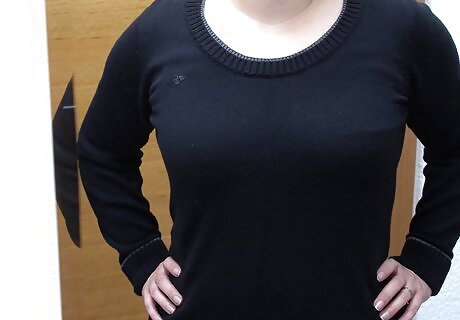
Flip the sweater right side out and try it on. Hold the sweater up in front of you to see if it looks even and try it on for the fit. If the sweater has buttons down the front, button it up to make sure it fits all the way around your torso. Look at yourself wearing the sweater in the mirror to see if it looks as though it fits right. If not, repeat the process.


Comments
0 comment