views
Setting Up the Tent
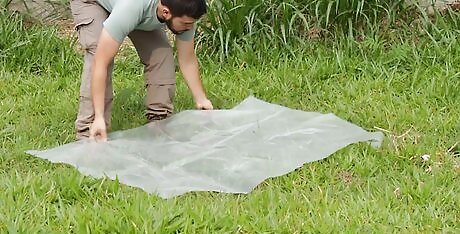
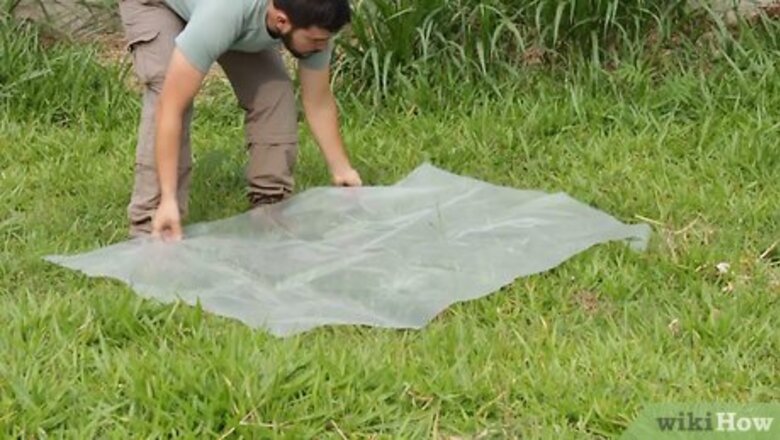
Lay a tarp down before putting up your tent. When setting up your tent, it's important to put a barrier in between the ground and the bottom of your tent to protect it from gathering moisture. A good-quality plastic or vinyl tarp should accompany any tent. Fold the tarp into the relative shape of the tent, but slightly smaller. You don't want any part of the tarp to hang out beyond the edge of the tent, otherwise it'll collect water underneath in case it rains. Fold up longer edges and tuck them under the tent.
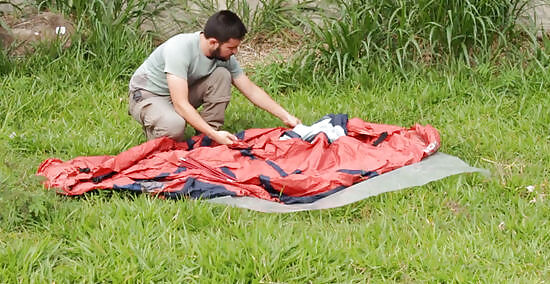
Lay out and account for all the components of your tent. Most modern tents are made of lightweight nylon, all-in-one tent poles, and stakes, while older army-style tents often feature more complicated poles and cloth coverings. At the very least, you'll need the tent itself and the poles, and the method of putting them is generally the same.
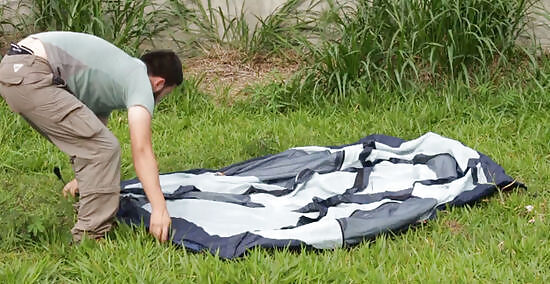
Lay your tent onto the tarp. Find the bottom side of the tent and put that side down on the tarp. Orient the windows and door of the tent in the direction you'd like them to face. Lay it out flat and turn your attention to the poles.
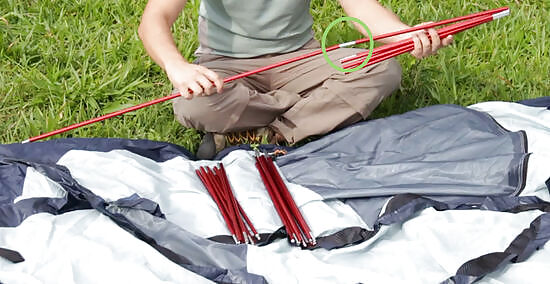
Connect your tent poles. Depending on your particular tent, they may be connected with bungee ropes, or they may be numbered and require that you connect them yourself. Put the tent poles together and lay them across the flat tent.
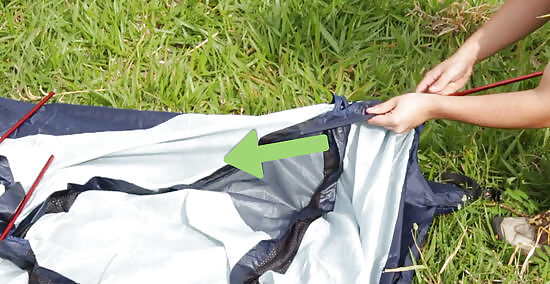
Insert tent poles into the corresponding flaps in the tent. Most basic tents will have two tent poles that cross each other to form an X that will form the basic frame of the tent. To fit them into the tent, usually you'll put the end of the pole into an eyelet at each corner, and slide the pole either through small flaps on the top of the tent, or attach plastic clips on the top of the tent to the pole. Read the directions for your particular tent, or look closely to determine how the poles fit in. All tents are differently designed.
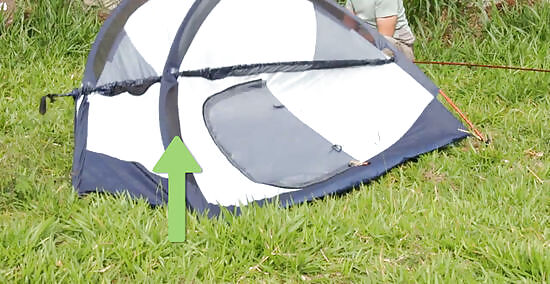
Raise the tent. This will take some coordination, so it's usually helpful to have a partner for this part. After you've fit both poles through their connection spots, they should probably bend of their own according, straightening up and raising the tent into what looks basically like something you could sleep in. Some tents will need a bit of coaxing. Pull the corners apart so they're square and make sure the poles are secure and untangled. Depending on the tent that you use, there may be plastic hooks attached to little chords that are part of the construction. Hook those onto the tent pole frame in the appropriate place, after you've raised the tent up some. Attach any other necessary structural components to the tent so that it stands up.
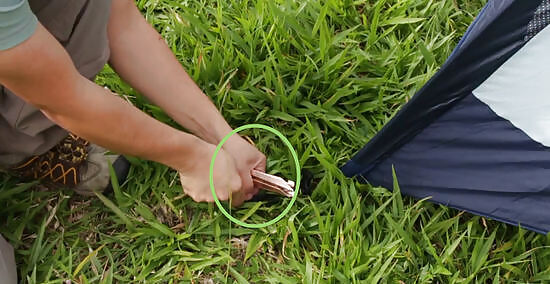
Stake the tent to the ground. When you've got the tent square on the tarp, use the metal tent stakes to fit through the flaps near the ground at the corners and push them into the ground. If you're in rocky or particularly hard ground, you might need to use a tiny hammer or other blunt object to hammer them in a little. Some tent stakes are pretty easy to bend, so be careful as you do this.
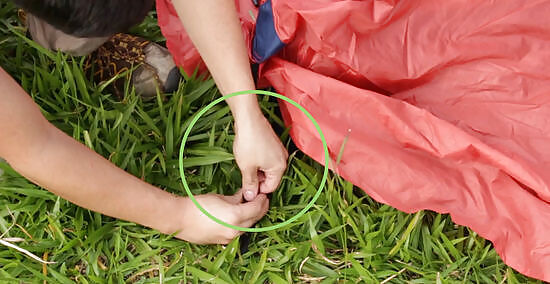
Add on the rain fly, if you have one. Some tents come with an extra rain guard, called a rain fly. It's basically another sheet of material that covers the tent. Some have corresponding tent poles and are more elaborate than others, so read the instructions that come with your tent to learn how to put it together if you have a complicated one.
Packing and Maintaining Tents
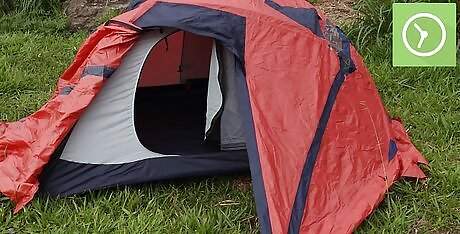
Let the tent air dry in the sun before packing it away. If it rains while you're camping, it's important to let the tent thoroughly dry inside and out before packing it away, or you'll have a mildewy surprise next time you want to go camping. Hang it up on some low-hanging branches, or on the clothes line when you get home to let it dry out thoroughly, and then pack it away securely for next time.
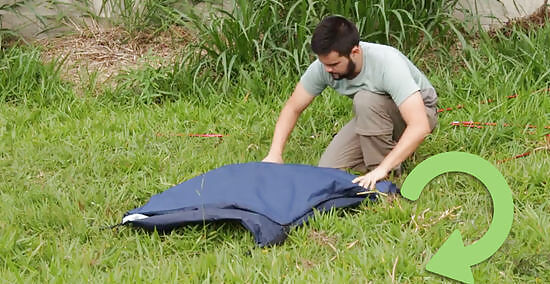
Roll up each item separately and pack them individually. If you've got a stuff-sack in which to pack your tent, it can seem difficult at first to get the whole thing back in there. There's no secret way to fold a tent, and it's usually better to roll them up as opposed to folding them, anyway. Lay each item--the tent itself, and the rain fly--and fold them lengthwise, then roll them up as tightly as possible and insert each into the sack.
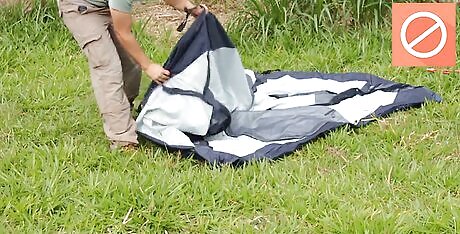
Don't fold tents the same way each time. It's important to not form creases in your tent, which can start weak spots in the fabric that will widen into holes. Roll, stuff, and cram your tent, but avoid folding it and pressing sharp creases into it. It's better to have a stuffed and wrinkly tent next time you go to pitch it, then to have really sharp creases that'll form holes. Remember, a tent isn't a fashion statement, it's a shelter from the elements.
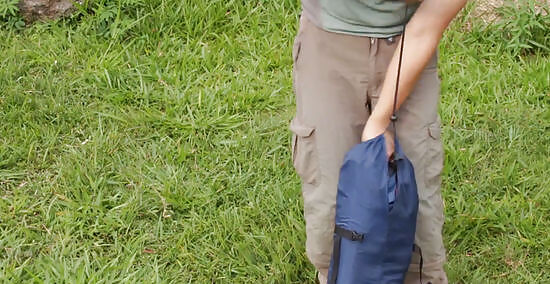
Add the stakes and poles last. When you've got the fly and the tent in the bag, stuff the poles and the stakes carefully in on the side. It'll likely be pretty tight in there, so be gently and don't catch the poles on the edge of the tent and rip it.
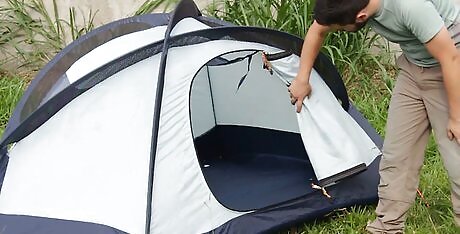
Open up and air out tents regularly. Sometimes, it can be a while between camping trips. It's a good idea to open up your tent semi-regularly and air it out in the yard to make sure there isn't any moisture ruining the fabric or mice taking up residence in your abode. You don't have to pitch it, just take it out, shake it out, and put it back in a different way.
Finding a Spot
Find an appropriate camp site. Choose a wide-enough open space in which you can assemble your tent. If you're in a state or national park, make sure that you're camping in a designated camping area. Make sure that you're not on private property and follow all the laws in the area that govern camping.
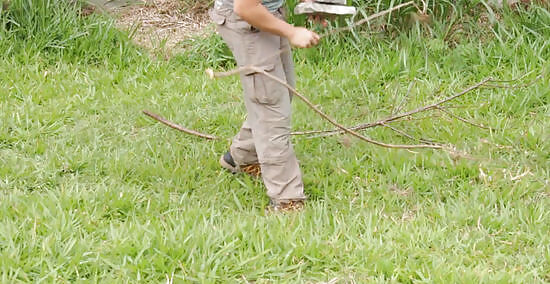
Find a flat spot at your camp site on which to pitch the tent. Remove rocks, twigs, and other debris from the spot that you're going to pitch on. If you're in an area with pine trees, spreading a thin layer of pine needles can make the ground a little softer and better for sleeping. Avoid setting up your tent in swales, divots, or hollows in the ground. Anywhere that's lower than the surrounding area will pool with water in the event that it rains. Even if you've got a waterproof tent, it'll be a tough situation when it starts floating away. The ideal ground is flat and raised up compared to the surrounding area.
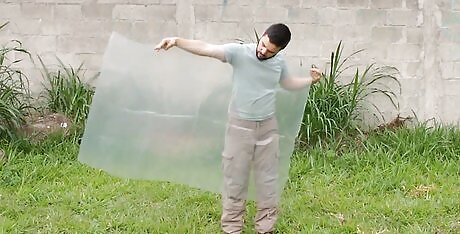
Pay attention to the direction of the wind. Position the side of the tent with doors away from the prevailing wind, making the tent less likely to balloon and create extra tension on the stakes. Try to use the natural tree line to create a windbreak if it's especially windy. Move closer to the trees so they'll block off the breeze a little bit. Avoid camping in dry river/creek beds in case flash flooding occurs and avoid camping under trees, which can be dangerous in storms and can drop branches without warning on your tent.

Determine where the sun will rise. It can be a good idea to anticipate the sun's path for the morning time, so you won't be rudely awakened. In the summertime, tents can act like ovens, meaning that you'll wake up sweaty and irritable if you set up your tent in the direct path of the sun. In the ideal tent placement, you'll remain in the shade through the morning so you can wake up comfortably at a time of your choosing.
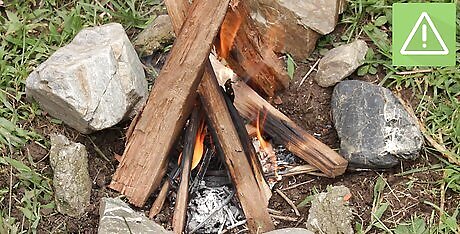
Organize your campsite appropriately. Keep the sleeping area well away from cooking and toilet areas, preferably upwind of them. If you have a fire at your campsite, make sure it's not close enough to spray sparks onto the tent, and make sure you put your fire out completely before you turn in for the night.


Comments
0 comment